The Town and Country is the top-tier minivan produced by the Chrysler Corp. The vehicle has implemented many luxurious add-ons since its introduction in 1990, including wood-grain interior, four-wheel disc brakes and, more recently, navigation systems and three-zone climate control. With its introduction of four-wheel disc brakes in 1993, doing replacement maintenance is much easier than with drum brake systems. Nevertheless, automotive experience is recommended before attempting to change the brakes on a 2006 Town and Country.
Place the wheel blocks under the tires opposite of the end that the vehicle will be lifted. Break loose the lug notes on the wheel that will be serviced using the 1/2-inch ratchet wrench and the appropriate-sized lug socket. Do not remove the lugs entirely, just loosen them.
Place the hydraulic lift under the vehicle and lift at a structure point. Put the jack stands under the lower control arms (or rear axle) and lower the lift until the weight of the vehicle is distributed between the lift and the jack stands. Remove the lugs from the wheel and place them until the rim assembly. Slide the wheel underneath the vehicle as close to the work area as possible.
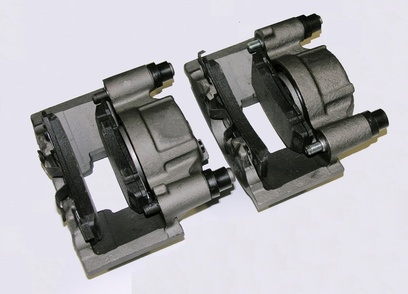
Locate and remove the metal caliper clip connecting the caliber to the wheel assembly. Push the slotted screwdriver in the open groove on the face of the caliper and pry the clip off. Use the appropriate-sized Allen wrench to remove the two caliper retention bolts located on the face of the caliper.
Use a rubber mallet to gently tap the caliper out of place to remove it from the rotor. Replace the brake pads by prying them away from the caliper piston plate with a slotted screwdriver. Discard the old pads and place the new ones in the same orientation. Push down with force until the pads click into place.
Replace the rotor by grabbing the plate on both sides and gently pulling it away and off the wheel hub. Discard the old rotor. Place the new one on by lining up the rotor holes with the lug bolts and sliding the unit firmly into place.
Reinstall the caliper by securely tightening the caliper retainer bolts. Clip the caliper plate on by aligning the grooves to the caliper notches and firmly pressing down until the clip snaps securely into place.
Slide the wheel from underneath the vehicle and remove the lugs. Place the wheel back onto the lug bolts and hand thread the lugs to the wheel. Raise the hydraulic lift and remove the jack stands, then lower and remove the hydraulic lift. Secure the lugs by tightening them according to torque specifications. Repeat Steps 1 through 7 on the remaining three wheels. Remove the wheel blocks once completed.