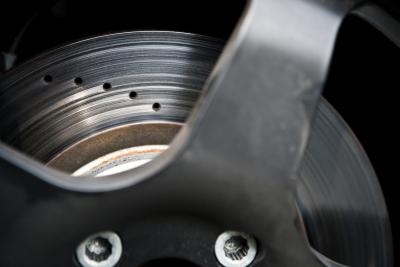
Although once deemed too expensive, four-wheel disc brakes have found their way onto most of today's commercial vehicles due to their longevity compared to drum brakes. They work by having rotors, which spin with the wheels, being slowed by brake pads that are pressed against the disc with a caliper. A faulty caliper, however, compromising braking power, and may need to be removed for repair or replacement.
Loosen the lug nuts on the rear wheel by one revolution with a lug wrench. Place a scissor jack under the rear jacking area on this side of your vehicle, and raise it until the wheel is not touching the ground. Place a jack stand under the frame rail or lower suspension control arm. Lower the jack so the vehicle's weight is resting on the jack stand. Finish removing the lug nuts, then remove the wheel.
Loosen the brake line fitting on the brake caliper with a tubing wrench. Remove the wrench, and finish removing the fitting by hand. Remove the brake line from the caliper and push it to one side to make room for removal of the caliper.
Spray penetrating oil on the caliper retaining bolts and allow it to soak in a few minutes. Loosen the bolts with a socket and ratchet. Place a wrench on the opposite side of the bolt if it wants to turn while trying to loosen it. Slide the bolt from the caliper once it has been loosened, and remove it. Remove the remaining caliper retaining bolt in the same fashion.
Place a large flat blade screwdriver into the space between the caliper and the rotor, and pry the piston into the caliper slightly to allow the caliper to slide off the rotor easily.
Pull the caliper straight off of the rotor and remove it from the vehicle.
Repeat Steps 1-5 for the other rear wheel.