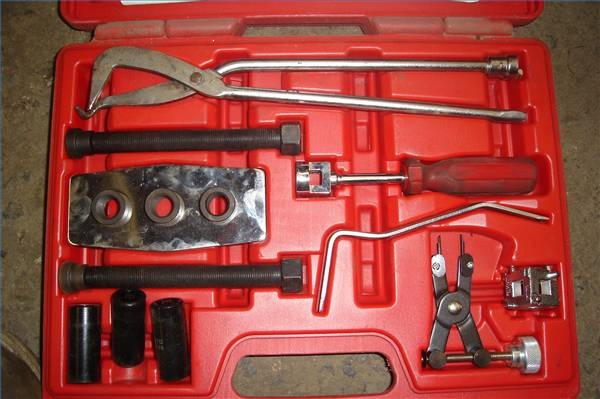
As in any other task, the proper tools can make all the difference in doing a brake job quickly and efficiently. It is certainly true that replacement of disc brake pads and calipers can be done without a disc brake caliper tool set, but it is equally true that it will take much longer to get the job done that way.
Jack the vehicle up and support on jack stands. Remove the front tires and set aside.
Locate and remove the bolts that hold the caliper to the caliper bracket. Torx sockets are supplied in the disc brake tool set, but the bolts may not be torx head, in which case a hex wrench will remove them.

Lift or pry the caliper out of the bracket and off the rotor. Use the piston pushing tool to force the caliper pistons back into the caliper. Two pushing screws are provided with the tool, use one in the center threaded hole on most single piston calipers, and both screws on most dual piston setups.

Use the square block with a socket wrench to turn the piston in on a rear caliper when the piston is threaded and not designed to push back in. This setup allows the parking brake to be applied without using a separate set of brake shoes for that purpose.
