Testing a coil with an ohmmeter provides a definitive answer, but the specifications for the ohm readings vary. Each manufacturer has specifications that fit the profile of their ignition system needs. For example, a car designed for high mileage needs different spark requirements than a truck designed to carry heavy loads. These differences are accomplished by the size and number of "windings" inside the coil body. Although the testing process is the same, different windings produce different resistance readings. Consult a service manual for accurate resistance values.
Disconnect the electrical connector that supplies battery power and the ground circuit to the coil. This is known as the primary circuit, or input, to the coil. It is also where the "primary windings" receive power. Windings increase 12 volts to 80,000 volts or more.
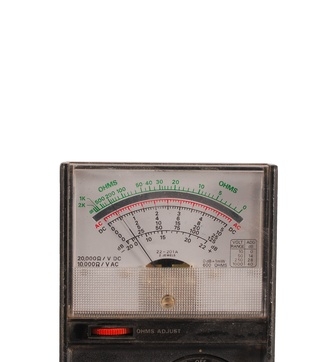
Test the primary windings by measuring resistance. Touch the ohmmeter to the positive and negative connections on the coil. Set the ohmmeter to it's lowest scale and read the resistance value. It should be near zero. This indicates the coil has little or no resistance and power will flow easily.
Unplug the one, heavy coil cable that provides high, output voltage to the distributor or spark plug. Measure the resistance value from either side of the wire connector -- positive or negative -- to the output plug on the coil. There should be some resistance, but the exact number is manufacturer-specific. Typically the value is less than 20,000 ohms. Replace the coil if it does not meet specifications.