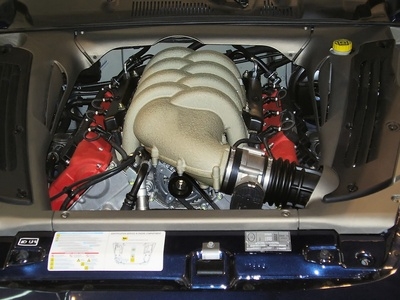
The development of a head gasket leak is not common in the Ford Escort. However, at times they do occur and require replacement. When a head gasket leak develops, it may sound like a tapping noise to the driver sitting inside the car. The guide provided here for removal and replacement of the head gasket assumes any hoses or cabling located above the valve cover have been removed in preparation for the head gasket replacement. You can replace the head gasket without removing the engine from the vehicle.
Disconnect the negative battery cable from the car battery and set aside. Battery cable can be removed using a 5/16-inch wrench, depending on the type of battery terminal connections being used.
Open the petcock at the bottom of the radiator by turning it counterclockwise to drain all the coolant out of the radiator and engine block. Once the coolant has drained, re-tighten the petcock by turning clockwise to close the drain valve.
Remove the exhaust downpipe bolts with 9/16-inch deep socket and remove the manifold from the head.
Remove the bolts from the valve cover attached to the head with the leaking head gasket using the 1/2-inch deep socket. With bolts removed, take off the valve cover from the head and set aside.
Remove the four bolts holding the valve rocker assembly onto the head with the 9/16-inch deep socket. Carefully pull the valve rocker assembly free from the head while holding the pushrods in place. Mark the pushrods to ensure they are replaced in the same order in which they were removed.
Remove the 10 bolts holding the head to the engine block using 9/16-inch deep socket. With bolts removed, grasp the head with both hands, tilt the bottom of the head up toward the intake manifold and lift away from the engine block.
Set the head onto a clean work table or flat surface to remove the old head gasket and prepare the sealing area for the new head gasket.
Scrape the head gasket from the head and block by lightly prying a flat gasket scraper around the surface until all of the old gasket is removed.
Lightly sand the sealing area of both the head and engine block with emery cloth to prepare the surface for the new gasket.
Install the new gasket onto the engine block by lining up the bolt holes and water ports to fit evenly between the block and gasket.
Inspect the water jacket ports and bolt holes in the engine block and head to ensure they are clean and clear of any debris.
Set the head back onto the engine block, being careful not to misalign the head gasket.
Install the 10 bolts back into the head with 9/16-inch deep socket and torque to 40 foot-pounds.
Place the rocker arm assembly back into place and install the 4 bolts hand tight. When setting the assembly in place, take care that the pushrods are properly seated and installed in the same order in which they were removed.
Torque the rocker arm assembly bolts to 25 foot-pounds with the 9/16-inch deep socket.
Install a new valve cover gasket onto the valve cover and install onto the head. Install the valve cover bolts and hand tighten. Torque valve cover bolts to 8 foot-pounds of torque using the 1/2-inch deep socket.
Install a new down exhaust manifold gasket and place the manifold back into place. Insert the mounting bolts that secure the down exhaust manifold in place and torque the bolts to 55 foot-pounds with the 9/16-inch deep socket.
Re-install the hoses and plugs that were removed to access the engine head.
Re-connect the negative battery lead to the battery using the 5/16-inch wrench and refill the radiator with coolant.
Crank the vehicle engine and visually inspect for any air or coolant leaks.