Lead was the first popular body filler that was used by many auto factories and repair shops alike. Lead is melted into gaps and along seams, but if it is not properly applied, it will crack and fall out just like the cheap plastic fillers of the 1960s. Here is a step by step process you can use to get that lead finish look you want on your favorite automobile.
Clean the auto body from all paint, rust, dirt and grease by using a sanding disc or wire brush to work the metal until it is clean and bright. Prepare the surface when preparing to undertake any type of bodywork, especially when working with lead. Areas where this is particularly vital are those where welding has been completed, and special care must be taken to sections that may have accumulated any welding spatter or bluing of the steel. It may be necessary to use an 80-grit to remove welding spatter, followed by 180-grit across the entire area to be worked on, to give the surface plenty of bite for adhesion as the process is underway.

Apply the solder and tinning flux, which is very caustic and must be applied with great care. You should mask off the area to be treated with 2-inch tape prior to getting started. Have a wire brush for hard to access areas and number one steel wool for larger areas followed by a clean, dry cloth to wipe off any remaining excess. The process helps remove any and all surface contaminants and prepares the surface for tinning.

Use a tinning butter, which is a thick compound composed of tin powder and a zinc chloride, before applying your lead by warming up the tinning butter compound with low heat from a short flame and then completely mixing the contents prior to application. Using an oxyacetylene torch on low flame, heat the surface of the area where the tinning butter will be applied and then use a brush, to apply the compound to the surface to be treated, ensuring a small bit of overlap from where the lead will be applied. Once the area is covered, use the torch to warm the surface compounds until the tinning butter turns to a brownish foamy residue and then immediately wipe off the surface from bottom to top with either steel wool or a clean, white cotton cloth. This will leave a silvery exterior showing that the surface has been properly tinned and is ready for applying the lead application.

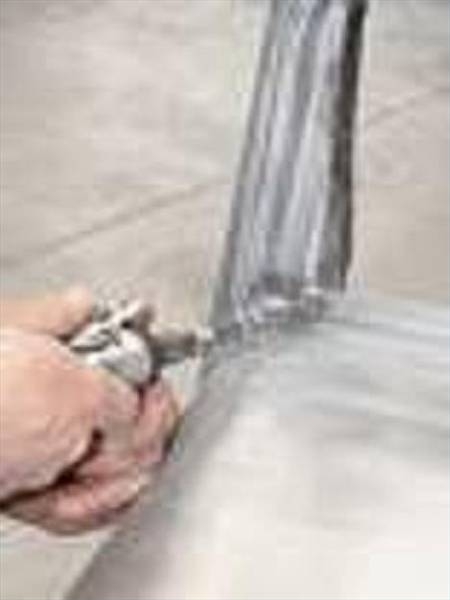
Apply the lead and use a torch to keep the surface warm while the lead is applied to the surface and the end of the lead is heated. The bond will stick to the surface, and the stick is coiled so that it will break off. The lead is applied until there is a sufficient amount to fill the work area. Remember to not overheat the panel because it causes warping. Therefore, stop and allow the surface to cool occasionally. Once the lead is on the panel let it stay warm enough to maintain a semi-solid condition and then use a wooden paddle to shape the lead by dipping the wooden paddle in tallow or beeswax to keep the lead from sticking to them. Allow the surface to cool naturally.