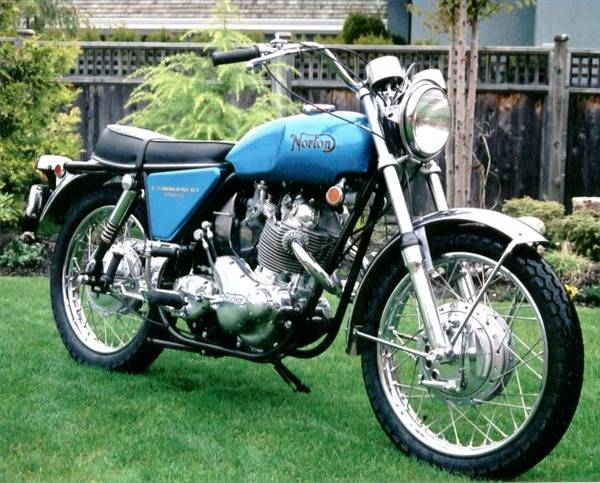
Restoring motorcycles to their original luster is a rewarding pastime that is gaining more and more popularity. There are entire communities of restoration specialists that deal with specific motorcycle types, years and body styles. One of the basic steps, if not the basic after disassembly, is the painting of the motorcycle frame. Painting the frame is a relatively simple step that can have a large impact on the final product. There are a few simple steps that, if done carefully, can result in a clean, attractive restored motorcycle.
Sand-blast the frame (or have it sandblasted) following disassembly of the motorcycle. This assures a strong adhesion of the paint to the metal and will ultimately result in a sleek, smooth shine for your painted surface.
Attach the paint gun to the air compressor, and fill the reservoir with paint according to the manufacturer's instructions. Test the spray on a scrap piece of metal before beginning on your frame. Adjust the nozzle until on each sweeping pass of the paint gun you get a slick, even coating of paint that does not drip.
Coat your frame with a primer coat. Do this slowly. Primer helps to minimize blemishes and preps the frame for the final color coats. Spray two to three coats of primer on, allowing each coat to dry a minimum of 1 hour.
Spray on the color coats. To achieve that shining luster, five to eight coats can be applied with light sanding between coats. Again, let each coat dry a minimum of 1 hour before sanding and recoating.
Apply the clearcoat. The more clearcoat you apply, the more lustrous the shine will be. Three to four coats of clearcoat is sufficient to provide a long-lasting shine noticeable from a distance.