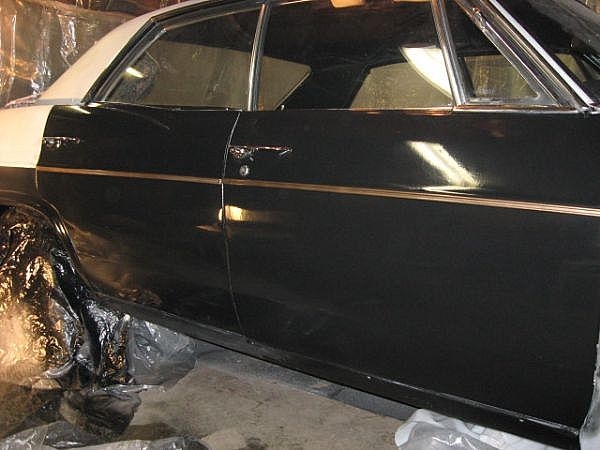
Wet sanding new paint on a car is very important if you want to get that paint to look it's best, having a glassy smooth look and feel!
Wet sanding is meant to flatten and level out new paint, remove small runs or sags, remove surface debris that landed on the paint while it was wet, flatten out orange peel along with minor pot holes, which are called "fish eyes," within the paint. Rubbing compound is applied after a wet sand to bring the color of the paint back to life before clear coat or "Silicone Free" glaze applications. NOTE: You should not apply any wax until the paint has had 60 to 90 days to completely dry and get hard.
Allow new paint to dry at least 24 hours before wet sanding, though the time will vary depending on temperature, humidity levels and how many coats of paint were applied. Simply, just be sure the paint is good and dry before wet sanding.

Set up your materials. The picture shows 1000 grit sand paper, which is the coarsest you should ever use, 1500 and 2000 grit is more advised unless you have serious runs that need the 1000 grit, along with a flexible sanding block and dish pail of water. A drop of dish soap has been added to the water to help keep it slick. Be sure you have your misting spray bottle ready and that you have good lighting set up.

Mist the surface you are about to sand with plenty of water. Start with a small area of maybe 12 x 12 inches till you get the feel for this. Wrap your sand paper over the sanding block and dip it into your water pail getting it nice and wet. Work the 1000 grit with light pressure over any prominent flaws in a level smooth motion, dipping your block and misting the surface often, keeping it wet at all times. To see where you are at wipe the area dry with your soft rag and work your way to finer grits of 1500 for instance, or even 2000 for final sanding over the entire area after flaws have been removed with the coarser 1000 grit which is most likely to leave sanding marks.
Always work with the block and avoid using finger pressure without the block unless you are forced to around tight spots where the block won't fit. Avoid sanding on contours or edges of the car, it is "very" easy to remove the paint completely. Use extremely light pressure on these areas if you must touch them at all.

After your surface is nice and smooth from your wet sanding you will need to apply a fine rubbing compound to bring the paint color back. Compound also serves to flatten out paint that may have been missed by wet sanding. Work with the compound until your paint is nice and flat and has it's shine back.

After you are satisfied with the look and feel from the rubbing compound you are ready for clear coat or silicone free glaze. You will need to be sure that the surface is thoroughly washed clean from any rubbing compound or dusts that may remain if you are applying clear coat. Follow any specific directions by manufacturer before applying clear coat.
