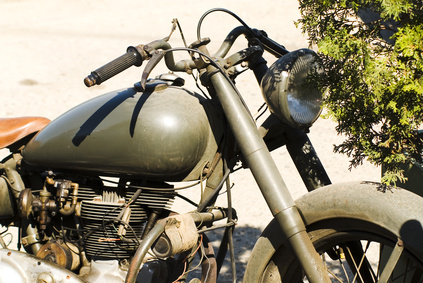
Amal carburetors are found on nearly every English-made motorcycle since 1927. Amal carburetors are famous for ease of operation and reliability. The carburetors were made in many sizes but only two basic designs, the "monobloc" and the "concentric." The monobloc design consisted of a one piece carburetor body with the float located to the side of the main metering jet, while the concentric featured the float bowl arranged centrally around the main jet. Diagnosing a problem with an Amal carburetor does not require expensive equipment or specialized training.
Verify fuel flow into the float chamber. Remove the fuel line at the carburetor float bowl by loosening the clamp with a flat-tip screwdriver. Gently pull the fuel line loose from the carburetor with a pair of slip joint pliers. Insert the loose end of the fuel line into a fuel proof container. Turn on the fuel tap and observe the flow of gasoline. The gasoline should flow freely into the container. Weak or no flow from the gas tank indicates a problem with the fuel screen inside the tank. Drain the tank and remove the gasoline tap for cleaning if required.
Place a clean shop rag underneath the carburetor. Remove the fuel plug at the bottom of the float bowl using a flat-tip screwdriver. Observe drained fuel for dirt, water, rust or other contaminates. Remove the float bowl screws and remove the float bowl for cleaning if required.
Replace the float bowl, float bowl plug, gasoline tap and fuel line if removed. Turn the fuel tap on and observe the carburetor for fuel leaks. If fuel is noted leaking out of the hole at the base of the mixing chamber, then the carburetor should be removed for a complete rebuild. Fuel leakage indicates a stuck or damaged needle valve or float.
Start the engine and check for carburetor air leaks. Spray carburetor cleaner on the mounting flange and throttle slide. Listen for changes to the engine speed or its smoothness. A change in speed or smoothness indicates an air leak at that point. Repair or replace washers, O-rings, gaskets or other components as required. A common problem is that the flange mounting nuts will loosen up over time, creating an air leak at the mounting flange, causing rough operation and a loss of power.
Inspect the air filter assembly for cleanliness. An old or clogged air filter will cause the carburetor to run rich and reduce power at high speeds. Replace any dirty air filters as required. Inspect the throttle cable to ensure it is not binding when the handlebars are turned to maximum deflection. Ensure the throttle cable is operating smoothly and without binding. Repair or replace the throttle cable as required.
Observe the operation of the throttle slide inside the carburetor. The throttle slide should return to its rest position when the throttle is released without binding or hesitating. If the throttle slide is sticking in any way, the carburetor must be removed and rebuilt.
Adjust the fuel/air mixture at idle. Turn the adjusting screw located on the side of the carburetor body by using a flat-tip screwdriver until the maximum rpm and engine smoothness is achieved.