A vacuum leak can cause major running issues and give you fits because they can be so difficult to find. Your vehicle has hundreds of small vacuum lines running to all different components that keep it running properly. There are two different ways to test the vacuum system in a car: testing the overall vacuum and "smoke testing" the system. Both of these tests do require special tools, but are relatively easy once you have these tools.
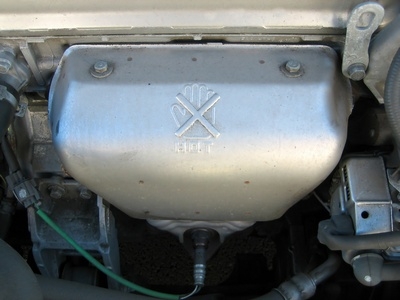
Locate a vacuum line that is under the hood of the car. A brake booster hose is a good source. Remove the vacuum hose by loosening the hose clamp and pulling it off by hand.
Find an adapter in the vacuum tester kit that fits the hose you have selected. Plug the adapter into the hose and attach the adapter to the tester.
Start the vehicle and let it reach operating temperature.
Take the reading from the gauge and compare it to the vacuum specifications in the repair manual. There will be a range that is acceptable.
Locate a good vacuum source--again, the brake booster vacuum line is a good source for this test. Use a screw driver to loosen and remove the hose clamp and pull the hose off by hand.
Press the conical adapter into the hose until a good seal is formed.
Fill the smoke machine with the chemical per the instructions. Plug the machine in, or connect it to the battery, and turn it on. Allow the machine to run for 30 minute to an hour, depending on its size.
Use the UV light and the UV light glasses to search the entire vehicle for smoke slowly leaking from a vacuum source. Some disassembly may be required to determine the exactly location of the leak.
Determine the repairs once the leak is located.