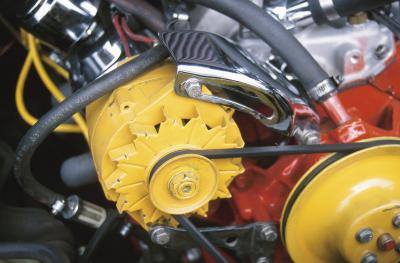
Bosch alternators have one main battery lead on the rear of the alternator and a three-wire plastic connector as well. The wires are colored green, black and brown. There are several segments that can fail--all which are replaceable. Most of the time an alternator fails in stages, thus effectively reducing the amount of charge available to the battery. The diode trio is usually the culprit. The diodes convert the AC voltage sign wave to a usable direct voltage with little pulsation.
Check to see if the problem is the alternator or regulator by disconnecting the plastic electrical connector and placing a jumper wire on the terminal that houses the green wire (12 volt exciter and charging light wire) and the brown wire (field wire). By jumping the 12 volt exciter wire and the brown field wire you have effectively taken the voltage regulator out of the circuit. Now the alternator is uncontrolled and will, if it is good, produce a higher voltage. The higher the rpm the higher the uncontrolled voltage will go, so you do not want to operate the engine over 1300 rpm or the resulting voltage could be 18 volts or higher and blow out lights and various circuits. It will be fine as long as the engine is just at a fast idle, no higher.
Start the engine. Hold the rpm at 1,300 rpm--no higher. Check across the battery terminals with the voltmeter by placing the red lead on the positive terminal and the black lead on the negative terminal. The voltage should be 13.5 to 14 volts. If the voltage is in this range it means that the alternator is in fact putting voltage out. If the voltage does not rise above battery voltage--12 volts--the alternator is not putting out sufficient voltage. If the alternator was not charging originally, but charges when it is not controlled by the regulator, the regulator is not working and needs to be replaced. In most cases, unless you are mechanically inclined, it is easier to just replace the alternator since the voltage regulator is inside the alternator and requires disassembly to replace.
Test the diodes by disconnecting the green wire for the charging light. Connect the red voltmeter lead to this wire and the black lead to a good ground. Turn the voltmeter to the ohms range. The ohms should be in the thousands. Reverse the leads and the ohms should decrease to three to four hundred. Vastly lower readings indicate bad diodes.
Test the alternator brushes by connecting the red voltmeter lead to the brown field wire at the alternator and the black lead to a good ground. The ohmmeter should read four ohms or less. If it reads higher, the brushes are bad.