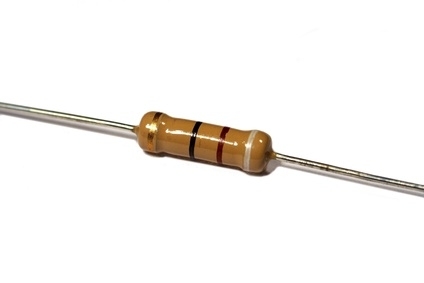
A malfunctioning blower resistor will cause inadequate airflow through the internal heat and air system. The fan inside the blower may only function periodically, it may only work on one setting, usually "high," or it may blow at the same speed regardless of what the knob is set to. A new resistor generally only costs a few dollars and can be swapped out in under 15 minutes with standard hand tools.
Open the vehicle's hood and support it using the prop rod. Use a wrench to loosen the nut securing the negative cable to the battery and pull the cable off.
Open the passenger door. Push the seat back and lay down on the floor to look up underneath the dash. Follow the foot vent tube until it joints with a circular black object, which is the blower motor.
Disconnect the wire clip from the resistor, which is the black box on the side of the blower motor. Pull the connector out of the slot after pressing in the tab on the side.
Use a screwdriver or socket wrench to remove the screws or bolts (depending on your vehicle) that mount the resistor to the motor. Pull the resistor out. Install the replacement resistor by reversing this process.
Put the negative cable back on the battery. Turn on the heater or air conditioner to confirm the blower is working, making sure to test each fan speed setting.
