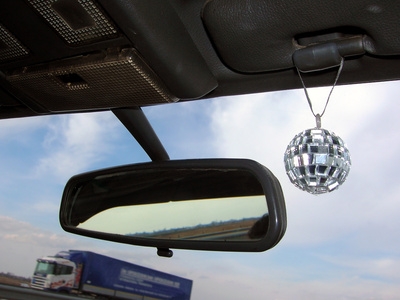
Dimming mirrors are rear-view mirrors that automatically detect light and subsequently dim. They avoid blinding the driver and have been popular since the late 1980's. As useful as these mirrors can be, replacing them when they break is an expensive proposition that AutoMD.com estimates to cost between $700 and $900. The mirror itself costs between $500 and $600, the programing costs up to $50, plus mechanic labor is expensive. However, if you just change the glass itself, you can keep the programming, eliminate the need for a mechanic and save up to $800.
Remove the old mirror from the car by disconnecting the battery negative cable and waiting ten minutes.
Use a small screwdriver to pry the center trim of the mirror down. Push the two plastic cover-retaining clips to the side.
Remove the cover then the ten millimeter bolts holding the mirror in place.
Turn the two rotary catches downward to release the mirror and light housing from the headliner.
Push the six clips holding the headliner in place towards the center of the car. Pull the ground connector loose, and remove the housing from the headliner.
Remove the mirror-retaining screw from the top of the mirror/light housing, using the T-30 Torx bit. Retain the lock washer.
Free the mirror. Remove the back cover of the mirror. Remove the wire-retaining spring from the back of the mirror. With the jeweler's screwdriver, remove the front cover of the mirror.
Remove the mirror/computer combo from the cover. Unsolder the two wires from the mirror glass, using a soldering iron. Apply the braided solder wick to the solder that you want to clear and apply the iron to the braid. The solder will be sucked into the braided wick.
Repeat steps 2-8 to separate your junkyard mirror/computer from its cover.
Draw a line around the junkyard computer on the junkyard mirror. You will not be able to use the junkyard computer in your car, but you will want to align your original computer with the junkyard mirror, so that the junkyard mirror functions.
Separate your old mirror from its computer. Use your heat gun to heat your mirror, then use the plastic putty knife to carefully separate the two.
Separate the junkyard mirror from its computer. Use your heat gun to heat the junkyard computer, since it won't work in your car, and carefully use your plastic putty knife to separate the mirror and computer.
Heat the double-sided tape on the new mirror and stick your original computer board on the new mirror, making sure that it fits within the lines that you drew earlier. Hold it down until the tape cools.
Reassemble your "new" mirror by reversing steps 2-8 above. Reconnect the battery negative lead, and enjoy the fruits of your labor.