Center caps can come in many different styles and often have an imprint of the logo of the car make on them. If you have bought new rims for your tires, it may look odd if the makes of the car and rims do not match. You can easily rectify this by removing the center caps from the new rims and making your own simple silver ones. They may look plain, but at least they will match.
Measure the diameter of the cap you are replacing. Find a metal can that has the same diameter, normally between 2 and 3 inches. A 7 oz. cooking fuel can is normally the desired size.
Prepare the can. Remove the lid of the can with a can opener and empty the contents. Use the tin snips to cut off the lip that will be left from the can opener. Rub adhesive remover to completely strip the label from the can so it is shiny and polished looking. You may need to sand down any of the label you are unable to remove, but make sure you do not scratch the can.
Make the rim. Wrap the can with masking tape about 1/2 inch from the open edge. Cut perpendicular flaps up to your tape line about 1/3 inch apart all around the can. Bend the flaps out to a 90 degree angle from the can so it sits flat.
Color the cap. If you do not want a silver cap you can use spray paint to change the color. Make sure the paint is made to adhere to metal.
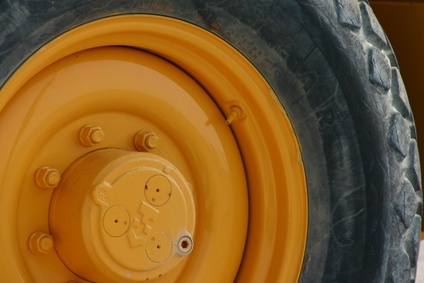
Install the cap. Place the cap top down on the bottom, or inside of the wheel. Put the wood block on top and tap the cap into place with your mallet. The cap should fit flush into the hole with the folded ridge snug against the back of the rim.