Correct tire balancing provides a smooth and even ride on vehicles that have standard tires, high-performance tires and large truck tires. Even new tires must be checked for balance, since they often come from the factory with slight imperfections during hot-molding. Used tires may wear due to age and alignment problems. Wheel weights offset imperfections and off-balance problems. Wheel weights can either be the clip-on variety installed with a hammer, or the adhesive type that glue directly to the rim. The adhesive or "stick-on" wheel weights have certain advantages over the pressure fit design.
Place the vehicle in park or neutral with the emergency brake set. Pick the wheel you will be working on and loosen the lug nuts with a tire iron. Loosen them only enough so you can remove them once the vehicle has been raised. Raise the vehicle with the floor jack and place a jack stand under the frame. Unscrew the lugs nuts and pull the wheel from the vehicle.
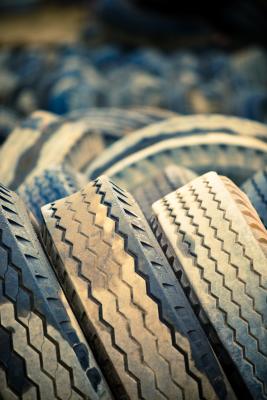
Wash the inside and outside rim of the wheel using a bucket of soap and water and a stiff bristle brush. Any mud or built-up tar left on the inside rim will throw the balance off. Clean road tar with acetone to remove it. Pick all pebbles and stones out of the tread grooves.
Place the tire face up over the balance machine hub. Center it over the hub, lying flat. Push the control lever in the down position, lifting the tire up on the balance pivot. Look at the bubble in the top of the hub window and note where it sits. If it sits dead center in the window cross hairs, it does not need to be balanced. If it rests off-center, mark the rim edge with a piece of chalk on the side directly opposite it.
Open the package of stick-on wheel weights and lay the strands out. You will have weights with 1/4-oz. or 1/2-oz. markings. Cut off several weights with difference ounce designations on the small dividing marks with a pair of wire cutters. Make several 1/4-, 1/2-, and 1-oz segments.
Place the weights on the rim just inside the tire bead, starting with the small ounce increments. Do not remove the adhesive backing on the weights. Center the bubble in the hub window by placing or subtracting weights. Center the heaviest weights in the middle and the smallest weights to the outside. When you have the bubble centered, mark the edges of the rim where the weights sit. Pull the machine balance lever up, letting the wheel down on the platform seat.
Pull the adhesive backing from the appropriate amount of weights you need to use. Press them firmly on the rim exterior, evenly spaced and with the guidelines you marked on the rim with chalk. Activate the balance lever and check the bubble position. Let the lever down, turn the tire on the hub and recheck the bubble position. It should fall dead center within the cross hairs.
Place the wheel back on the vehicle and snub the lug nuts. Let the vehicle down and tighten the lug nuts with a torque wrench according to specifications. Balance any other tires with the same procedure.