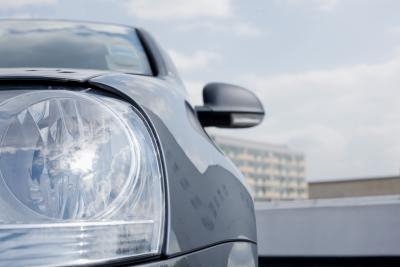
The Nissan Altima automobile is available with two different headlight configurations. One configuration uses halogen bulbs for both the high and low headlight beams. The other configuration uses a halogen bulb for the high beam, and a high-intensity xenon bulb for the low beams. In both configurations, the headlight assembly is virtually the same, also containing the side markers, park light and turn signals. The only difference is the way the electrical connectors attach to the two different types of bulbs.
Disconnect the negative battery cable from the battery to avoid electrical shocks during the replacement procedure.
Pull the fender cover in the front wheel well, away from the front of the car. You do not need to remove the protector completely; just enough to access the rear of the headlight. The front of the protector is held in place with three clips. Pull down on the front of the protector, and the clips will pop out of place.
Pull off the plastic cap that protects the xenon bulb socket. Lift the cap up, by pulling up on the bottom tab.
Pull off the electrical connector from the xenon bulb. The connector slips onto the tab on the bulb.
Lift the wire retaining spring off of the bulb, and pull the bulb from the socket. Insert the new bulb and replace the wire retainer.
Connect the electrical connector.
Snap the plastic cap into place. Re-connect the negative battery cable.
Replace the fender cover by inserting the three clips into the holes on the fender, until they snap into place.
Ensure the ignition and headlight switches are in the "Off" position. With halogen bulbs, there is no need to disconnect the negative cable.
Follow Step 2 in Section 1 to access the rear of the headlight.
Rotate the halogen low beam socket counterclockwise to free it from the headlight assembly, and pull it out.
Pull the bulb out of the socket, and insert the new bulb.
Insert the new bulb and socket into the headlight assembly. Turn it clockwise to secure it. Replace the fender protector as in Step 8 of Section 1.