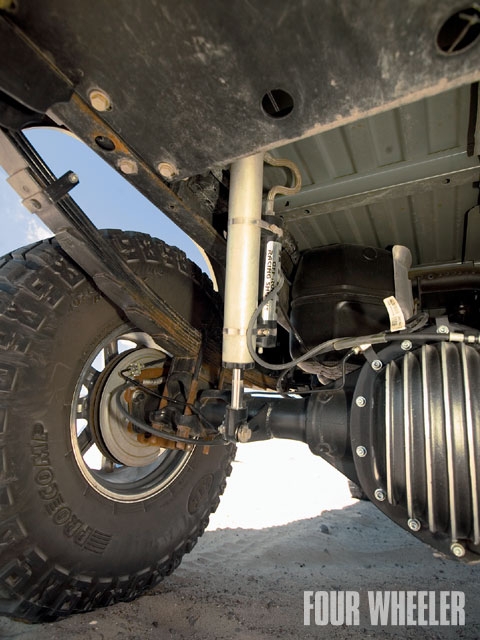
Chevrolet trucks have had the same basic shock absorber setup for over 50 years, and each shock can be individually removed and replaced by the average backyard mechanic in about 20 minutes each.
Jack up the wheel of the shock to be replaced and set the truck's frame onto the jack stands for support.
Remove the wheel with a tire iron and set it off to the side.
Locate the shock absorber lower mount bolt, at the bottom of the shock behind the brake assembly, and remove the nut holding the shock in place.
Remove the top mount bolts, which will be either two medium-sized hex head screws or a mount post that goes through the fender well. The mount post can be unbolted from the top of the fender well. Set all bushings and nuts aside, as they may have to be reused.
Work the bottom of the shock loose with a crowbar, sliding it along to the open end of the bolt. The top screw plate or mount bolt will pull straight down, and the shock will be freed for removal.
Replace with a new shock, bolting the top mount first. Replace any new bushings or nuts, and reuse what was not provided in the shock packaging. The zip-tie holding the shock in a compressed state should not be cut until the top mount is secure. It can be cut and slid onto the bottom bolt while the shock expands. Secure all nuts firmly.
Replace the wheel, and use the floor jack to let the truck off of the jack stands.