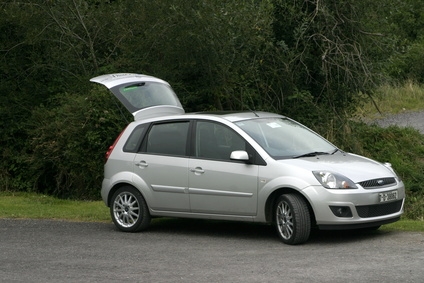
Henry Ford started the Ford Motor Company with the idea of manufacturing products that would meet the demands of consumers in a changing industrialized world. Henry Ford and 11 business associates signed the incorporation agreement in 1903 with little capital available. Since then, Ford Motor Company has become one of the largest "full-line" automotive manufactures in the world. As with any automobile, regular service and maintenance ensures continued vehicle performance, reliability and fuel economy. Removing the clutch rod can be performed with common tools and basic automotive-repair knowledge.
Disconnect the negative battery cable from the vehicle's battery.
Locate the clutch rod and interlock switch assembly inside the vehicle at the top of the clutch pedal.
Remove the cotter pin that connects the clutch rod and interlock switch assembly to the upper part of the clutch pedal using needle-nose pliers. Discard the cotter pin.
Pull the top of the clutch rod off the clutch pedal bushing.
Pry up the retaining tab on the interlock switch connector with a flat-head screwdriver. The interlock switch connector is located near the firewall assembly, inside the vehicle.
Rotate the clutch pedal interlock switch and rod assembly one-half of a turn counterclockwise.
Pull the clutch pedal interlock switch and rod assembly out of the clutch master cylinder assembly near the vehicle's firewall.
Installation is the reverse of removal. Use a new cotter pin when installing the clutch rod assembly.