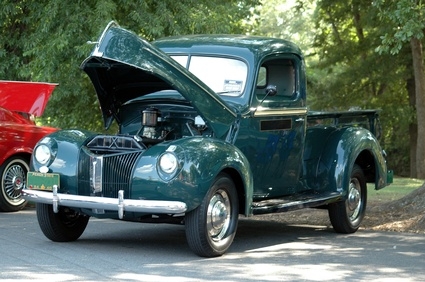
Ford introduced a new line of full-size trucks in 1980. The F-Series trucks are dubbed by Ford as "The Style-Side Series." Ford adopted the style-side body styling after dropping the flare-side body style in 1988. Access to the engine compartment is needed to remove and install a water pump. Replacing the water pump requires only common tools but you should have a moderate level of automotive repair knowledge.
Disconnect the negative battery cable from the vehicle battery.

Drain the cooling system.
Remove the fan shroud bolts and place the fan shroud over the fan. The fan shroud is the plastic piece that surrounds the fan and directs the air toward the radiator.

Remove the radiator hose, heater hose and by-pass hose from the water pump assembly using a flat-head screwdriver and turning the hose-clamp screw counterclockwise until the clamp is loose. The water pump is located on the front of the engine block facing the fan.

Pull each hose away from the water pump assembly by hand until the hoses are disconnected from the water pump.
Remove the four bolts connecting the water pump pulley to the water pump by turning them counterclockwise with a socket, socket extension and socket-wrench while the fan-drive belt is still installed.
Remove the fan-drive belt.

Remove the fan assembly including the fan pulley, fan spacer and shroud.
Remove the alternator bracket, alternator pivot bolt and power steering pump bracket from the water pump by turning the bolts counterclockwise with a socket and socket-wrench.
Remove all 14 bolts that connect the water pump to the timing chain cover using a socket and socket wrench and turning them counterclockwise.
Pull the water pump assembly away from the timing chain cover by hand until the water pump is separated.
Scrape on the engine block where the water pump was installed with a gasket-removing scraper until the surface is completely clean.
Spread a small amount of gasket sealer around the entire water pump mounting surface located on the back side of the water pump. Spread the sealant around each mounting bolt hole that is on the water pump assembly.
Place the water pump gasket onto the water pump. Align the bolt holes on the water pump and gasket. The sealant will hold the gasket to the water pump until you install the water pump.
Move the water pump up to the engine block and start threading the water pump bolts in by hand, turning the bolts clockwise.
Turn the bolts with a socket and socket-wrench clockwise until the bolts are slightly seated.
Put the socket onto the torque wrench and tighten all of the water pump bolts to the specified torque recommended for your particular vehicle.
Replace the alternator brackets.
Replace the power steering pump and brackets.
Replace the radiator hose, heater hose and by-pass hose. Turn the hose clamp screws clockwise with a flat-head screwdriver until the clamps are tight.
Install the fan shroud.
Install the fan pulley, fan spacer and fan.
Install the fan-drive belt. Tighten the alternator adjustment bracket at this time, making sure the fan-drive belt is adjusted to the specified tension for your particular vehicle.
Fill the cooling system with the specified amount and combination of water and anti-freeze.
Connect the negative battery cable to the vehicle battery.