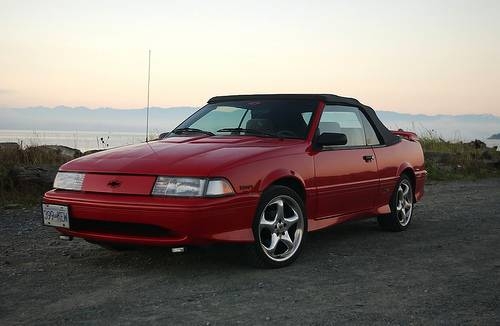
The Chevrolet Cavalier is a rear steer vehicle, meaning the steering gear and tie rods are located behind the steering knuckles. The rack and pinion unit is bolted to the firewall behind the engine. If you begin to notice a distinct grinding or screeching noise whenever you try and turn the steering wheel of your vehicle, it may be a sign that your rack and pinion unit needs replaced.
Disconnect the ground cable from the negative battery terminal.
Remove the sound insulating panel. It is located below the dash on the driver's side of the firewall.
Locate the upper pinch bolt on the steering column underneath the dash. Remove the bolt from the flexible coupling.
Disconnect the pressure line from the steering gear.
Remove the pressure line mounting bracket and secure the line out of the way.
Raise the vehicle according to instructions listed in the owner's manual and support with jack stands.
Remove the front wheels and tires.
Separate the tie rods from the struts, by removing the cotter pins and castle nuts.
Remove the left and right side mounting clamps that secure the rack and pinion to the firewall, by removing the four mounting nuts.
Pull the steering rack forward slightly.
Locate the lower pinch bolt on the steering rack's flexible coupling and remove it.
Separate the dash seal from the steering rack assembly.
Remove the rack and pinion through the access hole in the left inner fender well.
Reinstall the mounting studs that connect the steering rack clamps to the firewall if they were removed during disassembly.
Slide the new rack and pinion assembly through the access hole on the left inner fender.
Reconnect the rack and pinion unit to the stub shaft on the bottom of the steering column. Reconnect the dash seal and have an assistant working inside the vehicle guide the input fitting on the steering rack onto the stub shaft.
Reinstall the lower pinch bolt onto the flexible coupling.
Push the steering rack into position against the firewall.
Reinstall the two clamps that secure the steering rack to the firewall.
Reconnect the tie rods to the vehicle's struts. Slide the ball stud through the mounting hole and reinstall the castle nut and cotter pin.
Reinstall the tire and wheel assemblies.
Lower the vehicle.
Reinstall the upper pinch bolt on the flexible coupling at the bottom of the steering column. Access can be obtained from the passenger compartment.
Reinstall the pressure line mounting bracket.
Reconnect the pressure line to the steering gear.
Reinstall the sound insulating pad below the dash on the driver's side of the interior.
Reconnect the ground cable to the negative battery terminal.
Have the vehicle's alignment checked.