Clearances are so tight on every Harley that removing the fuel tank usually makes engine repair jobs much easier. Since a significant portion of the wiring harness runs under the fuel tank on Road Glides, Harley-Davidson and many aftermarket manufacturers often recommend removing the fuel tank to work on various electrical connections to the console or within the fairing. Removing the fuel tank on some Harleys is basically a drain and unbolt job. Because Road Glides are so complex, however, removing the tank from one of them requires additional steps.
Unclip the side cover, in front of your saddlebag, that contains your fuse block. The fuse block is under the right side cover on Road Glides built in some years and under the left for others. Consult your service manual to be sure.
Shift into neutral and start the motorcycle in a well-ventilated place. With the motorcycle running, pull the fuel pump fuse with a fuse puller. Allow the engine to sputter to a stop.
Crank the engine for another five seconds. This will purge the pressurized gas from the Road Glide's fuel lines.
Remove the seat retention bolt and washer on the rear of the seat with an Allen wrench. Remove the seat to access the battery.
Loosen the negative battery cable. Remove the cable from the negative terminal with a box wrench.
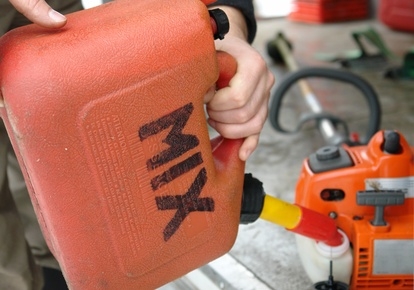
Siphon the gasoline from newer style Road Glides with a mechanical siphoning device into what Harley calls an "adequately sized" gas can. Harley Davidson changed the design of their fuel filler port to prevent easy siphoning in the middle of the 2007 model year.
Connect one end of a three-foot length of rubber or plastic hose to the spout of a small funnel to drain gas from older Road Glides. Place the opposite end of the hose in a gas can.
Pull and disconnect one end of the crossover hose on older Road Glides. Allow gasoline from the crossover connection to drain into the funnel.
Remove the acorn nut from the console with a box wrench. Lift, but do not remove, the console.
Pull and disconnect the fuel level sender and fuel pump plug in electrical connections under the console.
Disconnect the fuel line where it connects to the tank by pulling on it. Drain the remaining gasoline into the gas can.
Remove the rear fuel tank mounting bolt, nut and washers with a box wrench. Remove the front mounting bolt, nut and washers.
Lift, but do not remove, the tank. Disconnect the pigtail wiring harness connection under the tank.
Carefully remove the tank