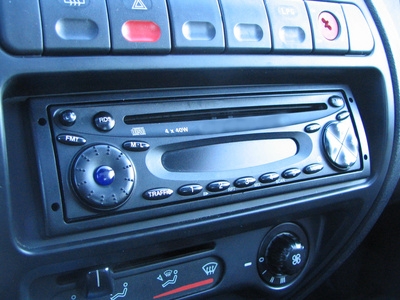
Manufacturers are constantly updating aftermarket stereos to include the most up-to-date features, such as DVD players, satellite navigation, MP3 players and mobile phone Bluetooth connectivity. The Cadillac Deville included a basic stereo with an AM/FM receiver and cassette player. Installation of an aftermarket stereo in a Deville requires adapting the radio-housing slot and wiring to enable the stereo to function correctly.
Detach the negative battery cable from the car battery terminal using an adjustable wrench.
Remove the two Phillips screws on the trim panel above the radio. Pull the trim panel away from the dashboard. Remove the two 7 mm bolt screws on top of the radio. Pull the ashtray to its extended position. Remove the 7 mm bolt behind the ashtray. Pull the radio out of the dash. Disconnect the wire harnesses and pull out the radio antenna cable.
Remove the plastic brackets attached to the old radio. Attach the brackets to the new radio's installation sleeve (provided with the radio). Attach the faceplate adapter to the assembly. Slide the radio into the installation sleeve.
Connect the radio antenna adapter to the radio antenna cable. Plug the adapted cable into the designated port on the rear of the new stereo. Connect the wire harness adapter to the three wire harnesses of the Deville and the wire harness of the new stereo. Push the connections together until they click into place.
Slide the stereo assembly into the dashboard housing, taking care not to trap any of the wiring. Secure the mounting the dash using two 7 mm bolts. Reattach the plastic dash panel, sliding the top in first. Reconnect the negative battery terminal. Turn on the new radio, to test the installation.