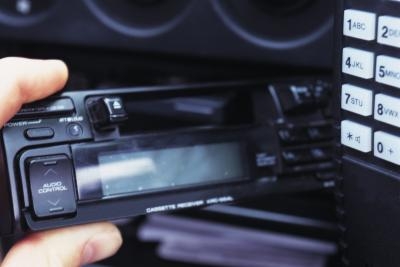
The Hyundai Sonata has been in production since 1985. It is a popular and reliable car; however, older models may need an upgrade to their audio systems. Newer Sonatas come equipped with a remote amplifier, a digital display that Hyundai calls a command module and XM satellite capability. It is very unlikely that any wiring or upgrades would be needed in these cases. Older units, though, are very user-friendly for both stereo and speaker upgrades.
Pull off the radio trim panel. The Sonata has spring clips on the back of the panel. These clips push in with a snap and pull straight off with very little effort. On a few models, there may be some exposed screws that need to be removed, but the vast majority of trim panels will pull off.
Remove the radio. The radio has four screws that mount it in place, two on each side of the unit. Remove the screws and pull the radio out. Unplug the connectors and set the radio aside. Attach a wiring adapter kit by plugging in the connector to the existing wiring harness. This will allow you to install a universal, aftermarket radio without cutting and soldering the harness wires.
Install the radio mounting kit into the new stereo system. This kit allows for slide-in compatibility with the factory mounting requirements. The kit either snaps into place on the stereo chassis or is held in place by screws.
Install the radio and replace the trim. Plug in the wiring connectors and the antenna lead. Slide the unit into place and reinstall the four screws. Snap the trim bezel into place and test the radio for operation.