When planning to upgrade the factory radio in your 1999 Ford Explorer you will need to remove the old radio before installing the new one. The factory radio is secured into the dash with plastic clips that you will need to release with a special tool. You can install a radio in a 1999 Ford Explorer once you have decided on the type of new radio to use in the vehicle.
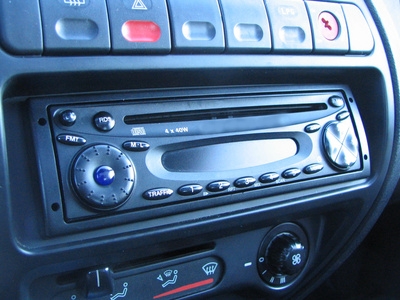
Find the two small holes that are located on each side of the radio.
Insert the ends of the DIN tool into the holes. Push the DIN tool outwards to close the clips on the radio inwards. Pull the radio of the dash.
Unplug the antenna cable and then disconnect the wiring harness on the back of the radio.
Connect the wire harness connector to the radio. This will allow you to use the existing wiring harness without cutting any of the existing wires.
Attach the antenna cable to the new radio. Connect the wiring harness to the wire harness connector on the radio.
Place the DIN sleeve into the installation kit and then insert the installation kit into the dash.
Insert the new radio into the kit to complete the installation.