Electronic brake controllers come in a wide variety of configurations and options to assist tow vehicle drivers with stopping a load. "Pod" brake controllers, also referred to as "power on demand" controllers, provide trailer stopping power without requiring level mounting. The ability to mount a pod controller on vertical surfaces or in odd locations provides drivers with an opportunity to tuck the brake controller in tight locations and still have full control over the trailer's brake systems.
Connect the supplied pigtail wiring harness into the electrical connection port on the rear of the pod brake controller. Purchase a wiring harness specific to your vehicle application from your vehicle's manufacturer, and plug that harness into the recommended connection portal. Place the pod controller inside the cab of the vehicle near its final mounting location.
Connect the coinciding wires from the controller wiring harness and vehicle wiring harness using electrical butt connectors. When an application specific wiring harness is not available, you may follow a universal wiring method to supply power to the pod controller. In this case, connect the white wire from the back of the controller to a ground, the black wire to the vehicle's positive battery terminal, the blue wire to the trailer connector and the red wire to the vehicle's stoplight switch.
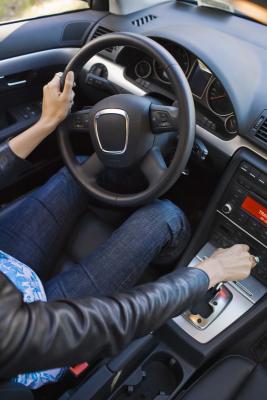
Mount the pod controller once the wiring is complete. Identify a convenient location to mount the controller where it can be reached at all times by the driver. Pod controllers do not need to be mounted at a specified angle and may be mounted vertically, upside down or horizontally.
Place the mounting bracket on the mounting location and insert two #6 by 3/8 inch screws into the holes at the top of the bracket. Secure the screws to the dash board using a cordless drill. Slide the pod brake controller into the mounting bracket and insert two #6 by 3/8 inch screws on each side of the controller to secure the controller inside of the bracket. Gently tighten the screws using a screwdriver.
Test the functions of the controller by hitching a trailer to the tow vehicle and monitoring braking performance at speeds below 25 miles per hour.