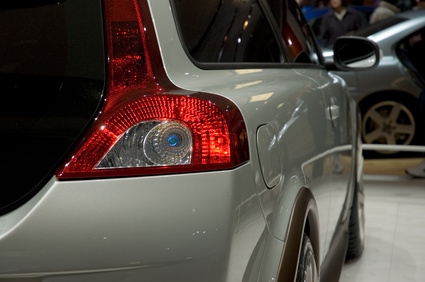
Replacing the taillight of your BMW requires knowing the year and model of your vehicle to ensure a correct and secure fit for your new taillight lens. Learning the process of removing and replacing your BMW taillight lenses provides a do-it-yourself project that upgrades the rear of your car and also prepares you for installing parts such as taillight bulbs and rear turn-signal lenses.
Open your trunk. Locate the trunk lamp lens located behind your right taillight. Push the plastic tab on the backside of the trunk lamp lens toward the lamp lens to pop out the bulb socket housing.
Pull out the plastic wire harness located on the back of the bulb socket housing to disconnect the electrical wires.
Remove the button fastener located below the bulb socket assembly on the trunk lining of your BMW trunk with your slotted screwdriver to loosen the carpet lining.
Pull the carpet lining back to expose the three 10-mm nuts that hold the taillight lens in place. Remove the nuts with your 10-mm socket wrench, and place the nuts aside for re-installation.
Pull the old lens from the outside of the trunk by hand to remove it from the car.
Push the new taillight lens into place from the outside of your trunk. Bolt the three 10-mm nuts set aside in Step 4 back into the taillight fixture with your 10-mm socket wrench to hold your lens in place.
Press the carpet back into place so that it covers the exposed nuts and fixture. Screw the button fastener into the carpet lining using your slotted screwdriver.
Push the plastic wire harness back into the bulb socket to reconnect the electrical wiring. Push the bulb socket housing back into place behind the trunk lamp lens so that it clips in.