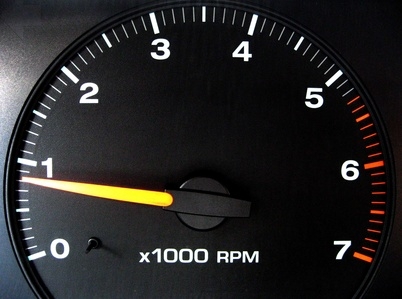
Stock gauge clusters often come in white, black or red. When you're driving your car everyday, it becomes a little monotonous looking at the same gauges all the time. An easy way to change that is to install a colored gauge cluster. The colored gauge cluster looks identical to the factory cluster, but changes the color schemes. You can change the color of the gauge cluster on any vehicle, including a Dodge Ram.
Turn the key of your Dodge Ram in the ignition to the first position, called "AC." This will zero out your gauges. Insert your needle tool underneath the left air vent next to the steering wheel and gently pry it up and out.
Remove the screw underneath the air vent using the T15 bit. Pull up the small air conditioning control panel to the right of the steering wheel and remove the screw underneath it using the T15 bit.
Remove the two screws that are over top of the gauges with the T15 bit. Pull the plastic piece that covers the top of the gauge cluster until it pops out.
Grab the top corners of the plastic gauge overlay and pull gently until the two clips pop out. Grab the center of the plastic overlay and pull until the entire overlay pops out.
Remove the four screws on the corners of the gauge cluster using the 7mm drill bit. Pull the gauge cluster out. Turn the key to the off position and unplug the wire harness that is plugged into the gauge cluster rear.
Push down on the clips that hold the cluster lens in place and it will pop off. Twist the gauge needles down.
Pry each gauge needle up and off using the needle tool. Pull the gauge overlay off. Put your cloth gloves on to avoid smudging, and place the new gauge overlay on the gauge cluster. Some overlays come with adhesive backing, so pull off the film off the back first to expose the adhesive and place the overlay into place.
Plug the gauge cluster back into the vehicle without the lens and needles installed with the vehicle off. Push the cluster back into place. Turn the key to the "AC" position and place the needles back onto the gauge cluster at the zeroed-out position. Do not push the needles down too much or they will not move properly.
Place the lens back onto the cluster and push down until it clips in. Tighten the four screws that hold the cluster onto the dash. Place the plastic overlay over the lens until it snaps into place. Insert the plastic top cover of the dash and push it into place. Tighten the screws behind the air vent and small control panel, and place the vent and control panel back into place.