Dash lights are a unique twist to personalize the interior of your vehicle. You can choose a color of LED lights to add to the instrument panel. This task is easier than you might think and can be completed yourself.
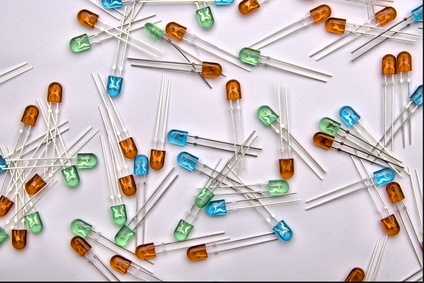
Find a color you would like for your LED lights and make sure they are high MCD output. A wider viewing angle is better for the lights because it means the light will be illuminated and spread out more. Look for a degree when choosing the LED lights. A higher degree is better.
Determine the amount of resistance the LED lights will need from measuring the input voltage in your car multiplied by the volts the LED is rated at divided by the amps the LED light will use to come up with the ohms of resistance needed.
Use a flathead screwdriver to remove the screws from your dash cover around the instrument panel and use a wrench to remove nuts holding the instrument panel to the dashboard.
Find the speedometer cable by reaching through the instrument panel opening and squeezing the tab on the cable.
Paint the back reflection plate on the instrument panel with a high-gloss white paint to make it reflect the LED light more.
Take the gauge cluster out of the instrument panel. There may be some wires to unplug from the gauges. Use a permanent marker to mark the positive and negative wires on the back of the gauge cluster. Use two different colors to mark positive and negative.
Take the bulbs out of the bulb sockets and use a flathead screwdriver to bend the two contacts from the bulb off the socket. Pry the wires off the bulb using small needle-nose pliers. Take a small piece of plastic or other material that is not conductive and a slightly smaller size diameter as the bulb socket for the LED to be placed.
Place the LED light into the bulb socket and solder the negative side of the LED to the negative side of the bulb wire. The negative wire is the shorter wire. Solder the positive side of the resistor to the LED light and solder the opposite end of the resistor to the vacant positive connecting wire in the bulb socket.
Use a marker to mark the positive area on the bulb socket. Place the bulbs back into the gauge cluster and align the positive wiring with the instrument panel. Insert the instrument panel back into your vehicle dashboard and tighten into place. Plug the wiring back into the instrument panel and reinsert the speedometer cable. Test the LED lights by turning on your lights.