The Mazda Miata has been an incredibly popular car since it was introduced. Mazda took the best aspects of classic roadsters, specifically the English-built Lotus Elan, wrapped it up in some retro styling, powered it with reliable Japanese engineering and had an instant hit on their hands. Over time, though, the Miata’s carpeting, like any car and especially a convertible, takes a beating. At some point you may want to replace your Miata’s carpet so that the interior can look its best.
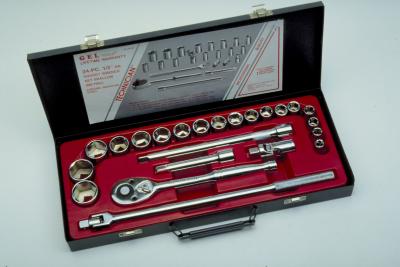
Remove the driver and passenger seats and seat belts with a 14-mm socket and ratchet. Disconnect the seat belt warning light located under the seats. On 1.6-liter models remove the driver’s side foot rest with a 10-mm socket.
Remove the shift knob by unscrewing it from the shift lever. Remove the five screws that hold the center console in place and remove the center console. Some of the screws are hidden under the center insert and the cup holder. Unscrew and remove the two side rails. Disconnect any wires that may be attached to the center console.
Remove the black plastic carpet retainers by sliding a sharp tool under the retainer and working it out in a back and forth manner, being careful not to break them. If you do, the new kit comes with a bag of retainers.
Remove the screw or retainer (depending on the model) that holds the carpet in place behind the seat belt mount. Remove the old carpeting behind the seats. Pull the rear deck out of the car. Do not throw the sound-deadening pad away as you will be reusing it.
Cut the old carpeting down the middle where the center console was installed, ensuring that you don’t cut any wires as you go. Cut the carpet where it meets the edge of the dash. Remove the carpet welting from the front and back of where the door opening is. Pull the rest of the carpet from under the kick panes and the rear side quarter panels.
Vacuum the interior once the carpet is out so that you have a clean surface for the glue. Cut holes for the seat belts in the side padding before gluing it down. Glue the side rail padding in place. Glue the floor padding and the center console padding in place. Hold the adhesive about 10 inches from the car and spray two to three layers on, allowing it to set up for few minutes.
Check the carpeting for fit and determine where the holes need to be cut for the seat belts. Glue the side rail pieces and the center console onto the carpet padding. Make sure the vinyl strip on the edge of the carpet goes to the top and lays under the door jam piece. Trim the carpet with scissors if it is too wide. Tuck the extra edges of carpet under the kick panels, rear quarter panels and under the dash with a putty knife.
Install the center floor padding and trim the padding so it just meets the overlapping edge of carpeting to avoid a bulge in the carpet. Cut holes for the seat mounts. Test fit the carpet, and carefully cut holes for the seat mounts and seat belt wires. Glue the carpet in place.
Install the rear kick-up carpet pieces using the supplied carpet retainers and lining them up with the marks on the back of the carpet. Reinstall the rear deck pad and use the carpet retainers to install the carpet. Install the seats, center console and shift knob.