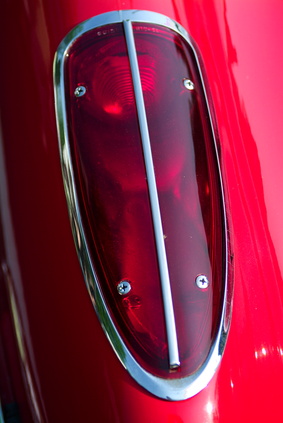
Taillight, fog and turning signal lenses can suffer abuse from the elements, particularly from water and sun. Road debris; rocks, sticks, mud and other objects can strike the lens, inflicting deep gouges and surface scratches. Water that has seeped through the seal can rust socket parts, further discoloring the lens with a brown crust. Some lenses can become so obstructed with fog-like scale, they are unable to pass light through them. Lenses that offer no or weak light signatures through them can lead to accidents, hampering oncoming or trailing drivers, who cannot see the light indicators. In severe cases of obstruction, equipment citations can be levied by law enforcement. Any vehicle owner can accomplish the task of restoring lenses with some skill and a few basic products from the hardware store.
Use a Phillips screwdriver or socket to remove the lenses that you wish to restore. Be sure to label them to make the reinstallation process easier. Keep all mounting screws with each lens in the precise location from where they were removed. Remove any gaskets or rubber seals, keeping them with the same lens.

Wash all of the lenses inside and out with soap and water. Do not use any abrasive cleansers or harsh brushes. Remove any stuck-on gasket material by gently shaving the contact surface with a razor blade or scraper. Dry the lenses with a soft terrycloth towel.
Take the 120-grit wet sanding paper and dip it into a cool pan of water. Apply medium sanding strokes to the inside of the lens, using two fingers to apply the pressure. Use circular sanding motions, starting at one end and then finishing at the opposite end. This procedure should take between 10 to 15 minutes to accomplish. This first stage of heavy grit sanding will remove the deepest scratches. Rinse off the lens and wipe it clean to check your progress. Note: Perform this task on the outside of the lens to remove exterior scratches.

Use the 320-grit wet sandpaper with the same motions. Spend about five minutes sanding the inside and outside of the lens. Rinse with clean water and dry. Inspect the surface to see if the scratches have disappeared. If they have, use the next grit sandpaper (800) and repeat the process. Work through each step, using the 1500 next, and then finally the 2000 grit. Use soap and water for the last cleaning stage.

Take a dab of plastic polish and vigorously rub it into the lens surface, using circular motions. Apply a new small dab after a minute of polishing. Spend about three to five minutes with each lens. Use a dry terrycloth towel to buff the lens to a luster.
Use a high-grade, water-resistant car wax as a final coat to the interior and exterior of the lens. Note: This step is not required, but it adds protection to the plastic surface and wards off contaminants. Reassemble the lenses in the correct order.