You can really change the look of your car by painting the wheels. Maybe you want to match your car color or possibly the original chrome is just tired looking or damaged or you want to keep and restore Classic irreplaceable wheels. Whatever your reason, you can create a dramatic change to the look of your car by painting them any color under the sun, with a hard glossy finish that will shine on for a long time!
Many of the "Things Needed" have to do with the prep work. If your wheels are already smooth, you are that much closer to actually painting. In any event, start out by thoroughly washing the wheel.
Prepare your wheel. This will always include hand-sanding with the 120 to 320 grit sandpaper, to remove all the gloss from the current finish and prepare for primer. If your wheels are rough and pitted with rust, have knicks and scars, are greasy or generally damaged, there is more work involved. If you are working on chrome, you must get below the surface so that finish is dull. The point here is to get the wheel completely smooth and ready for primer.
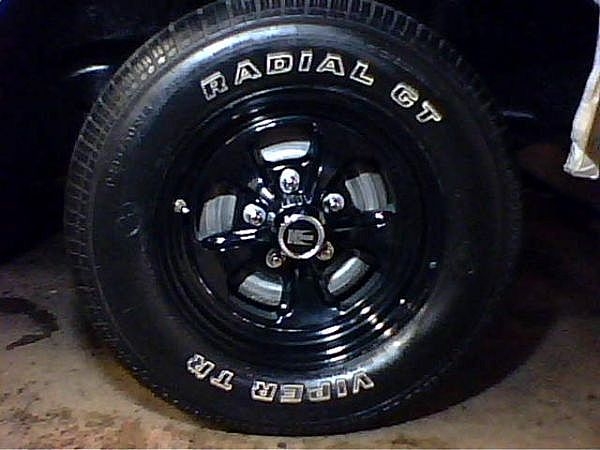
Here is what my chrome wheels looked liked before I restored them. It would be very long article to take you step by step regarding the entire process of prep work here. Let's assume that your wheels are prepped and almost ready for primer.

Create a dull smooth finish from your sanding. End your prep work with a final light sand using 600 grit sandpaper to remove any small bumps, flaws or debris. Use a tack rag now to remove any remaining dust.
If the tire is still on the wheel, tape around the outer edge of the wheel onto the tire. Trace out and cut a shape similar to a half moon from your cardboard which will act as a shield from over spray. You will slip the edge of the cardboard between the outer edge of the rim where it meets the tire, holding up at an angle when painting.
Lay the wheel on a flat surface with good overhead lighting, put on your face mask and be sure you have good ventilation. You are ready for the primer.
Spray 2 to 3 coats of primer on the wheel. Wait till it dries and lightly sand it smooth using a 600 grit sandpaper or finer. Use your tack rag and get ready for painting on the color.

Spray 2 to 3 coats of your color paint. If you end up with runs or imperfections you will have to wait till the next day to repair using a very fine grit paper wet sanding to remove the flaws, then use rubbing compound to bring the shine back and level out the paint. When you are satisfied with the way the paint looks and feels you can go right into spraying on the clear coat.

If you used rubbing compound on the paint, wash off any remaining compound with clear water before applying clear coat. Spray 2 to 3 coats of clear coat and let dry overnight. Use 1000 to 1500 grit paper and wet sand any burrs or imperfections. Use fine rubbing compound to bring back the shine and you can apply a carbona wax for even more lustre and protection!
