Cars manufactured before 1995 will eventually lose the charge in the air conditioning system and require additional Freon. The problem is, those vehicles have R12 in the air conditioning system, which is extremely expensive and difficult to obtain. In 1994, the EPA passed a law requiring vehicle manufacturers to switch to a more "environmentally friendly" alternative. For those who want to repair an older air conditioning unit, consider retrofitting your system to R134a.
Take the vehicle to a certified air conditioning repair shop to recover the R12 remaining in the system. Federal law prohibits the escape of R12 into the atmosphere. Now, return home to compete the retrofitting.
Attach the high-pressure adapter to the existing high-pressure service outlet by finger-tightening the fitting over the existing R12 service port.
Attach the low-pressure adapter to the existing low-pressure service outlet by finger-tightening the fitting over the existing R12 service port.
Attach the charging hose in the conversion kit to one can of R134. Screw the end of the hose with the T-valve directly onto the can.
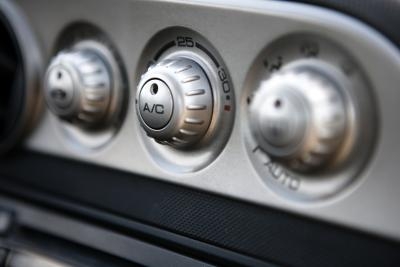
Start the vehicle's engine. Turn on the air conditioning and set it to the highest fan setting.
Turn the T-valve on the top of the hose slowly to puncture the can. Then, slowly open the valve to allow Freon to enter the charging hose. This will expel the air from the hose, so it is not caught in the system.
Attach the other end of the charging hose to the low-pressure fitting on the system and open the T-valve allowing Freon to flow into the system. Continue filling the system until it reaches 90 percent of the original R12 capacity, or the air in the car blows cold. Check the owner's manual for the vehicle's R12 capacity.
Turn the T-valve off entirely and keep the hose attached to the can (if not empty, it can be used to add additional Freon when needed).