Your car has several miles of wires connecting all the electrical equipment to the power source, such as the battery and alternator. This amount of wiring means problems in the wiring circuit can be daunting, and most of the wiring is difficult to access. However, every item of electrical equipment in your car is wired through one or two central places -- the fuse boxes. Using a multimeter to test the wiring in the fuse boxes allows you to test each circuit individually.
Remove the cover from the fuse box so you can access the fuse wiring to test the electric circuits. Look on the inside of the fuse box cover to find a diagram of the electrical equipment each fuse regulates.
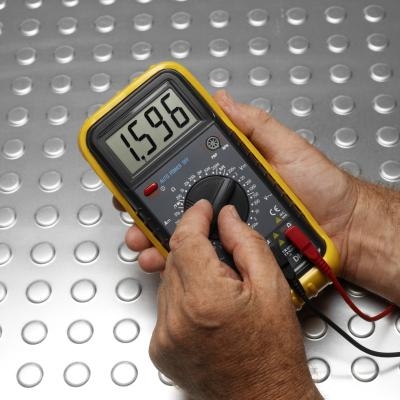
Turn on your multimeter and set it to measure voltage. Attach the small alligator clip on the end of the black wire from the meter onto a bare metal surface near the fuse box. This connects the negative electrical supply to the meter. The fuse box wiring contains all the positive connections.
Using the diagram on the inside of the fuse box cover as a guide, place the clip on the end of the red meter wire onto the wire going to the first fuse in the box. It's best to start at the top left-hand corner then work left-to-right and down.
Look at your multimeter display to check the first electrical circuit. You get a reading of about 12 volts if the circuit is wired correctly. The voltage may be slightly less, depending on the charge in your battery. If you get a very low voltage reading, or no reading, you have a fault in the electrical circuit.
Place the clip on the end of the red wire onto the next wire going to the second fuse in the box. Repeat the test. Continue to repeat the procedure until you have tested all the electrical circuits. Make a written note of any electrical circuits that are not registering a measurement on the multimeter. Those will need to be checked out.