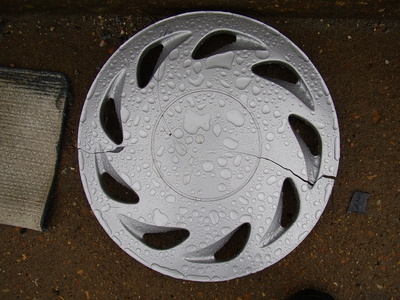
Hubcaps are decorative pieces of metal or plastic that cover the outside of a vehicle's wheel. They do not serve any mechanical purpose and are strictly for aesthetic purposes. Most hubcaps are secured on a wheel by means of plastic clips that secure into a groove. Some hubcaps are fastened with bolts that are threaded into place. Therefore, installing hubcaps usually takes nothing more than a little elbow grease.
Examine your vehicle's hubcaps to see whether they are bolted into place with a lug nut or snapped into place with clips. If there are spaces for bolts or nuts on the face of the hubcap, you will need a wrench to install the cover.
Remove any old hubcaps if you are replacing existing covers. If they are fastened with bolts, remove the nut with a wrench and pull the hubcap off. If the existing hubcap is simply fastened in place, slide a screwdriver behind the hubcap and pry it off.
Insert the new hubcap in alignment with the bolts that will hold it in place on the wheel. Make sure the hubcap is not covering the tire's valve stem. Tighten the nuts snugly with a wrench. Repeat for all wheels. If the hubcap snaps in place without the use of bolts, push the hubcap onto the wheel and tap the edge with with your feet to make sure it is secured tightly. Again, repeat for all wheels.