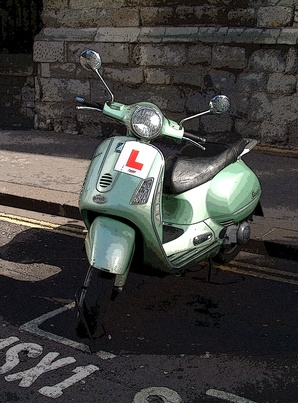
Most scooters that have a manual gear system use a clutch to engage and disengage the transmission gears. This setup is activated via a cable system that pulls on a lever on the outside of the engine. The clutch is activated by pulling on the cable, allowing the transmission cursor to move between gears. Adjusting the clutch for better performance can be done via a few tools and a willingness to get dirty.
Park the scooter in an open area that permits you to work above and underneath the vehicle. Provide sufficient lighting, inspect the engine and find the end of the clutch control cable. Activate the clutch to confirm which cable it is. Use a phillips or flathead screwdriver as needed to unscrew securing hardware and remove any body parts in the way.
Look for the end of the clutch cable and locate the end of the cable housing where the cable becomes exposed. Find and twist the adjuster nut at the end of the cable housing using two crescent wrenches. Unscrew the adjuster-secure-nut slightly from the engine casing so that it spins freely. Unscrew the nut from the casing with the large crescent wrench, making the cable housing tighter. Make minor adjustments, continuing to tighten the clutch cable until the scooter's clutch-handle-lever achieves appropriate tension.
Re-tighten the securing nut on the adjuster nut to keep it in place. Use the shop rag to clean up any grease. Re-install any body parts removed to provide access, securing the parts with a screwdriver and the originally removed hardware.
Disconnect the engine from the scooter by using a socket wrench and crescent wrenches to unbolt all connections, including the swingarm, rear suspension and rear wheel. Loosen any control cables. Disconnect the fuel line with a screwdriver; disconnect any electrical wiring by hand. Lift the free engine and place it on a workplace so you can easily access the clutch side of the engine.
Use a socket wrench and sockets to unbolt the engine case and expose the clutch assembly. Disconnect the drive chain if necessary. Use a socket wrench and clutch nut tool to loosen the clutch. Move the clutch off its axle with a wood or plastic lever.
Remove the loosened clutch. Compress the clutch with a compression tool if it is a plate-type design. Remove the lock-ring and then decompress. Remove the old clutch springs. Use calipers to release the springs if the clutch is an overlapping rotational design. Use new, upgraded springs and install them in the clutch assembly. Bathe the plates with gear oil if rebuilding a plate-type clutch. Re-compress the clutch to install them in a plate-type design. Use calipers to reconnect the new, stronger springs in an overlapping design.
Put the reassembled clutch back into the scooter engine. Push it in until it is seated. Make sure to re-install the woodruff key to secure it on its axle. Screw on the clutch nut by hand and tighten it with a socket wrench. Refer to your scooter manual for factory tightness specifications. Close up the scooter engine with a new engine gasket and clutch side-cover. Re-tighten all the engine bolts that were originally removed.
Lift the rebuilt engine back down and place it in the scooter. Bolt the swingarm onto the scooter with a socket wrench and reconnect the rear suspension. Bolt on the rear wheel. Reconnect all the electrical wiring by hand, and reconnect the fuel line with a screwdriver. Reconnect all control cables. Clean up any remaining mess. Start the scooter and take it for a drive, testing the clutch to confirm adequate performance.