Volkswagen's GTI has been the German automobile maker's signature car for the past 30 years. It offers something for everyone, targeting both the young and old. Many GTI owners enjoy wrenching on the car themselves. Removing the door panels on a GTI can be a tedious task, but it's certainly doable.
Open the door and roll the window all the way down.
Wrap one or two pieces of electrical tape around the tip of the flat-head screwdriver to prevent any damage to the interior pieces. Pry the inner handle piece out of the door handle. Go at it from under the handle. Remove the piece completely.
Grab the rear part of the handle that is still connected and pull it up slowly. It will snap out of place.
Disconnect the wiring that's attached to the handle to remove it completely.
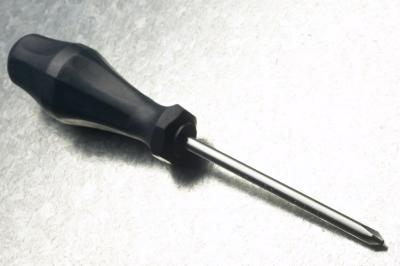
Locate the three large screws and remove them using a Phillips screwdriver.
Locate the three T20 torx screws at the bottom of the door panel. Remove them using the T20 torx screwdriver.
Find the small screw on the side of the door panel toward the inside-facing panel near the top. Remove that screw using the Phillips screwdriver.
Pull off the door panel starting with the lower left part. There are a total of six snaps connecting the door panel.
Pull the door panel up from either end to release it from the window seals. At this point, the door panel will be held on by nothing more than the electrical wiring.
Remove the door-lock cable. Grab the front edge of the retaining clip and pull outward. Slide the clip toward the back of the car. Unhook it from the unlock handle.
Disconnect the remaining electrical connections by unplugging them. Remove the door panel.