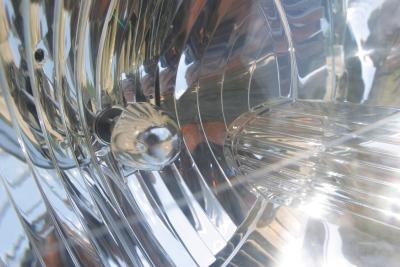
The 2007 Saturn Vue uses a two-bulb headlight system and contains a marker/turn signal bulb in the outboard portion of the headlight assembly. The center bulb is the low-beam bulb and also fulfills DRL or daylight running light duties. The innermost bulb near the grill is the high-beam bulb. All three bulbs for the front of your Saturn are available at most auto parts stores and at Saturn dealerships.
Turn off the headlights and open the hood of your Vue. If they have been on, allow the headlights to cool before replacing any of them.
Locate the two TORX screws in the top of the fascia just inboard from the headlight assembly. Remove the screws with a TORX driver and set them aside. You can purchase a TORX driver set at most auto parts stores.
Locate the two screws above the headlight assembly and remove them with your TORX driver. Set these screws aside as well.
Locate the opening in the radiator support between the two mounting screws on the headlight assembly. Insert a screwdriver with a long shank in the hole and push the locking tab on the base of the headlight assembly down and to the rear. Pull the headlight assembly out of your Vue until you can access the connectors on the back.
Disconnect the wiring harness connector from each bulb you are replacing by releasing the locking tab on the connector and pulling it off the bulb. Rotate the bulb assembly counterclockwise and remove it from the headlight assembly.
Install the new bulbs in the headlight assembly and turn the bulbs clockwise to lock them into place. Install the wiring harness connector on the back of the new bulbs, making sure to seat the connectors completely on the terminals of the bulbs.
Slide the headlight assembly into position on the front of your Vue until the locking tab in the bottom engages. Install the two upper mounting screws and tighten them with a TORX driver. Install the two retaining screws in the fascia and tighten them with a TORX driver.
Turn on the headlights and test the bulbs to ensure that the repair was successful. Close the hood or move to the other light if you need to replace a bulb on the opposite side, in which case you will need to repeat the above procedure..