Your Toyota Previa's headlights are important for illuminating your path when you drive in low light. The headlights also provide a way for other drivers to see your van on the road at night. When a bulb burns out, you should replace it right away for your own safety. The headlights on a Toyota Previa do not require any tools to change, and can be done in your own driveway. Buy replacement bulbs from an auto parts shop or Toyota dealership.
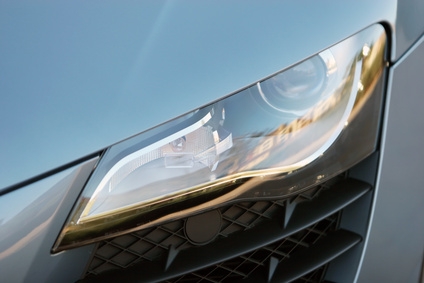
Open the hood of your Toyota Previa. Locate the rear of the headlight assembly just inside the engine compartment.
Reach behind the headlight assembly and turn the black retaining ring counterclockwise to remove it. It should only turn ¼-turn before it releases. Pull the headlight bulb straight out of the assembly and disconnect the wiring harness from the socket.
Insert the new headlight bulb and connect the wiring harness. Reinstall the retaining ring and twist it ¼-turn clockwise to secure the bulb in the assembly.
Repeat the process for the headlight on the other side of your Previa. Test your lights to be sure they are functioning as intended.