On many late-model cars, replacing the cabin air filter is an easy, fast and straightforward job. The Honda Pilot, however, has an interesting design flaw that makes replacing its cabin air filter a little more difficult than average. It's worth the work, however. With a fresh air filter, your passenger compartment can get the benefit of cleaner, fresher smelling air, and you'll get better air flow through your vents, too.
Open the passenger side glove compartment and take everything out.
Look on the side walls of the glove compartment, and you'll see a black plastic clip in the middle of each side. Squeeze these plastic clips at the same time to dislodge the glove box, then pull the glove box down and forward. It is mounted to hinges that reach farther back inside the dashboard, so it won't come out completely.
Look for the gray piece of molded plastic that stretches horizontally across the lower part of the glove compartment bay. This plastic covers a metal bar that you need to remove to open the air filter case, so it has to go. The easiest way to do this is to just cut it off at both ends with a sharp utility knife. If the utility knife isn't working for you, a keyhole saw may be an easier tool to use in such tight quarters.
Remove the metal bar that was under the plastic by loosening and removing the screws on either end.
Look at the cabin air filter case, which is the large black component on the left side of the glove compartment bay. The removable door to the case should be clearly marked. Release the latch and remove the door.
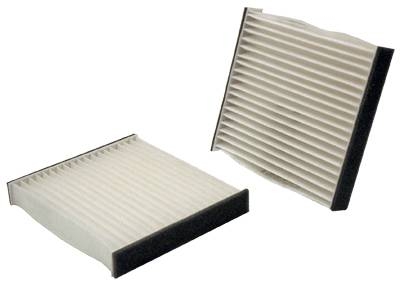
Pull out the old filter and throw it away.
Slide the new filter into place, making sure the air flow direction arrows on the filter match the air flow direction arrows on the filter case.
Replace the door to the cabin air filter case.
Replace the horizontal metal bar by screwing its two screws back into place.
Push the glove compartment back up and into place. It will make a clicking noise when it's locked in place. Replace the contents of the glove compartment.