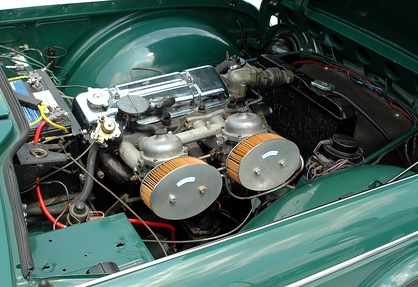
There are a variety of things to look for when checking the engine on a vehicle, such as the Nissan Quest. Although nuances between years and specific models of the vehicle may differ, many of the basic procedures for checking the engine will be the same regardless of the model. Knowing a little about car and vehicle maintenance can help to save you both time and money in the long run, as you become more familiar with diagnosing and solving some common engine problems on your own.
Plug an OBD II scanner onto your OBD II port, which located underneath the steering wheel on a panel containing a trapezoidal-shaped connection that fits into the OBD II scanner's input. If the Nissan Quest is signaling the check engine light, then the OBD II scanner will tell you what problems the vehicle's computer system is sensing. The code may indicate a component is not working, such as a sensor. However, it will not tell you whether it is the sensor itself that has failed or if it is the wiring that is part of the electrical system which connects with the sensor.
Check the engine fluids, starting with the coolant, which should be done while the engine is still cold. Open the radiator cap to check the fluid level and look at the fluid reservoir to see if the fluid is between the maximum and minimum lines. Add more fluid if the coolant is low. Low coolant levels, which inevitably accompany coolant leaks, are dangerous to your Quest as it could lead to overheating and permanent engine failure. Coolant leaks look like a rainbow-oily substance found beneath your van.
Remove the oil dipstick in order to check the oil level. Wipe the dipstick clean with a rag and reinsert it into the dipstick tube. Remove the dipstick again and inspect the oil level by looking at the max and min lines printed on the dipstick. Add more oil by pouring it through a funnel placed in the oil cap of the valve cover. Always check the oil again once you have added oil to the engine to make sure that it is at the correct level.
Inspect the engine for oil leaks, which are indicated by pools of oil beneath the vehicle as well as carbon deposits and buildup around the gaskets where the oil is circulated. One of the more common leaks usually starts with the front valve cover. If you have a leak, unbolt the front valve cover and use a screwdriver to remove the old gasket. Insert the new gasket and bolt it back on to the lower valve cover.
Check the tension on the drive belts by depressing them in the center of the belt, exactly between two pulleys. The belt should deflect 1/4 inch if the belt distance is 7-11 inches between pulleys. The belt should deflect up to 1/2 inch if the distance between pulleys is 12-16 inches. If the belts are too loose, tighten them by turning the adjustment bolt with a socket wrench.