The last time we did an install on our DSNV Nissan 2500 van, we installed 19 Rigid Industries lights. This time, Nissan installed a trailer hitch for us. What are we going to be towing, you ask? Our new trailer hitch from Nissan allows us tow our Dirt Sports + Off-Road Kawasaki Teryx. EBC Brakes also gave us some cool new shoes for our van. The brakes will give us the stopping power we need when towing the trailer with the Teryx.
Lay it Out
It’s important to remember to lay everything out when your box of parts arrives. Take inventory of every nut, bolt, and screw. Don’t lose anything. If it’s enclosed in the box, it’s there for a reason. You shouldn’t have extra parts if the hitch was installed correctly. The same goes for your brakes. If you are going to have a professional install the product, they are going to lay everything out and take proper inventory. It’s also important to consult the installation guide and start from step one. Cutting corners can result in part failure and may also void your warranty.
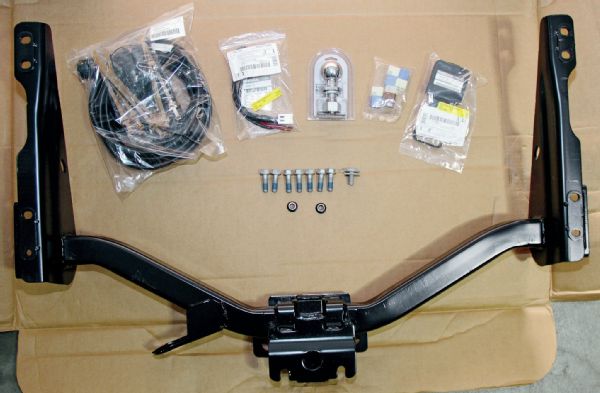 Lay all the pieces out and take inventory of what you have.
Hitched
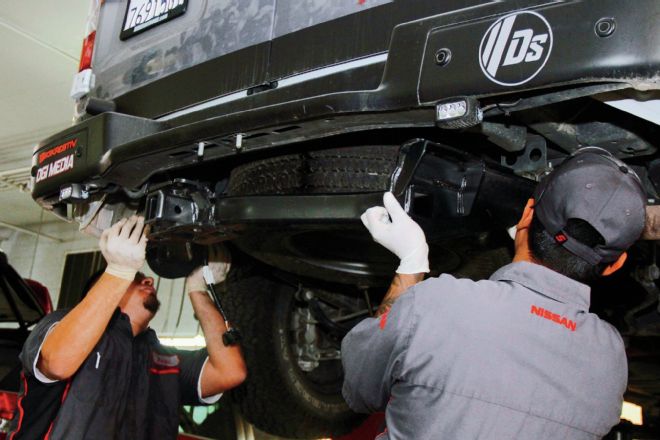
Our Nissan NV2500 is built around the Nissan Titan truck chassis and already has wiring and fuse box connections for a hitch kit. If you know what you are doing, the hitch can be installed in under an hour. The first step is to connect the wiring harness to the existing connector, usually found tucked underneath the engine. Once the harness is properly connected, run the wiring harness to the back of the vehicle. This will connect right into the hitch. Speaking of the hitch, they are a bit heavy, so you may want a partner or two to help you lift it into place. The instruction manual will show exactly which bolts to connect to the underside of your vehicle. Once the hitch is properly fitted into place underneath your vehicle, properly tighten the bolts that will hold the hitch into place and connect that wiring harness. You also want to make sure you didn’t disconnect any of your rear signals while making the connection. It is always best to test your brake and turn signals to be sure they are working properly.
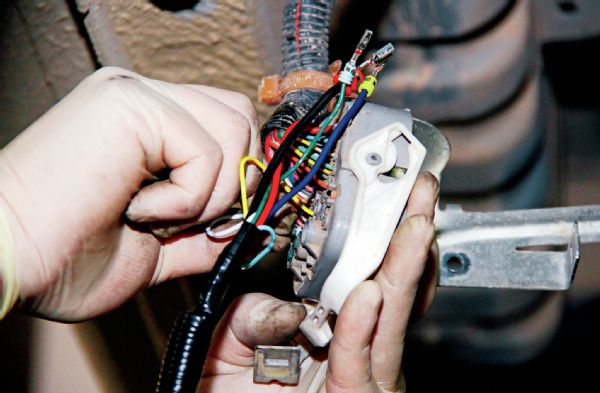 Make sure you properly connect the wiring harness to your electrical system consulting the installation guide.
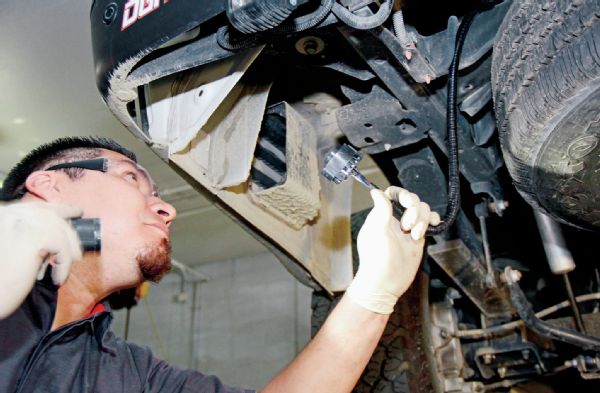
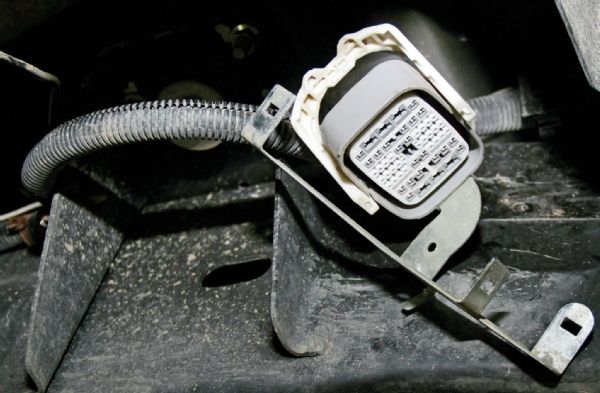 The NV2500 is based on the Titan truck chassis and usually has an existing connection for trailer harness wiring.
 Once the harness is properly connected, run it to the back of the vehicle where the hitch will be installed.
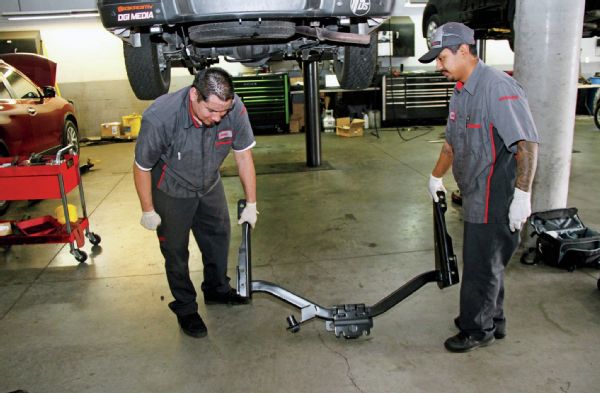 The hitch is heavy, so you may want to enlist a partner or two for help.
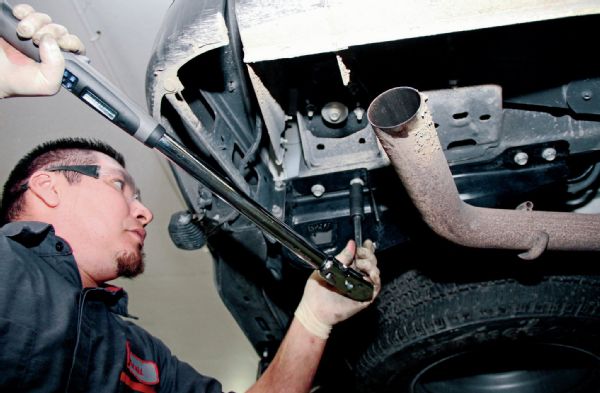 Once the hitch is in place, be sure to tighten all of the bolts as well as connect the wiring harness.
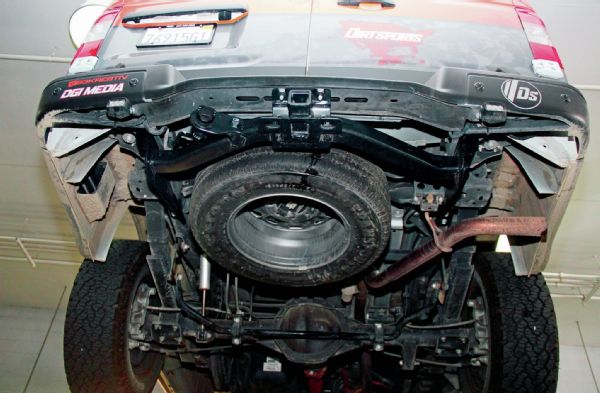 Here is a look at the completed hitch install on the DSNV 2500.
Stopping Power
EBC Brakes has been around for a couple of decades. EBC has a worldwide market position, selling brakes for just about any vehicle including motorcycles. Their famous brake pads are color coded in green, yellow, blue, red, and orange to help customers select the right ones they need. EBC has also been a popular choice among racers with their “EBC Yellow Stuff” courted by the Subaru Challenge. EBC has manufactured brakes for military applications, such as the Humvee. If you are going to stop one of those beasts, you know you are going to need a lot of stopping power. Exactly why we want EBC Brakes on the NV2500. The brake install is also simple. Once you have removed the wheels and tires, make sure you use a hanger to hang the brake caliper with and it’s not left dangling somewhere. Next, you can remove the stock rotor and replace with EBC’s performance rotor. Remove the stock pads from the caliper and replace with EBC’s pads. Be sure to use the supplied grease and apply as described in the installation guide. Once that is complete, properly fit the caliper back over the rotor and put your wheels and tires back on your vehicle. On some vehicles you may need to bleed your brakes, getting any air bubbles out of the system. You may need to consult your vehicle owner’s manual on the proper procedure for this. It’s also important to pump the brake pedal several times to build up friction before taking off and expecting them to stop properly.
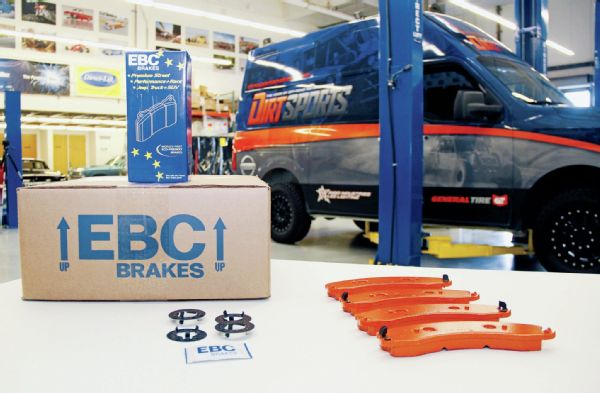 EBC supplied us with their performance brakes.
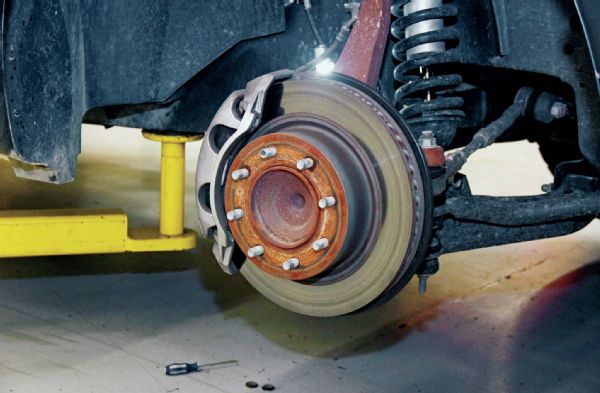 Once the wheel has been removed, the next step is to pull the stock shoes and rotor off.
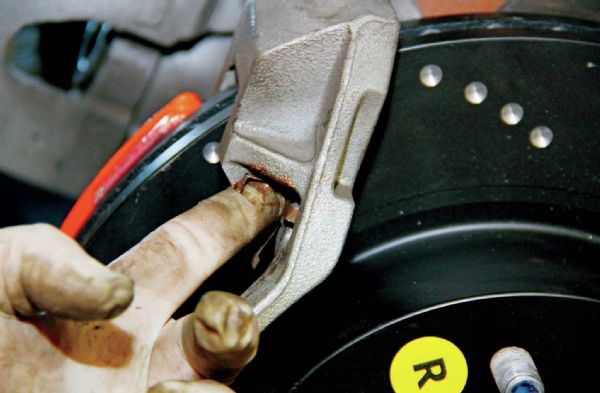
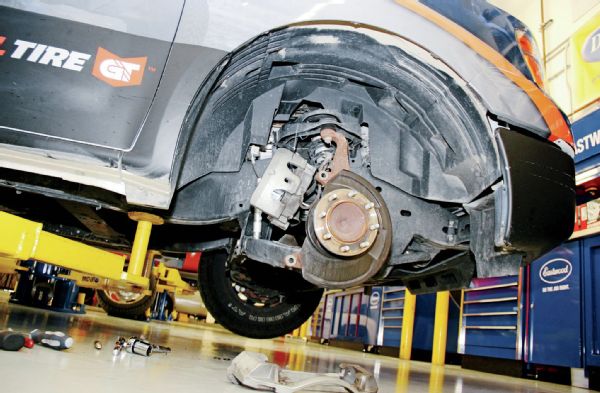 After the wheels and tires have been pulled off, safely “hang” the caliper.
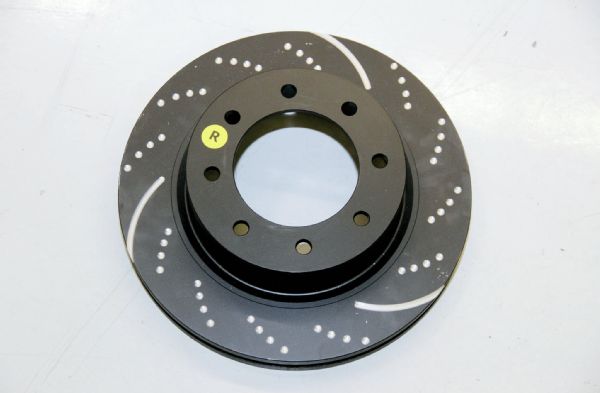 Replace the stock rotor with EBC’s performance rotor.
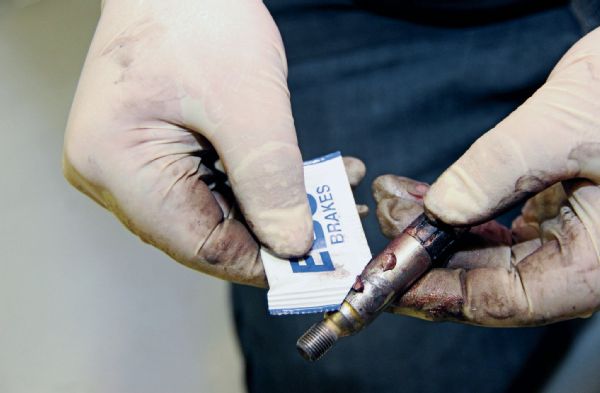 EBC supplies their own grease for the application.
 Apply the grease as directed.
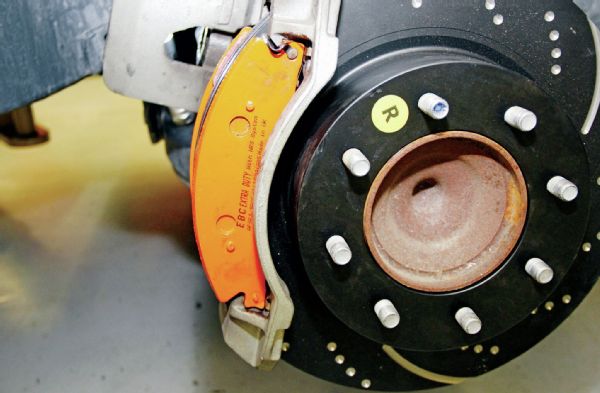 The brake pads should fit nicely into the caliper.
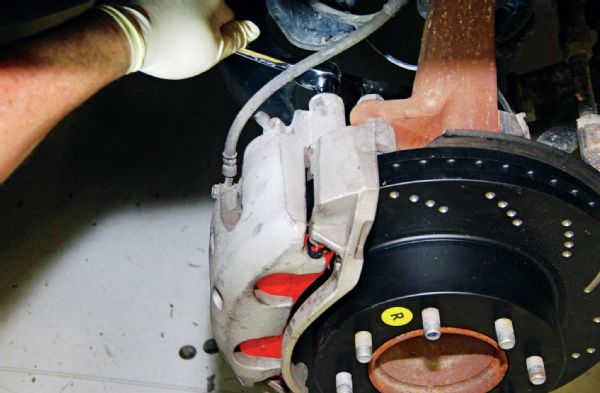 Once everything is installed tighten the bolts.
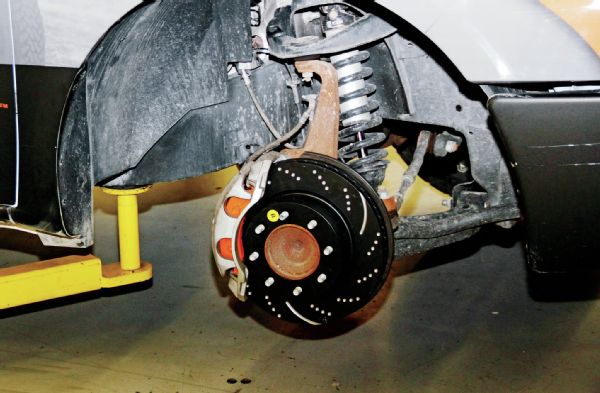 Completed brake install on the NV2500.
These two very simple installations can be completed in a just under a few hours and are another upgraded improvement for your vehicle. In our next DSNV series, we will tackle the bland cargo-like interior with some cool upgrades.