 Pete Trasborg
Brand Manager, Jp
Photographers:
Josh Biggs
Pete Trasborg
Brand Manager, Jp
Photographers:
Josh Biggs
Dollars to donuts, it doesn’t matter if you got an 1800s-tech carb on your engine or a more- recent fooz-injunction system. However, physics is physics. As you heat stuff up, the molecules expand. It’s true of fat guy’s spare tires and old gym shoes, as well as basically everything else in the world.
What are we blabbering about? Well, expansion of molecules due to heat is also true of air molecules. So, what are we actually blabbering about? OK, let’s get after it. The valves in the heads of your Jeep’s engine only open for a fixed amount of time. Let’s call it a second for argument’s sake. So, if you can stuff more air into the head in that second your intake valve is open, you can make more power. And don’t ask us what we are blabbering about again.
A gas engine likes to see a theoretically perfect mixture of fuel particles suspended in the air to make the most power. This is called the stoichiometric ratio and is ideally 14.7:1 air-to-fuel particles. We aren’t going to talk about different ratios for different engine loads here. So, moving on, if we can stuff more air particles into the engine in that “second” the intake valve is open, we can stuff more fuel in too (keeping the ratios right). More air, plus more fuel, equals more bang. Or more power. It’s why we spend time chasing high-flow intakes, headers, freer-flowing exhausts, and the like.
In years gone by, it pretty much didn’t matter how you got more air into the engine. Jeep engines of yore might as well have been made by Timex, just like that companies’ Ironman line (they’d take a licking and keep on ticking). If you accidentally sucked up some water, you could just shut it down and pull the plugs. However, on ’07-and-up JK engines, eh, not so much. Suck even a little water into the 3.8L or the 3.6L V-6 and kerplowee. Don’t ask us how we know.
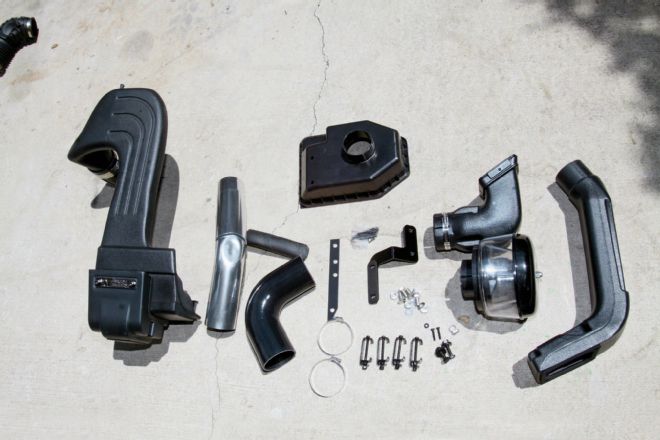
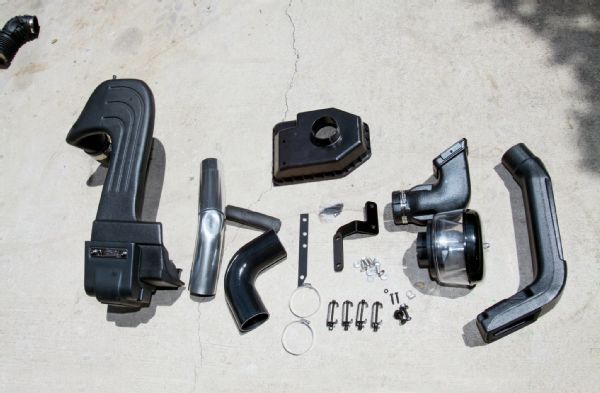 Here’s the entire Rugged Ridge kit. It drops through the cowl, up through the inner fender and then into the engine. If you’ve got a factory airbox on your Jeep, you are set, but you will have to pull the inner fenderwell plastic to get the install done.
The factory airbox is pretty good at keeping junk out of the engine, but really it isn’t that great at letting air in. It was designed more to kill noise on those high-revving engines and to take junk out of the air. So, when we put on freer-flowing intakes, we put our engines at risk—from water, dirt, small rodents, you name it (again, please don’t ask). After stroking our ’07 JK’s engine, we started thinking about that and decided to replace our aftermarket intake with a snorkel system.
We went with Rugged Ridge’s kit because of the factory-like look. We’ve snagged through-the-fender snorkels on trees and rocks and tore them off in the past. We just weren’t down with it for this Jeep. Yeah, we live in the arid Southwest, but it only takes a few drops of water (OK, a slight exaggeration) to kill one of these V-6s, and we wanted every assurance that our new stroker engine would live. An added bonus many people don’t think about is the cold air a snorkel pulls in. Aside from doing stupid-deep water crossings, power and mileage on the highway often improves after putting a snorkel on a Jeep. Sure, they sometimes sound funny with the top and doors off, but that’s a trade-off we are willing to make.
Because of how we outfitted our Jeep, the install was kind of gnarly. But as usual, we pulled it off and have been enjoying cold air into that intake valve in that one “second” of opening.
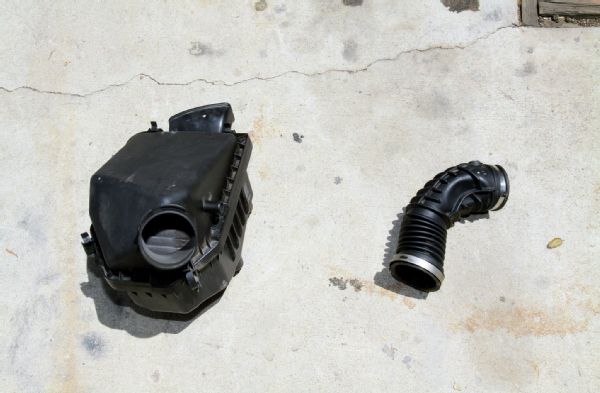
Yeah, we didn’t have the factory stuff, so Barlow Adventures (a Jeep-rental firm) took pity on us and sent us a factory setup. If we ever go anywhere and don’t have a Jeep in that state, we try to get one from Barlow. The company’s primary business is renting Jeeps out so you can go to remote places and do some light wheeling.
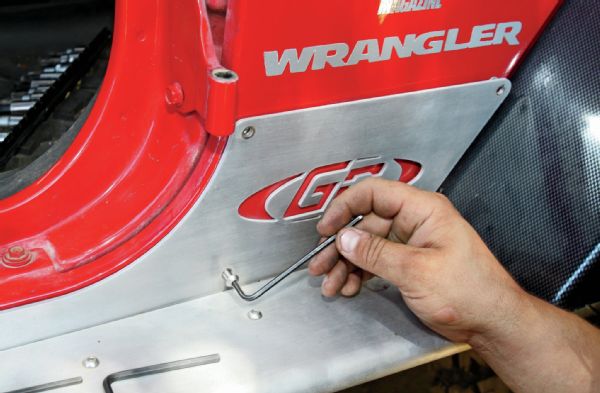
We actually read the instructions for once, and the instructions want you to remove the passenger-side fender. We really weren’t sure why, but it meant removing our GenRight Off-Road rocker guards. We’d beaten the snot out of them on the Rubicon, but they were coming off pretty well. We decided to short-cut it and try to put the snorkel in without pulling the fender.
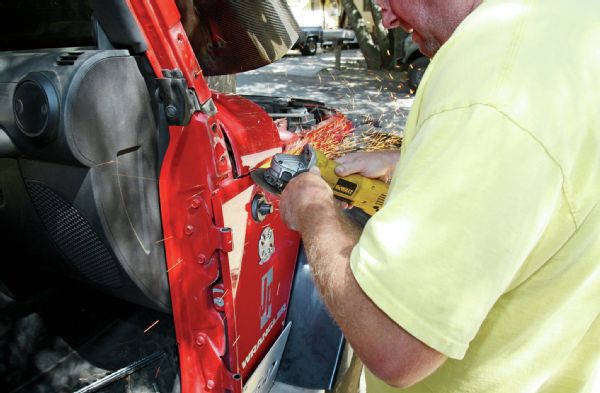
Not removing the fender meant Trasborg got to play with his favorite tool, the angle grinder. Don’t pull the fender off unless you are really comfortable with an angle grinder. The heat bubbled the paint on both sides of the cut, but since that portion of the cowl gets thrown away, it really didn’t matter.
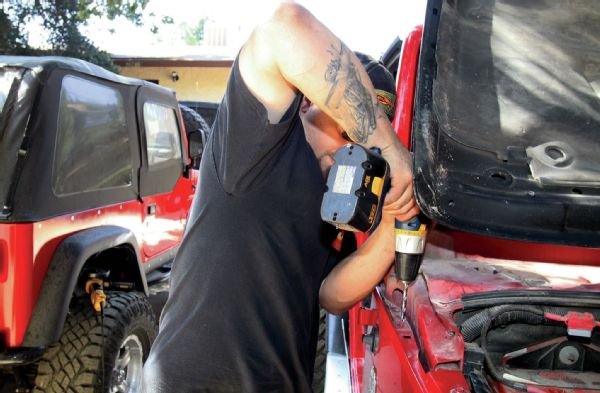
Here we are drilling out the spot welds. Just a little bit, unlike how the instructions wanted us to do it. After chopping off the upper portion of the fender, we were able to get to the spot welds and take them out.
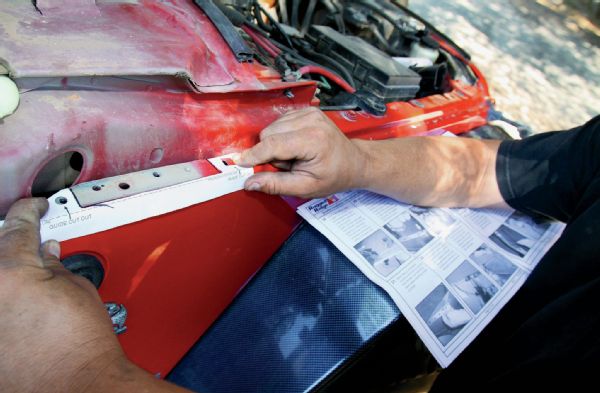
That set us up to cut this template out of the instructions. This Jeep is a really early ’07. This might be why the template didn’t line up perfectly with our drilled-out spot welds. Whatever the case, we kind of lined it up based on the picture in the instructions, rather than the circle or square on the template like we were supposed to. It worked out to be a slam-dunk.
PhotosView SlideshowAfter we got done butchering the cut in the fender, we decided we should take care of some of the epic burrs. Somehow, we ended up with burrs from the cutoff disc on the angle grinder in the metal of the fender that were longer than the fender was thick. Some file work took care of that.
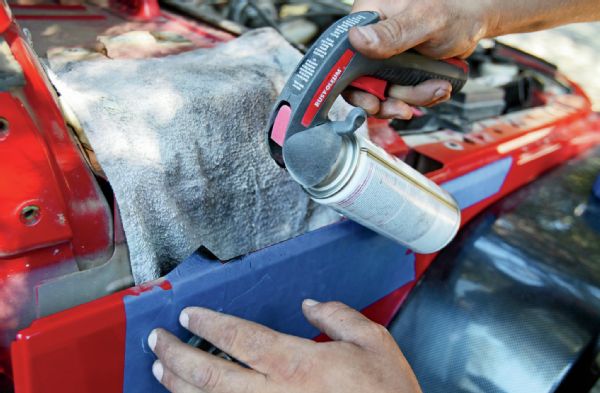
Once we filed the ridiculous burrs off, we masked off the area to paint the raw metal. While we probably didn’t have to, if you guys in the East and Northeast go with this kit, we’d totally recommend it. Rustoleum Sunrise Red matches the factory color really well.
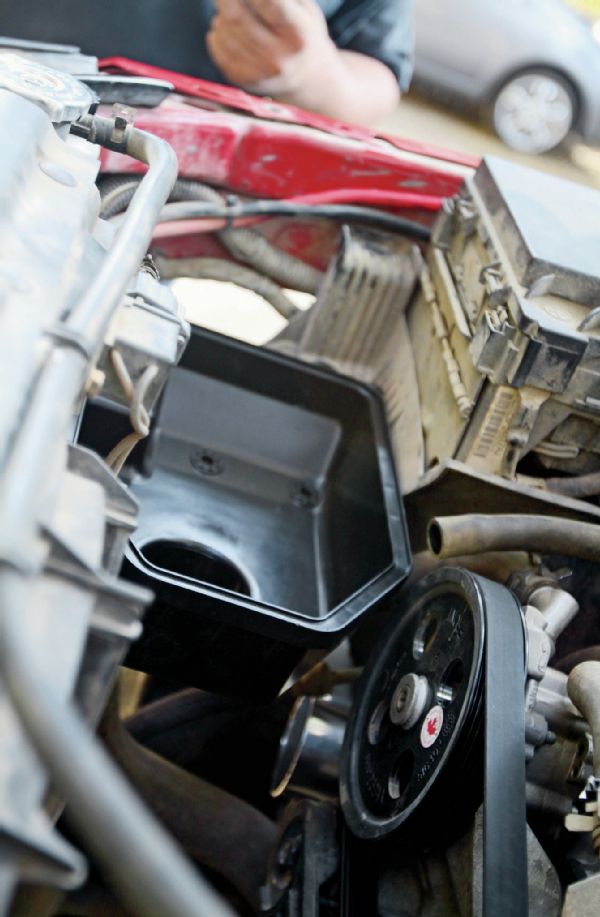
Following the instructions, we then went on to install the new lower intake plenum. Don’t. Move along and finish the install of the cowl-mounted intake and snorkel (if you opt for it) before bothering with the plenum. That plenum gets close to the power steering pulley, but it worked out OK.
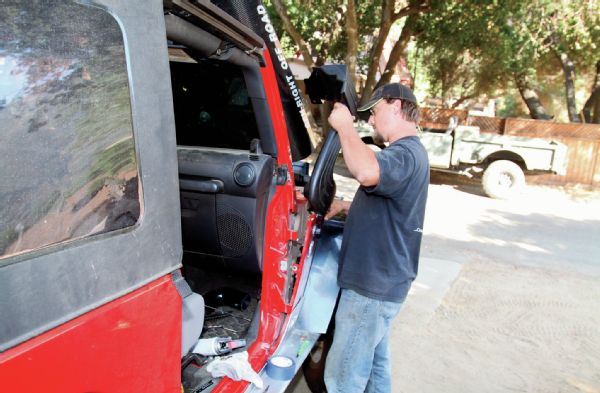
Because we slacked off and didn’t pull the fender, getting the molded ABS plastic intake in was, um, interesting. Let’s just say we had two old Jeep wrenches on it and we still bent the fender. Do yourself a favor and remove your rocker guards and your fender.
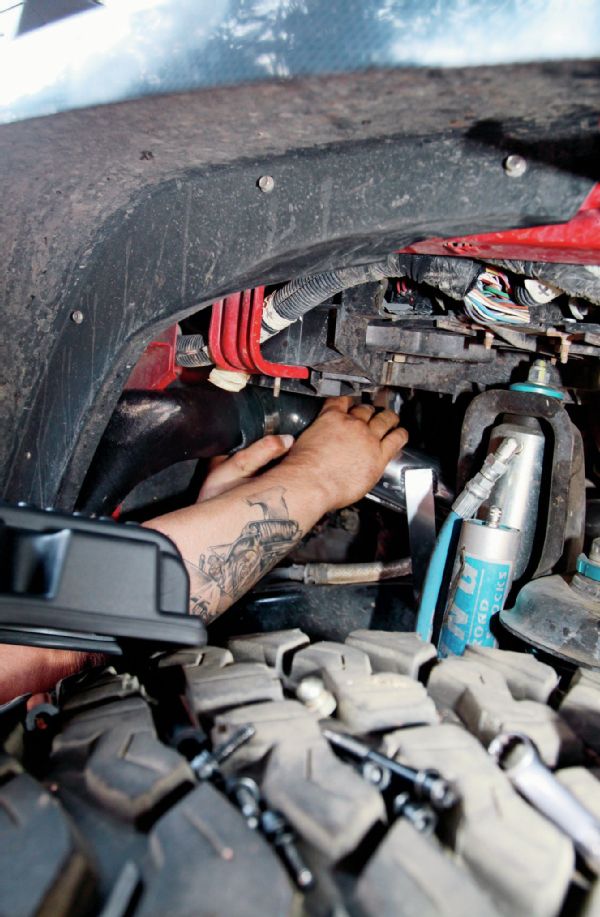
For some reason the instructions had us installing this pipe way before anything else. While the factory bolt worked, we weren’t so sure it’d be long enough, but it was. It bolts in behind the drop for the flex brake line to the passenger-side caliper. The included silicone hose from this pipe to the new lower plenum is sized to accept body lifts. So, we had to cut it to fit (like the instructions told us).
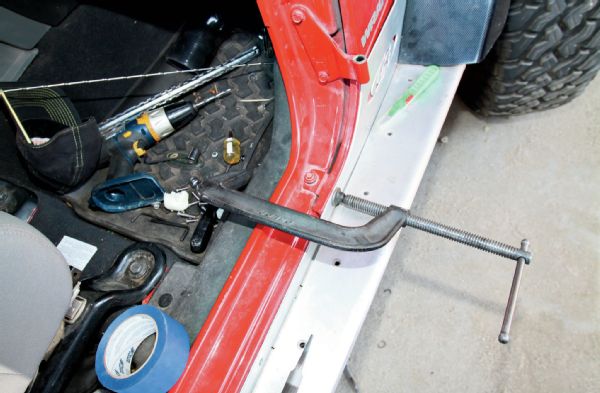
After bending the heck out of our fender to get the main part of the assembly in, we couldn’t even bolt our rocker guards back on, and this is the less bent side of the Jeep. Fortunately, some quick C-clamp action pulled it back in so we could bolt back into GenRight’s rivnuts.
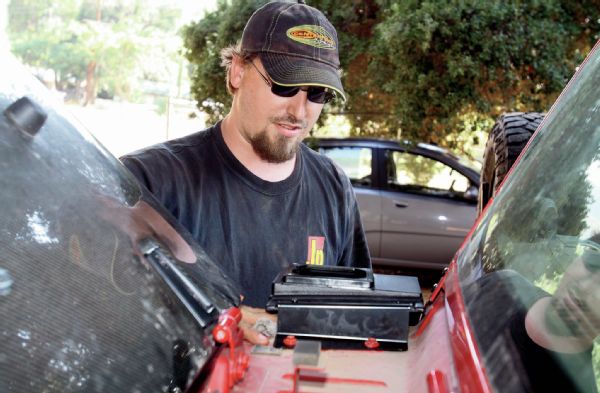
Here’s Josh Biggs going fishing. Of course, we ended up having to redo this part, because you need to have the cowl on the Jeep before you do it. Instructions—read them. Anyway, we found that having the hood on the prop rod was the way to go. You need to hold the threaded backing plate and fish the new screws through the cowl, stamped metal bracket, the ABS of the snorkel, and the backing plate.
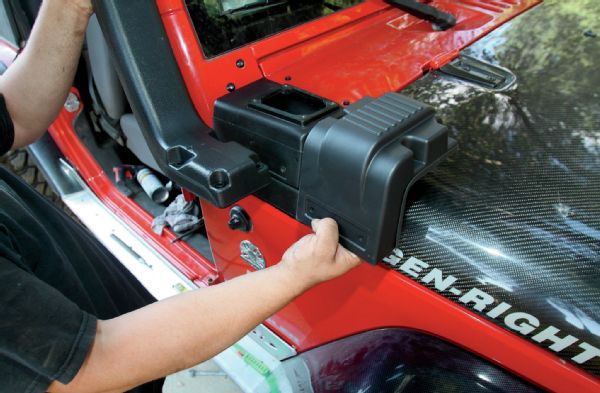
The kit includes two optional configurations, so if you don’t want to look like an expeditioning kind of poser all the time, you can just run the cold-air intake on the right. It’s really slick, and aside from it being ABS and black, looks like it could have come from the factory. Personally, we don’t care; we put the snorkel on it.
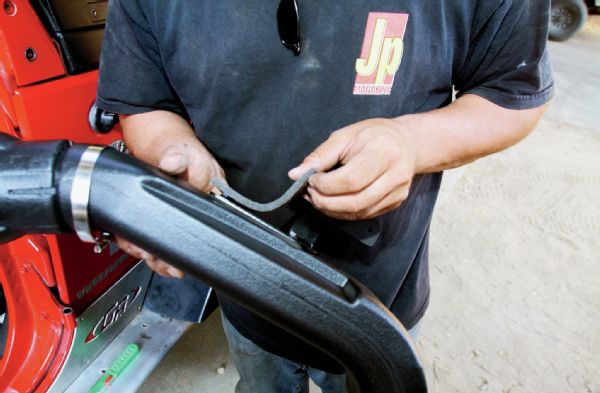
One thing we weren’t down with was how close the bolts for the retaining bracket ended to the windshield. We used some 1⁄8-inch-thick weatherstripping in an attempt to mitigate any damage to the windshield. Our thinking being, when (not if) we smack a tree or rock with the snorkel, those bolts are hitting the windshield. We shall see.

Rugged Ridge also offers this pre-cleaner. It’s really kind of cool. A venturi-effect swirls dirt around and pulls it out of the intake air charge. The bowl needs to be emptied every once in a while, but it works great. We only use it when we know we are going on a dusty trail like the Rubicon or Mojave Road. For the most part, we are just after the cold-air effects.
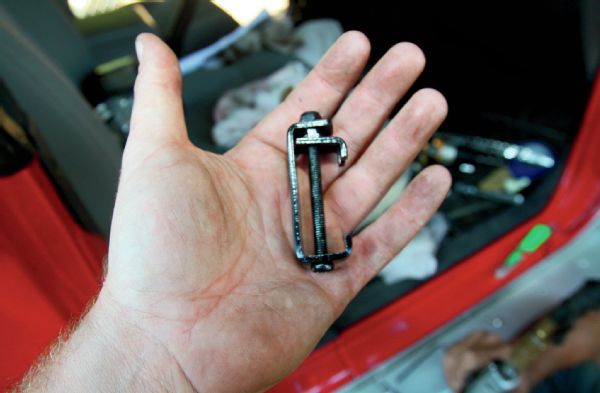
Rugged Ridge is serious about the water-fording aspects of this kit. These clamps are to hold the factory airbox lid to the new lower plenum. In addition to that, the instructions call to use silicone on all the silicone hoses to ensure a good seal. We didn’t, but we hardly ever see deep water crossings out here. The kit will suck cold air just fine without it.

