 Ken Brubaker
Senior Editor, Four Wheeler
Ken Brubaker
Senior Editor, Four Wheeler
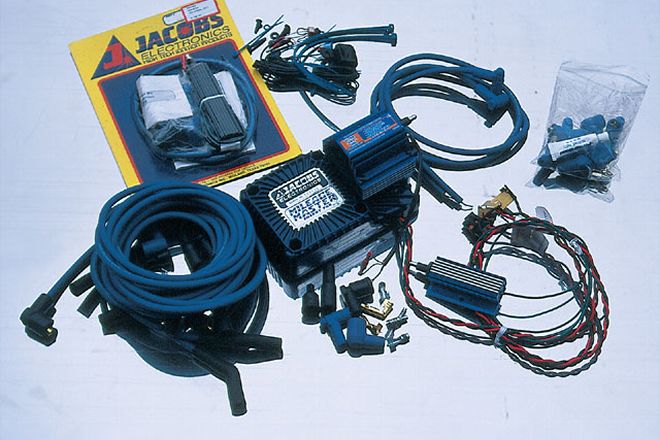
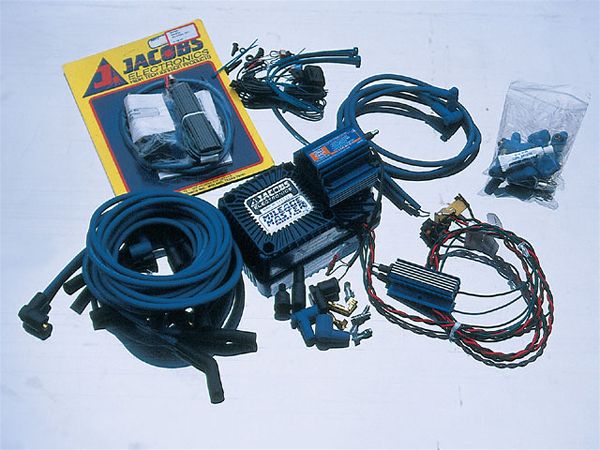 1. Jacob's Ultra Team Mileage Master Energy Pak has a long name, but it's simple to install. The kit comes with a secondary trigger and Teflon-coated wires.
We installed a new Jacobs Mileage Master ignition system, provided by Performance Combos, onto our '97 Dodge pickup. The "Coil Over" Mileage Master is the longest produced and most successful ignition system made by Jacobs. The unit features a CMD Ultra Coil mounted to the case for easier installation.
According to the company, this kit should eliminate all misfires and erratic idle conditions-at least those caused by ignition problems. By improving low-end firing, the kit should, in theory at least, boost your low-end torque.
Using Jacobs' "EZ" secondary trigger, the high-voltage output from the vehicle's OEM coil is used to trigger the Mileage Master. This is a nice feature because if for some reason we ever wanted to go back to the OEM system, doing so would be a quick and painless switch. Other advantages of this sort of easy upgrade are better performance through the entire rpm range and improved miles per gallon. Jacobs claims a 1-1 1/2 mpg improvement and approximately an extra 15 hp.
Installation at Stanley's Exhaust Tech was fairly simple. The Dodge's cab-forward design makes accessing the distributor a chore, but like your mom told you, patience is a virtue. Total install time was about 2 1/2 hours.


