 Verne Simons
Senior Editor, Jp
Verne Simons
Senior Editor, Jp
Working on your 4x4s brake system can be daunting to anyone who hasn’t worked on brakes before. You don’t want to compromise your rig’s critical ability to stop. We’ve all had that exciting dream where you’re driving without brakes. The truth is the system is straightforward and working on it is easy once you get over the psychological holdup. You push the pedal, brake fluid is compressed in the master cylinder, and fluid moves to the calipers via brake lines and hoses or wheel cylinders, slowing the drums or disc brakes.
Brake parts wear out over time—it’s inevitable. Maintenance involves making adjustments and replacing parts. Our 1998 Dodge 2500 4x4 sees heavy use as a tow rig, parts runner, and occasional trail rig, and the front brakes were beginning to wear thin. Sure, we could have driven the truck down to our local Brakes ‘R’ Us repair shop, but we like doing things ourselves, saving cash, and making modifications.
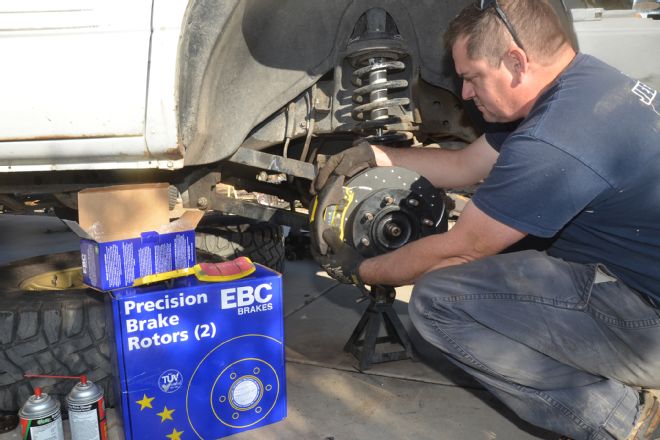
To get the “whoa” back in our 4x4, we called up our friends at EBC Brakes, which sent us a set of its all-new rotors and performance brake pads for a simple DIY driveway brake install and upgrade that should be helpful to anyone who is new to messing with disc brakes regardless of what they drive. Some of the tech is specific to our Dodge, but all disc brake systems are similar, and we are sure there are some tips and tricks you can use next time you work on disc brakes on your 4x4.
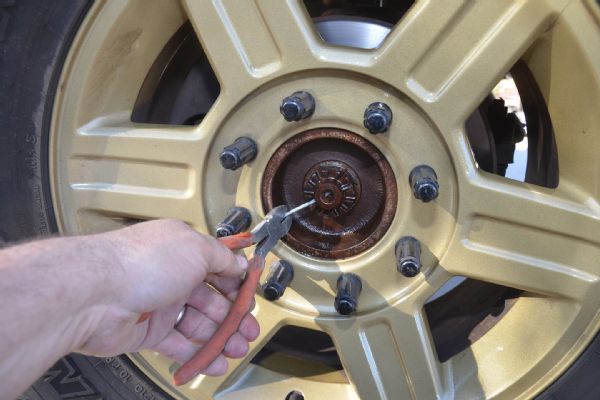
The first step in our brake job is to pull a cotter pin and loosen a big nut that holds the front axleshaft to the unit bearing or wheel hub assembly. On many trucks this won’t be necessary and is an added step on our truck. Many newer Jeeps and trucks have disc brake rotors that fit over the wheel hub assembly and are sandwiched between the wheel and wheel hub assembly. Once the wheel is off and the caliper unbolted, the rotor slides off the wheel studs. Our truck has the disc brake rotor attached to the back of the wheel hub assembly. This means we have to loosen this nut and remove the wheel hub assembly. Trust us when we tell you that you don’t want to try to loosen this nut once the wheel is off the ground. Use needle-nose pliers or crosscutting pliers to remove the cotter pin.
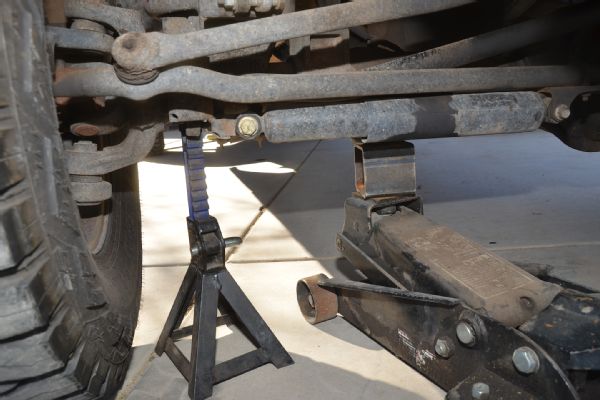
With that done we can jack up the front of the truck using our hydraulic floor jack and support the truck with jackstands. Since this is the front axle, we set the parking brake and put our truck in First gear (it has a manual transmission). You should also always chock the wheels with bricks, rocks, or a couple blocks of wood.
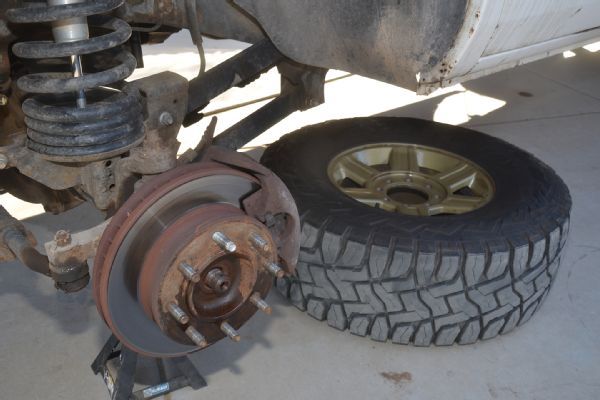
Once the front of the truck is supported off the ground you can remove the wheels and tires. We always roll the tire and wheel and place them under the frame or skidplate just behind the engine of the vehicle we are working on. That way if the truck falls off the jackstands it will land on the wheel and tire rather than the ground or you. Trucks do fall off jackstands, and the result can be devastating.
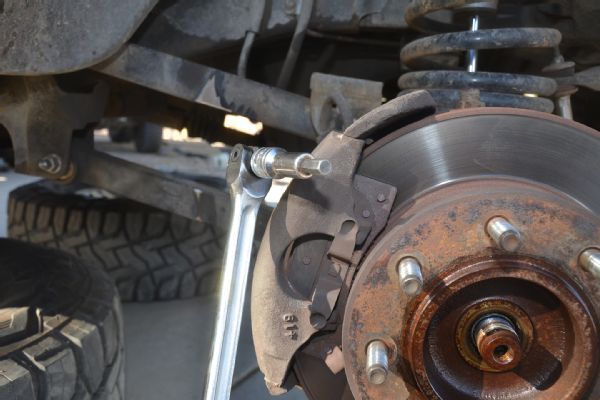
Now that we have access to the calipers, we remove them using a hex-head socket on a breaker bar. Most calipers are retained by slide bolts, and some are retained by clips or other bolts. With our slide bolts loosened and pulled out of the way, we coaxed the calipers off the rotor with a couple pry bars. This can take some work if the grooves in the rotors are worn into the metal.
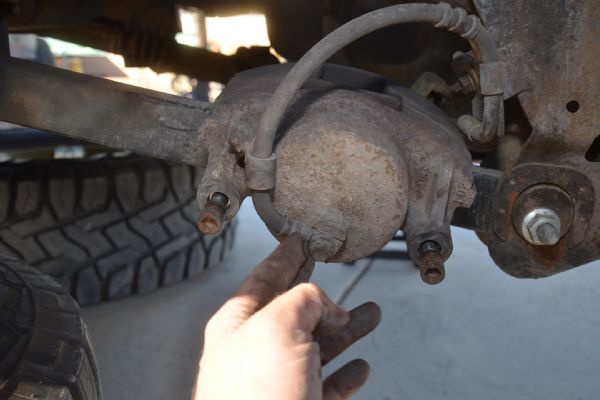
Once the caliper is free from the brake rotor you will need to support its weight so that it is not hanging from the brake hose. Use zip-ties, bailing wire, coat hangers, old U-bolts, anything to hold the caliper up and out of the way while you work on the truck. Many Dodge trucks like ours have control arms that make for a perfect caliper resting place. At this point if our truck had rotors that slipped over the outside of the wheel hub assembly we could slip the old rotors off and slip the new ones on. We are not that lucky, but if you are you can move on to installing the pads at this time.
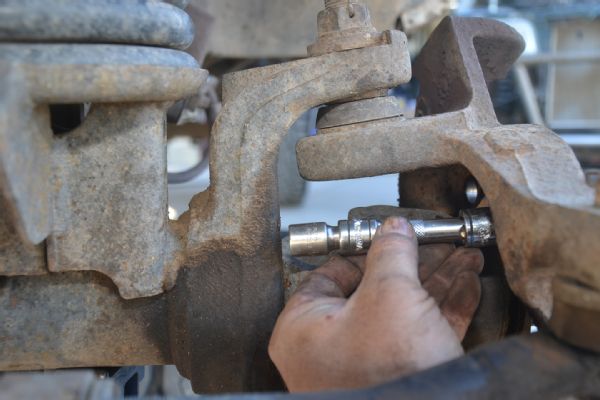
Using a 12-point 14mm socket we now loosen the four bolts that hold the wheel hub assembly to the axle’s outer knuckle. With those bolts removed we should be able to wiggle the wheel hub assembly and brake rotor loose from the axle. Since our truck is a little bit rusty we used this trick to loosen the wheel hub assembly. Thread one or two of the bolts back into the wheel hub assembly a little ways and use the socket and a few extensions to make up the space between the bolt and the inner axle knuckle. Now you can turn the steering wheel of the truck and use the steering system to help push the wheel hub assembly out of the outer knuckle. Be careful doing this. You don’t want to apply too much force to a part if you are unsure about having loosened all the mounting hardware.
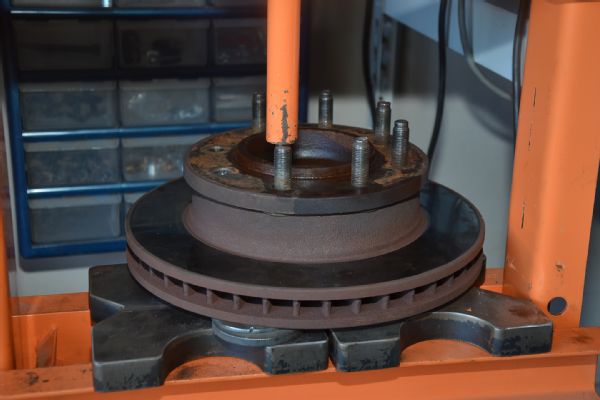
With the wheel hub assembly and brake rotor loose from the axle we used our shop press to remove the wheel studs. The studs hold the two parts together so we need to remove them to install the new rotors from EBC Brakes. You can also use a large hammer and a brass drift to remove the studs, but be careful not to damage them as you will need them to hold the new rotor in place. During this step we noticed that one of our wheel hub assemblies was bad. There is a video showing the worn part here if you want to check it out.
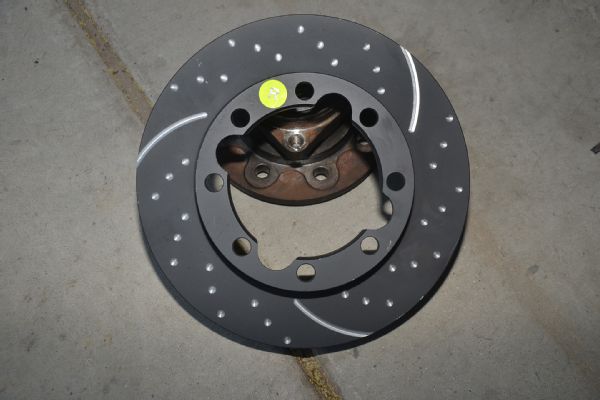
The EBC Brakes GD series rotors are drilled and slotted to help the brakes shed heat. This means that the rotors are directional and there is a right and a left brake rotor as labeled by EBC. With this in mind we installed the brake rotors to the wheel hubs using the old wheel studs and the shop press. Again, you can use a large hammer and a drift to install the studs or even a few lug nuts, but the press if available is the best method.
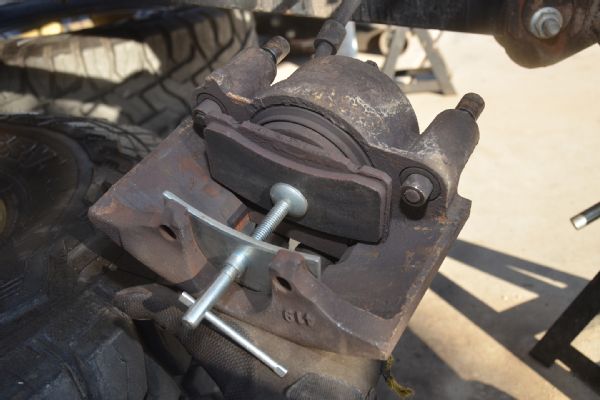
With the new rotors installed on our wheel hub assemblies we can move on to changing the brake pads in the calipers. First we use a brake caliper tool to push the piston back into the caliper. To do this, you first want to open the brake fluid reservoir and monitor the level. As you push the piston back into the caliper the brake fluid has to go somewhere; move too much and it will spill out your reservoir and onto the paint. Brake fluid eats paint, so that’s bad. If the reservoir is too full you can remove fluid with a turkey baster or paper towel.
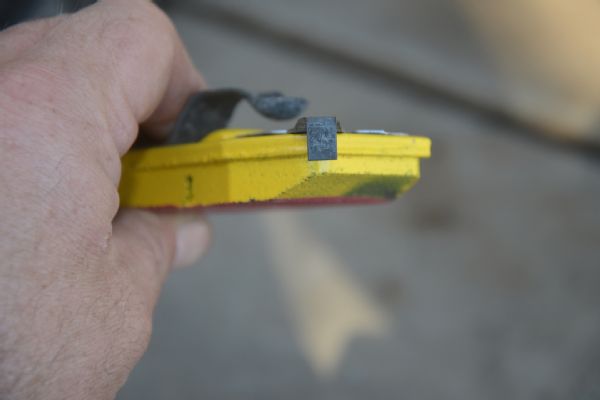
We love EBC’s Yellowstuff brake pads. They work well stopping our truck and come coated with a special break-in coating that helps set the pads to the rotors. To that end, break-in (or is it “brake-in”?) is important. After installing new brakes you should avoid any heavy braking for the first 1,000 miles. That will help keep your new EBC rotors and pads working at top efficiency for as long as possible. Also shown is a wear indicator. It’s the metal tang that squeals when your brakes are worn out.
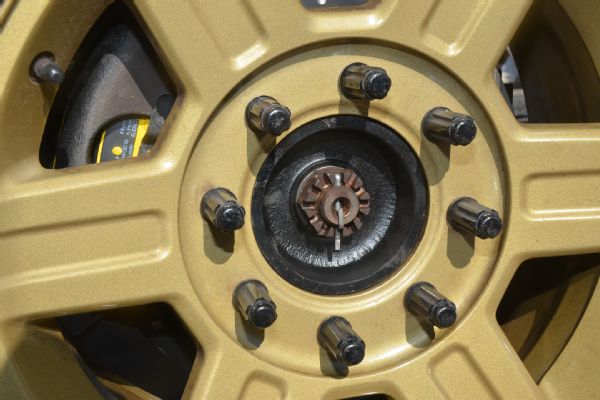
Assembly is the reverse of disassembly. Make sure to torque all hardware to spec before driving your 4x4, and remember to go easy on those new brakes till things get set in. The last step for us was to reinstall those huge axle nuts and cotter pins. Adding a little black caliper paint from the parts store helps things last and makes our truck look better.
Disc Brake Anatomy
In order to work on brakes you need to know what things are called. A simple brake anatomy diagram should help make any DIY brake install go more easily.
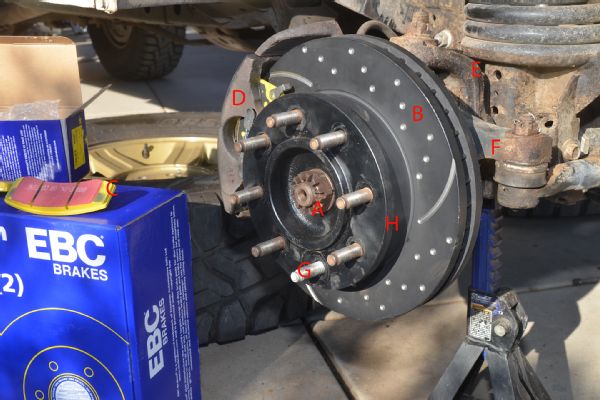
A. Axle nut
B. Brake rotor
C. Brake pad
D. Caliper
E. Inner knuckle
F. Outer knuckle
G. Wheel stud
H. Wheel hub assembly