 Ali Mansour
Brand Manager, 4WD & Sport Utility
Ali Mansour
Brand Manager, 4WD & Sport Utility
It’s amazing how much some people can neglect a vehicle. Jeeps seem to get treated even worse by those well-intentioned, but not-so mechanically inclined, owners. Our ’98 Grand Cherokee was a pretty solid find on Craigslist, but it was obvious that the Jeep had been used plenty off-road. The paint was shiny and the interior clean, but one peek underneath and you could tell that the ZJ had battled the sandy and mud-rich southeast soil a time or two.
When we first test-drove the Jeep, we could tell immediately that something in the front end was either loose or worn out. It wasn’t until we got it on the rack at East Coast Gear Supply to install our BDS Suspension long-arm suspension that we realized just how bad things were. As we tore into the stock Dana 30 axle, we found that almost every joint, bearing, and even the track bar bracket was shot.
We’re still surprised that nothing had come apart before now. Given the Grand was equipped with CV-style front axleshafts, we had already planned on swapping them out with an easier-to-service and stronger U-joint set. Coupled with the fact that we needed to swap out the stock 3.73 gearset to match our new 4.56 ratio out back, tearing down the axle was already on the docket. With the exception of setting up the new ring-and-pinion, every upgrade we installed to our Dana 30 axle can easily be performed in your driveway.
 Since it was obvious that the low-pinion Dana 30 needed a rebuild, we pulled it from under the Jeep to give it a proper overhaul. Once we established that the axle wasn’t bent, we hit it with the pressure washer and gave it a fresh coat of flat black paint.
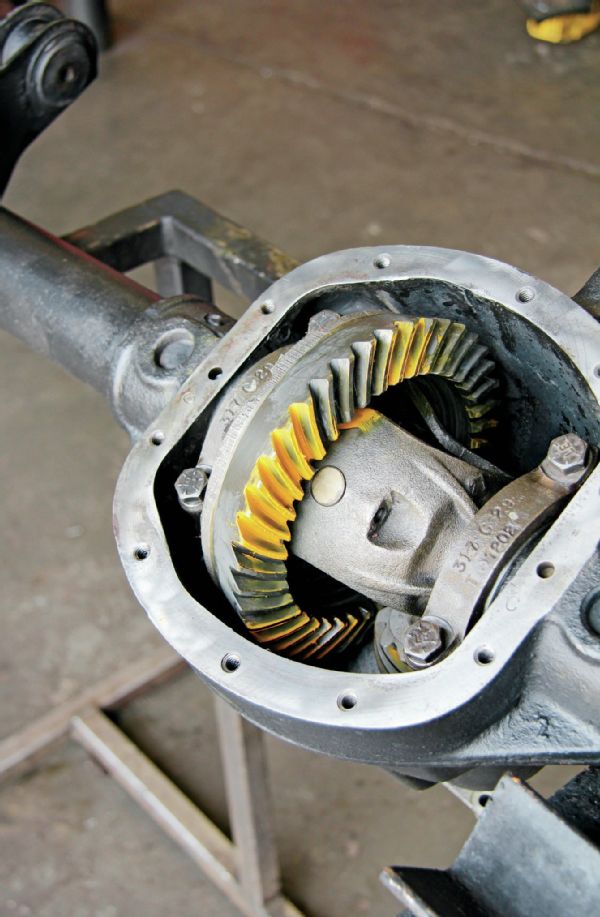 The first item to address was the stock ring-and-pinion. Since our East Coast Gear Supply Dana 44 rear axle was geared to 4.56, we needed the front to match. We used a master install kit and gearset from Alloy USA. Because the ZJ had 3.73 gears, we were able to reuse the original differential carrier. For now, we left the differential open.
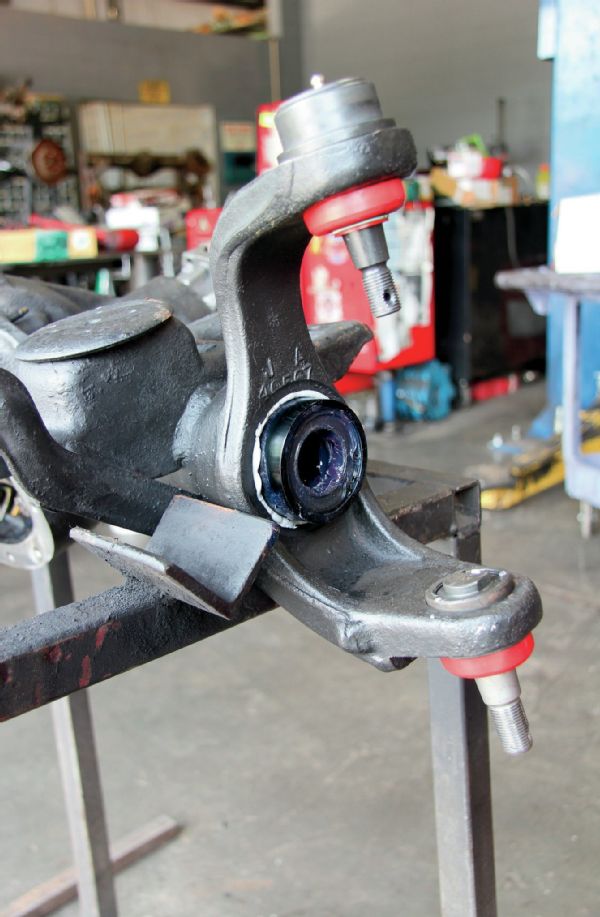
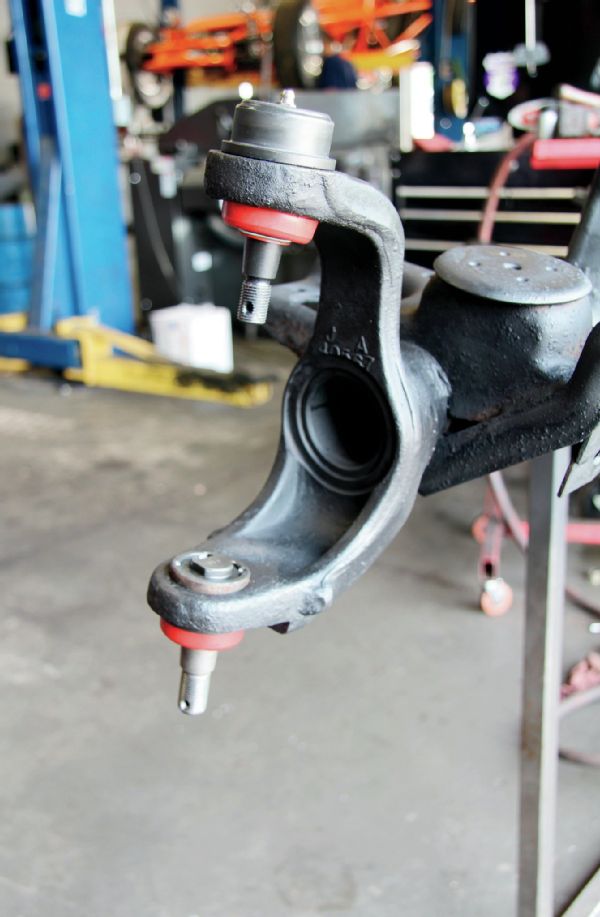 Years of running oversized tires and wheeling had smoked the stock ball joints. Running a wheel with 3 1⁄2 inches of back spacing and a 33-inch-tall tire, there is even more leverage on the ball joints. For a little more than the cost of stock-replacement joints, we were able to get this heavy-duty ball joint set from Alloy USA. Engineered with chromoly steel components, the greaseable joints are designed to handle the added stress of our modified platform.
 Sand and mud are two things in great abundance in the southeast, so we added another line of diff-seal defense with Alloy USA’s tube seal kit. Be sure to specify if you are running stock 27-spline or aftermarket 30-spline axleshafts when ordering. The 30-spline ’shafts are slightly larger.
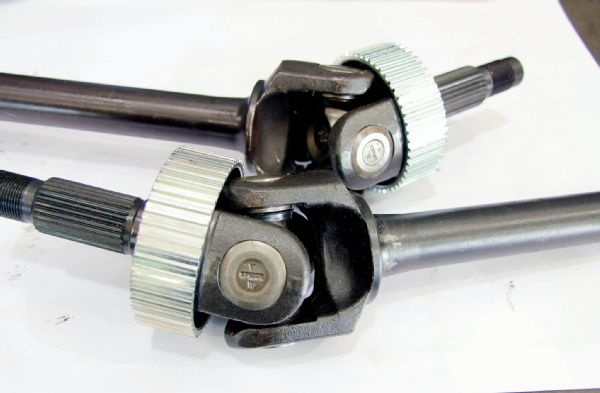 Our ’98 Grand was equipped with CV-style axleshafts from the factory, which are notoriously weak and prone to failure. To upgrade, we installed a set of Alloy USA 4340 chromoly inner and outer ’shafts. We also picked up the tone rings from Alloy as we originally planned on retaining ABS (that didn’t happen due to the rear axle swap). To finish out the new ‘shafts, we used a set of genuine Spicer U-joints.
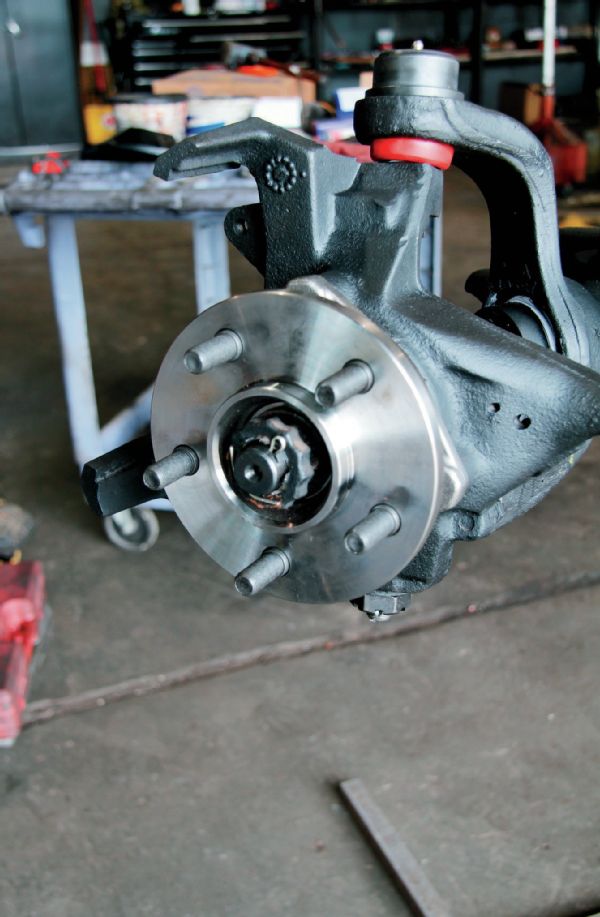 A common cause of a wobbly front end in the ZJ is a worn unit bearing. There was a good bit of play in our passenger-side assembly, along with a not-so-assuring grinding noise. So, we swapped the OE unit bearing with one from the Jeep replacement parts mega-store Omix-ADA. You’ll need a 36mm socket to attach the axle nut to the ’shaft. Failure to replace the nut will result in the unit bearing coming apart.
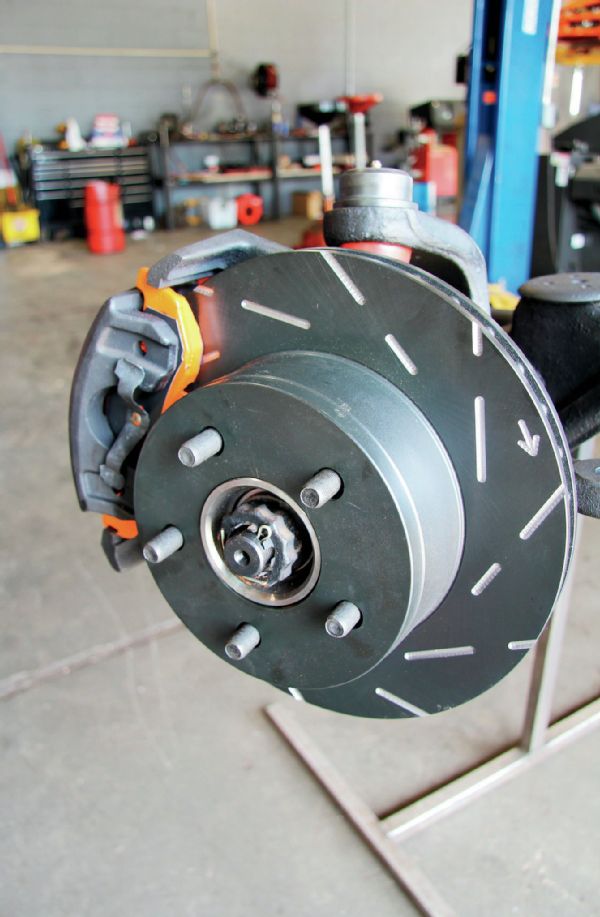 Just as we did out back, we upgraded the brakes with a set of EBC Extreme Duty pads and slotted brake rotors. Almost immediately, we noticed a tremendous difference in brake performance. We are also happy to report that this setup doesn’t produce any brake noise that is sometimes linked to performance brake upgrades. Surprisingly, this setup is only slightly more expensive than your run-of-the-mill parts store replacement brake components.
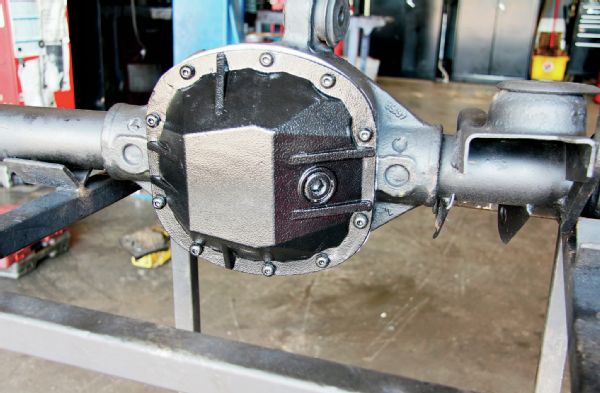 To better protect our ring-and-pinion, we installed a diff cover from Rugged Ridge. The 3⁄8-inch-thick steel cover is designed to take a beating off-road.
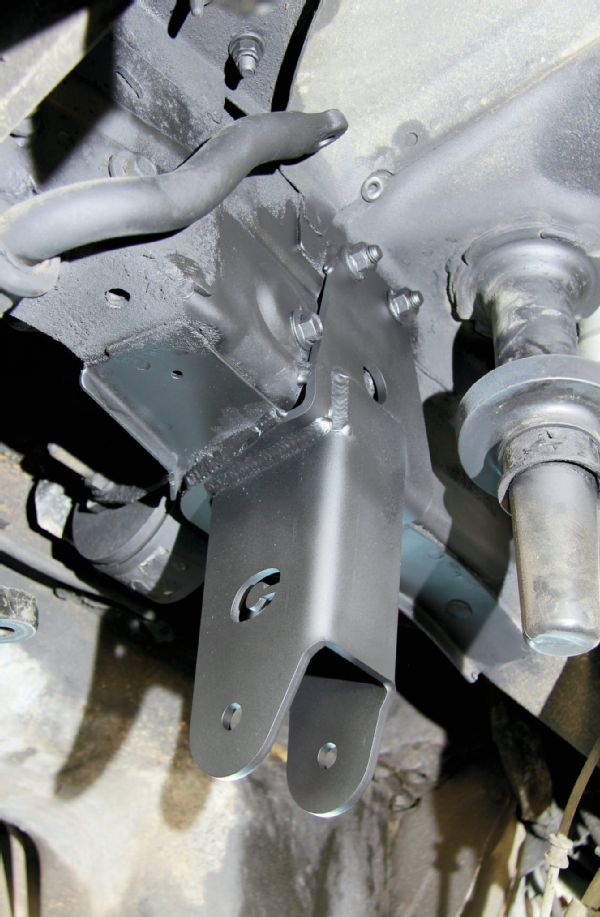 Moving back to the Jeep, we installed a Clayton Off Road front track bar mount. The 1⁄4-inch-steel bracket is designed to bolt in place of the stock track bar mount and move it from the original single-sheer setup, to a stronger dual-sheer configuration. For added security, we used our MIG welder to burn the bracket to the Unitbody.
 For the track bar, we opted for Clayton’s HD track bar kit. The HD kit fits the adjustable track bar with a 21⁄2-inch Johnny Joint at the frame end and larger Clevite bushing at the axle end. This setup requires you to drill the axle-side mount to accommodate a larger 9⁄16-inch Grade 8 bolt. This was a bonus for us since our original track bar mounting hole had become oval and elongated (a common problem and source of death wobble).
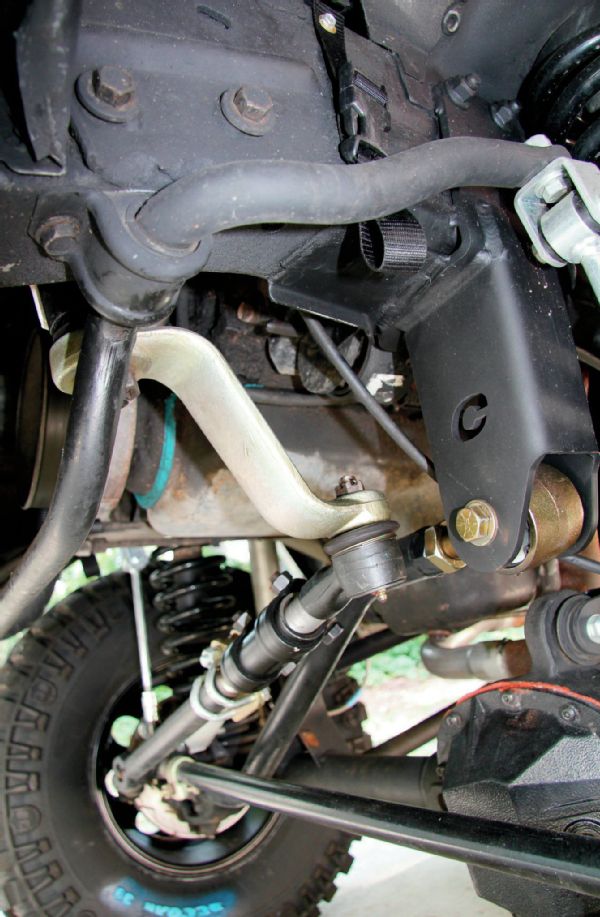 Included with our Clayton track bar kit was a new drop pitman arm. This rather large drop helps keep the mounting points of the track bar and steering system close to parallel to reduce the chance of bumpsteer.
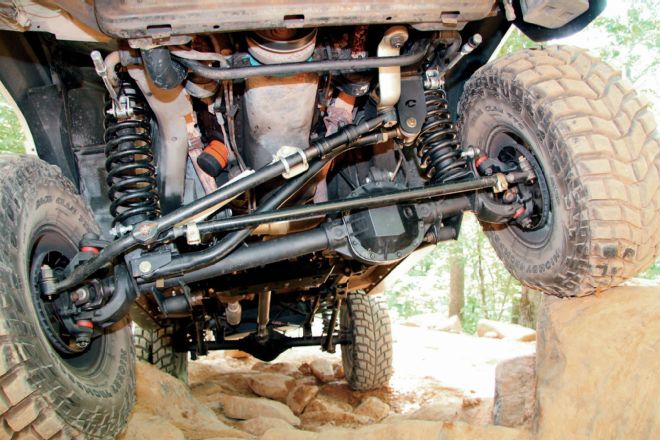
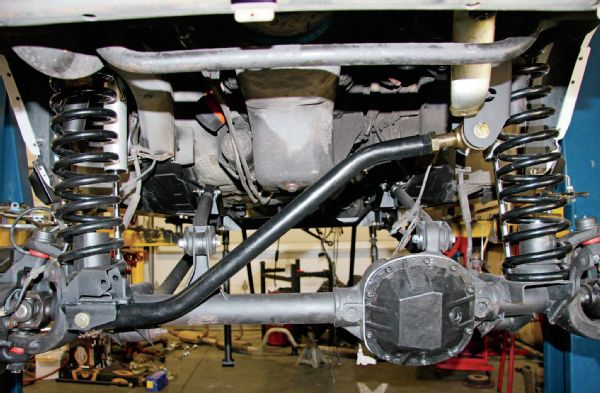
 We’re not huge fans of the Y-link style steering that comes on the ZJs from the factory, but swapping over to a crossover steering system is a fairly time consuming and expensive job. A much easier and strong upgrade to your ZJ’s steering can be had with the Currie Currectlync. The heavy-duty steering kit bolts in place of the stock setup, requiring no modifications. The Currectlync features a 11⁄4-inch forged-alloy drag link, 7⁄8-inch tie-rod ends, and a 11⁄4-inch solid-alloy steel tie-rod bar that is bored and threaded. While it’s still a Y-link system, it’s one of the best and easiest stock replacement steering upgrades on the market.
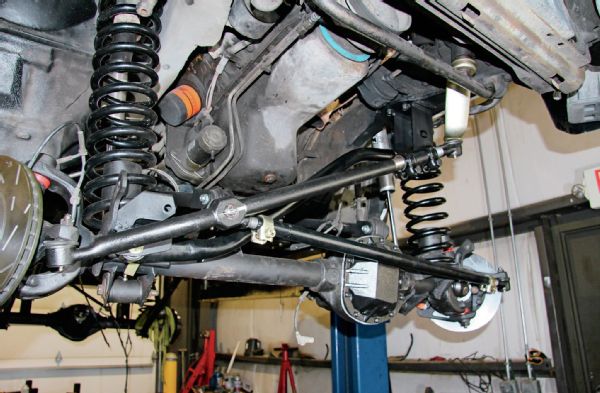
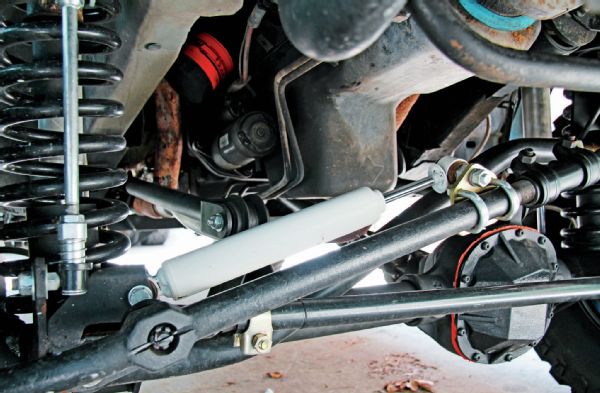 The Currie Currectlync uses U-bolts to attach the stabilizer to the drag link, while the axle side mounts in the stock location. The added steering damping made for a tighter on-road feel and helped absorb some of the jarring that the front end encounters off-road.
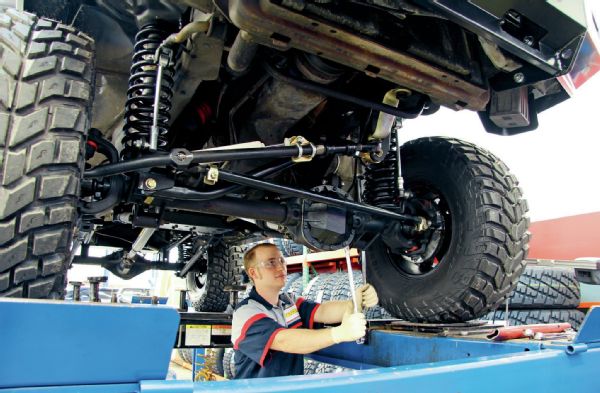 With our new setup all together, we got the Jeep as square as we could by eye. Then, we drove it to our local 4Wheel Parts in Raleigh, North Carolina, to have the alignment professionally dialed in.
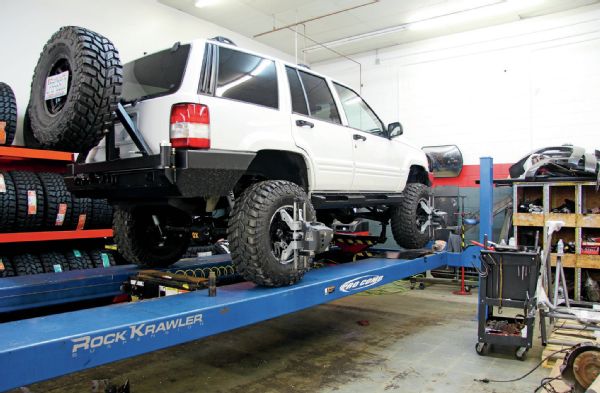 While on the lift, we learned that our ZJ’s wheelbase was off about an inch on one side. Thankfully, this was an easy adjustment, and we were able to get the Jeep tracking straight with a few turns of the control arms. The new setup is a complete turnaround from where it was before. The steering feels tight and solid, and there’s no longer an obnoxious wobble.