Tow vehicles have come a long way in the past few decades. When I was a kid and we were towing a large trailer full of horses, it was done with a station wagon complete with the fake woodgrain along the side. Then we stepped up to a ’73 or so Dodge ¾-ton pickup. The wagon was more comfortable in that it had A/C that actually worked, while the truck was better at actually towing. Neither was exactly cool to be seen in and the Dodge was a beast as a daily driver.
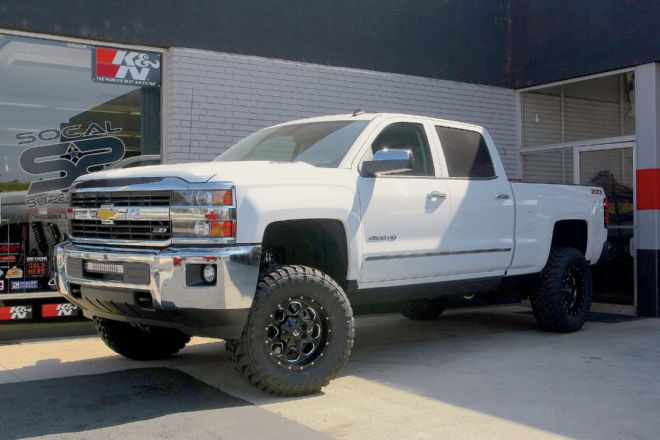
Things have changed radically in the years since. Nowadays, trucks are as plush inside and much more up to the task of towing large trailers. Take this ’15 Chevrolet 2500 HD, for example; it’s like driving a Cadillac and thanks to the 4x4 drivetrain, it has little problem getting to even the most remote of areas. And it looks pretty good as it comes from the factory.
But pretty good isn’t good enough for the majority of today’s off-roaders. They need their tow rigs to double as chase trucks while still being able to style around town. That’s where companies such as Cognito come in.
Cognito has lift kits for most major brands of trucks and SUVs and they designed them to be rugged enough for the dirt while still maintaining civilized on-road manners. They also have some of the best instruction manuals this writer has ever seen. Now this install may be best left to the professionals, but we’re here to say that if you have the tools and the talent, they make it so you could do this in your own garage.
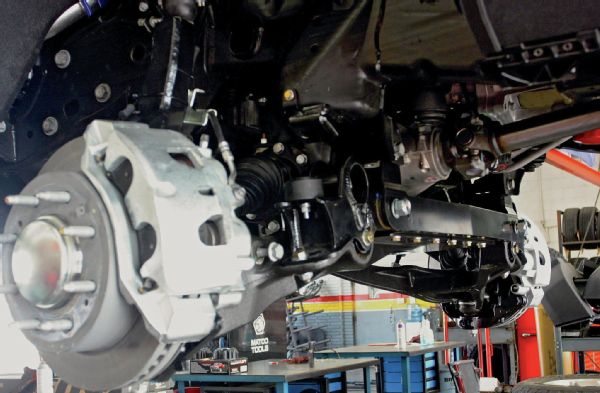
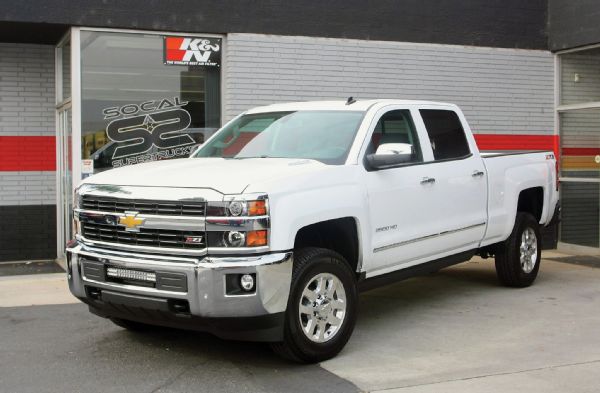 Before
When we say professionals, in this case we’re talking about the crew at SoCal SuperTrucks in San Bernardino, California. They did the job in a day (granted, it was a long day), but they did it right and even had the rest of the pieces on hand that went on this install, like shocks, wheels, and tires.
What’s good about lifting your rig if you don’t go the extra mile and add the items that you’ll need when hitting the trail? Items like Fox Racing Shox are a must when out in the dirt, and the Toyo Open Country M/T’s are equally as important to making it back to camp. With the cool 18-inch Fuel Boost D534 wheels, the Toyo’s were just icing on the cake.
The end result is that this new Chevy has been equipped with everything it needs to not only get you to the races, but to do so with style and in even the most challenging conditions.
We may miss our old family wagon, but we totally think that things have changed for the better.
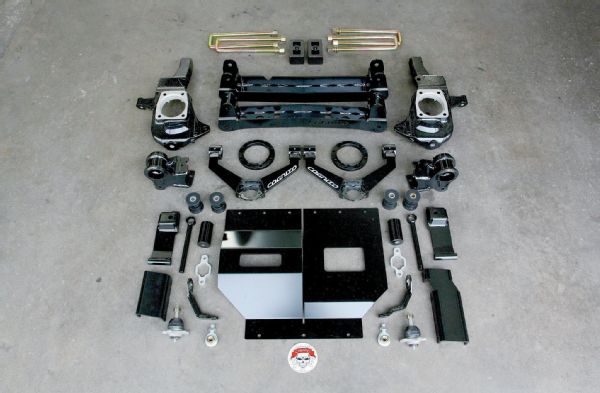 The Cognito Motorsports 6-inch front lift kit is very complete. All the pieces are there as well as a very precise and inclusive installation sheet that details every step of the install. Good job, Cognito! However, this is a job for the professionals, and having a lift and related jackstands is a must.
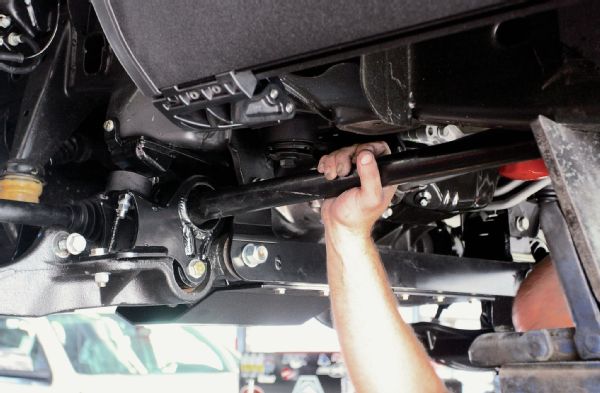
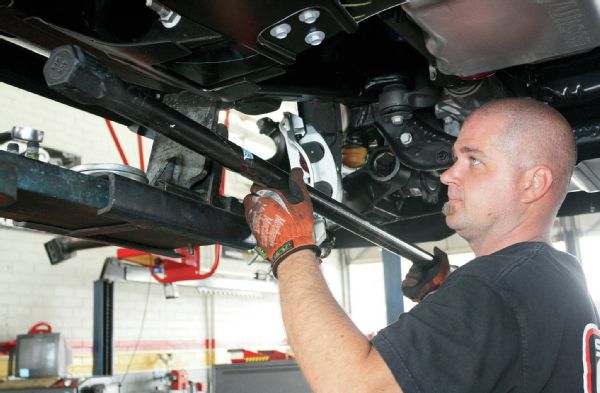 The job begins with disassembly. The torsion bar adjusters are loosened and the bars removed.
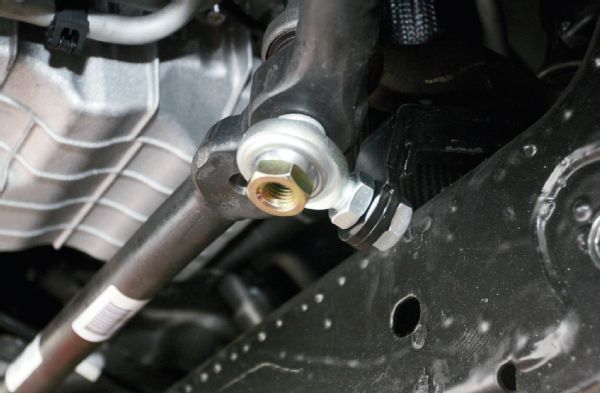
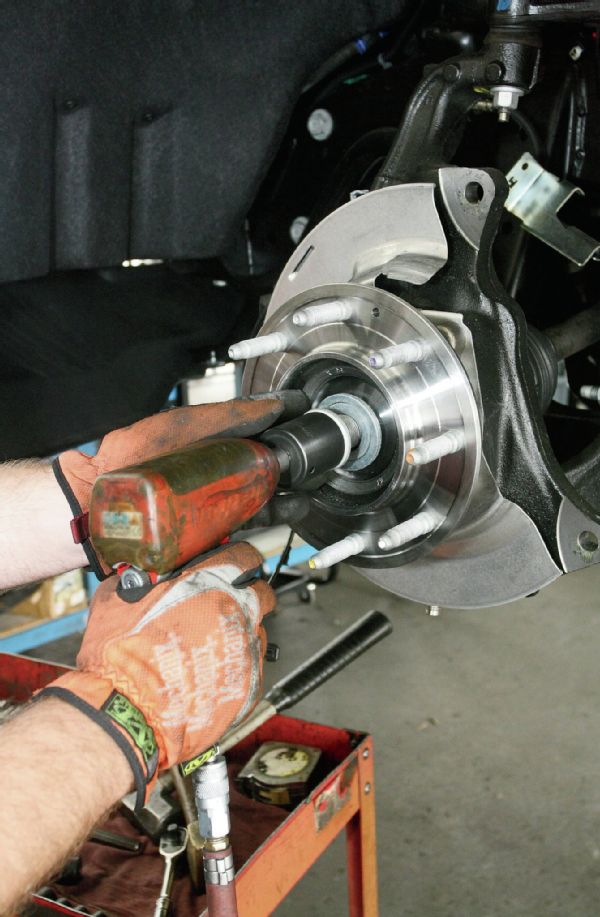 Once the sway bar’s endlinks are removed and discarded (Cognito supplies new ones), the tie-rod ends and ball joints popped free, the hub nuts are removed.
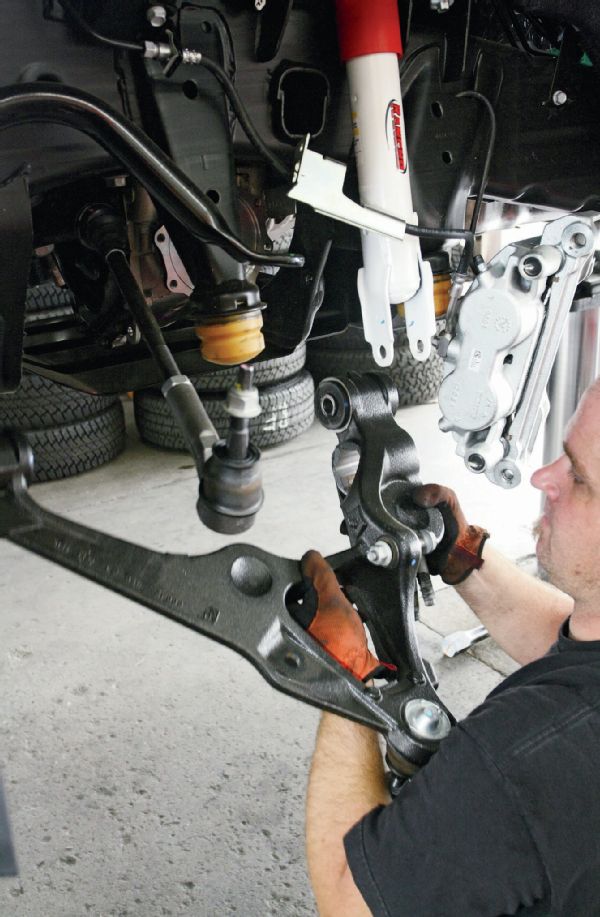 With the hub off and the front axles out, the lower A-arm is removed. The shocks are also removed.
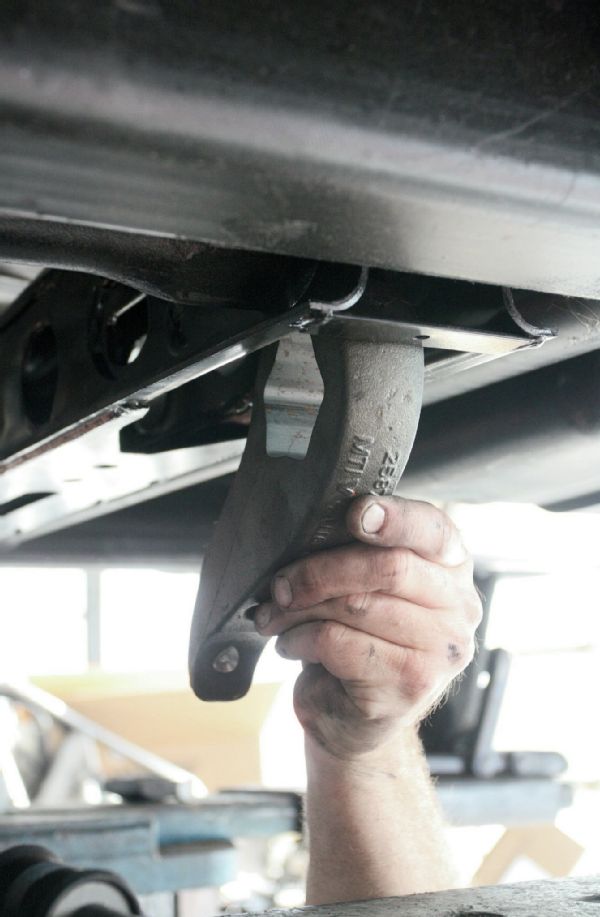
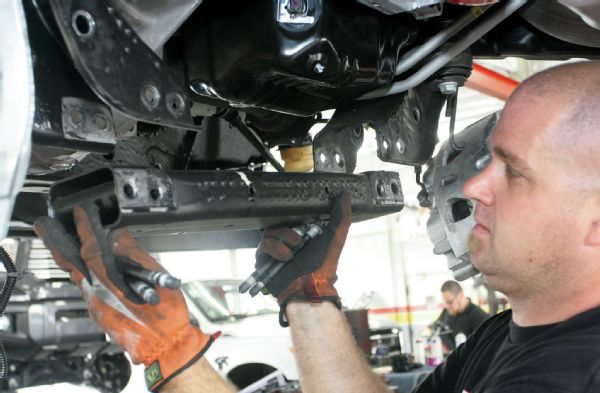 The rear crossmember is removed.
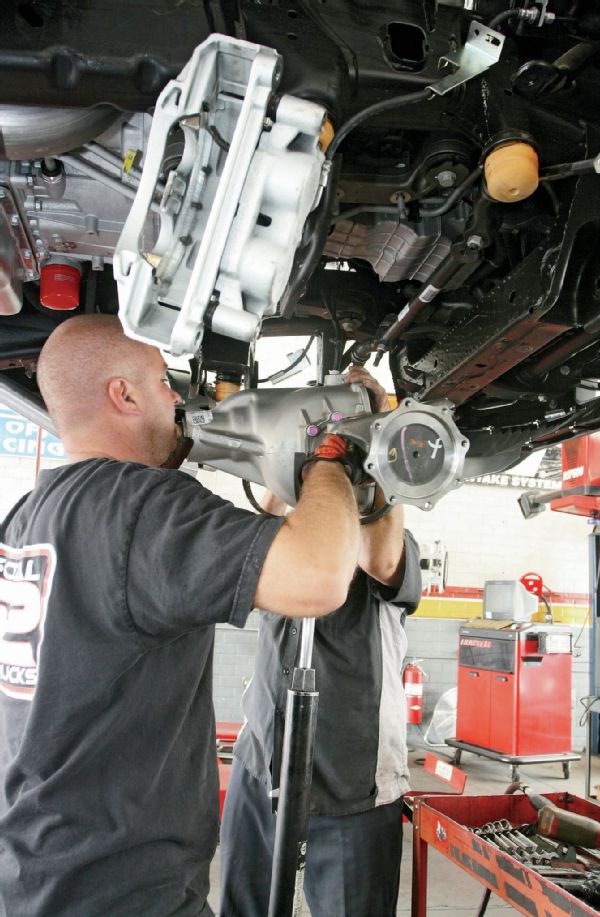 With a heavy-duty jack in place, the differential is lowered down out of the way.
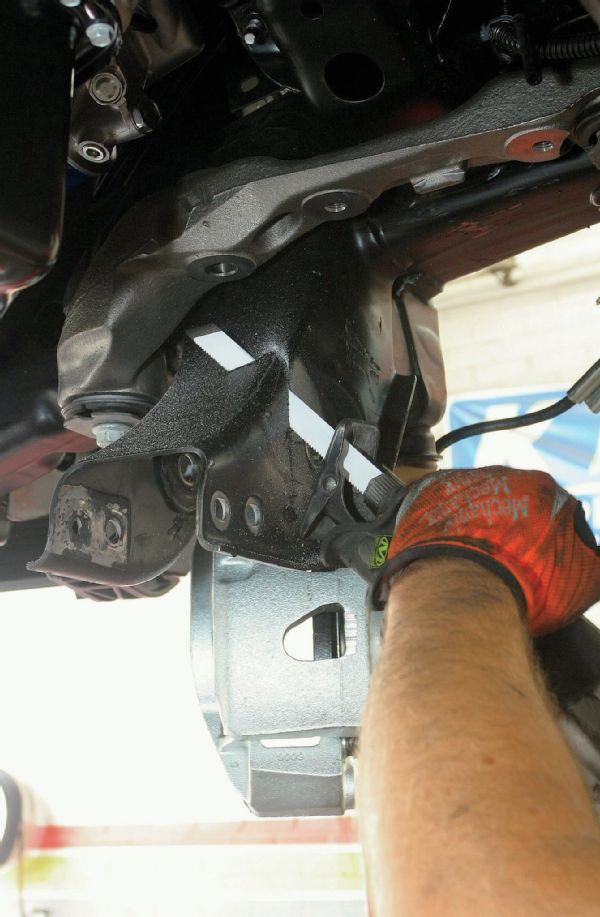 A reciprocating saw is used to modify the rear lower control arm frame pockets.
 This shot shows the piece that needs to be removed. The edges will be cleaned up using a sanding disc mounted in an angle grinder.
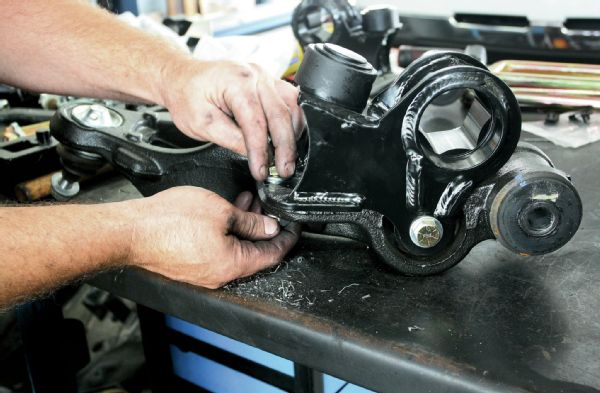
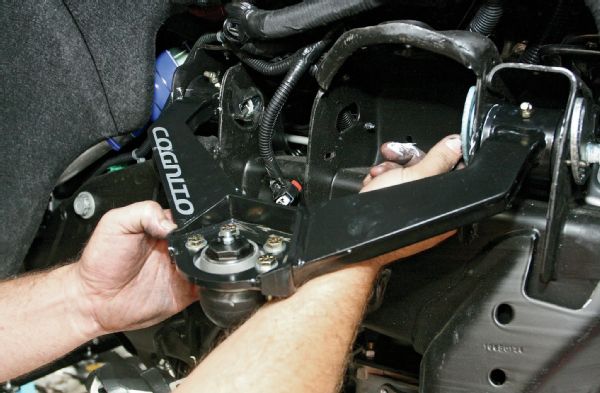
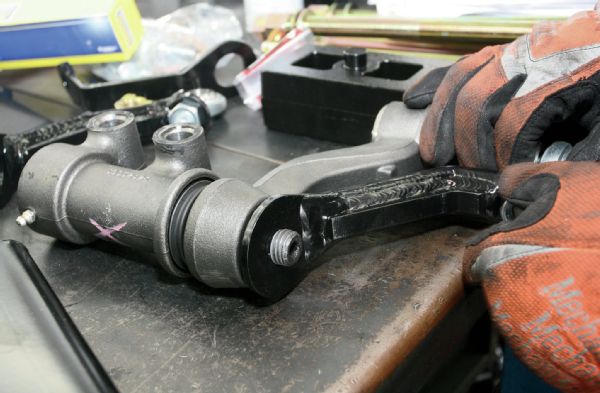 Time to put the Chevy back together. The pitman and idler arm support is installed. Know that this is a separate kit from Cognito, and does not come with the lift kit. However, it is highly recommended, especially for those who will be adding larger tires and wheels. And really, who isn’t?
 The support arm sandwiches the steering arm on both ends, and drastically increases the mounting strength and action of the steering.
 With the stock differential mounts removed, the Cognito mounts are installed and the differential lifted back into place.
 The Cognito front and rear crossmembers are installed. The rear can be tightened up, but the front needs to remain loose at this time.
 The stock mounting hardware is used on the crossmembers, and will be torqued to 60 ft-lb, once the next step is completed though.
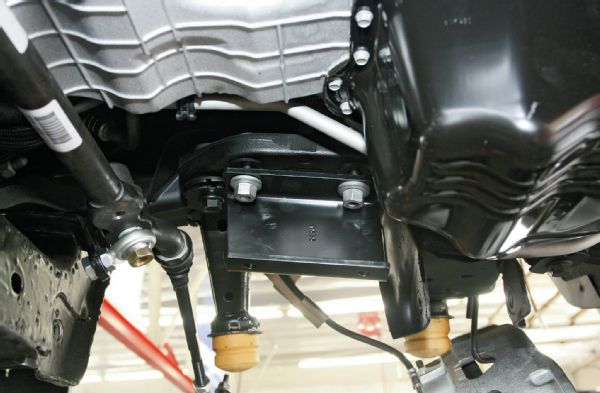
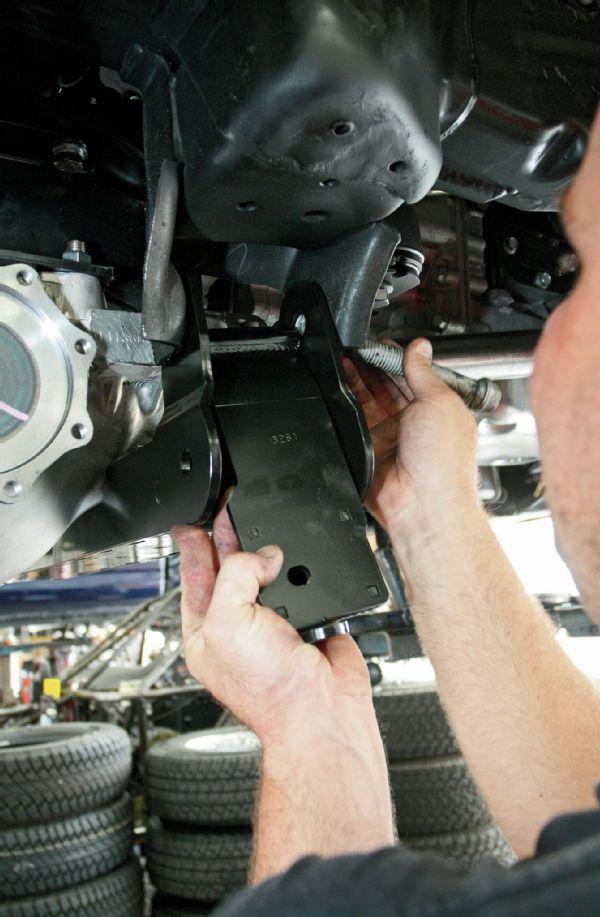
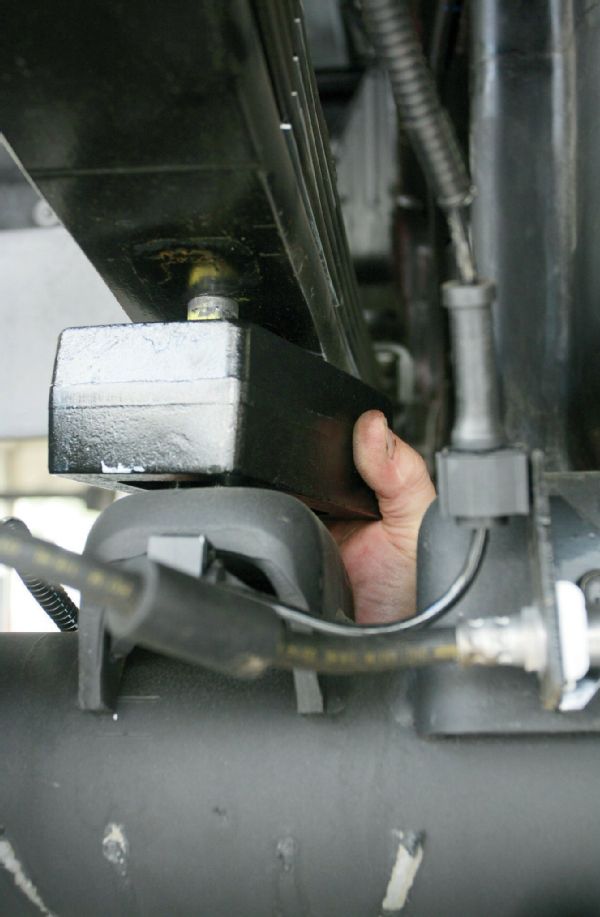
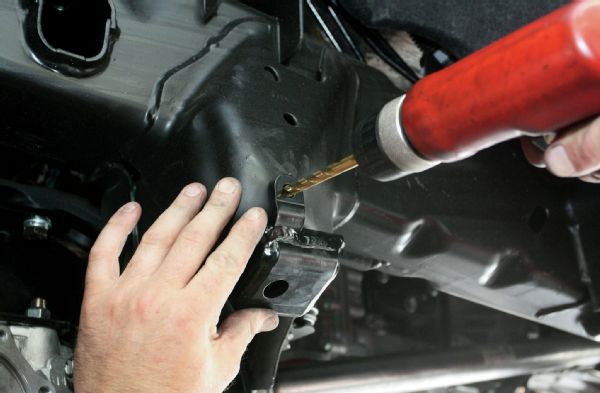 Once the stock bumpstop has been removed, a 2 5/64-inch hole drilled, and the Cognito supplied nutsert installed, the bracket for the Cognito skidplate/bumpstop is installed. Another 25/64 hole is drilled and the mount is secured. Know that this bracket fits in with the front crossmember.
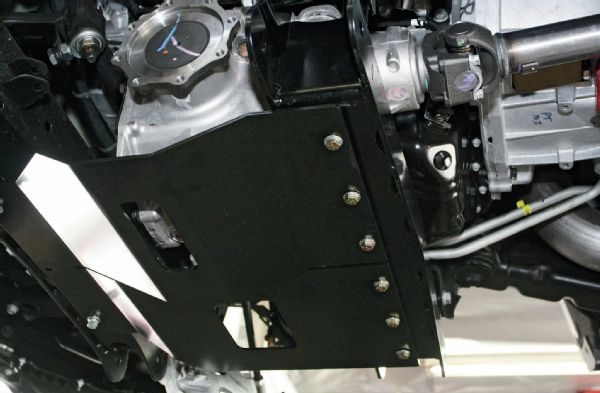 The skidplate is installed.
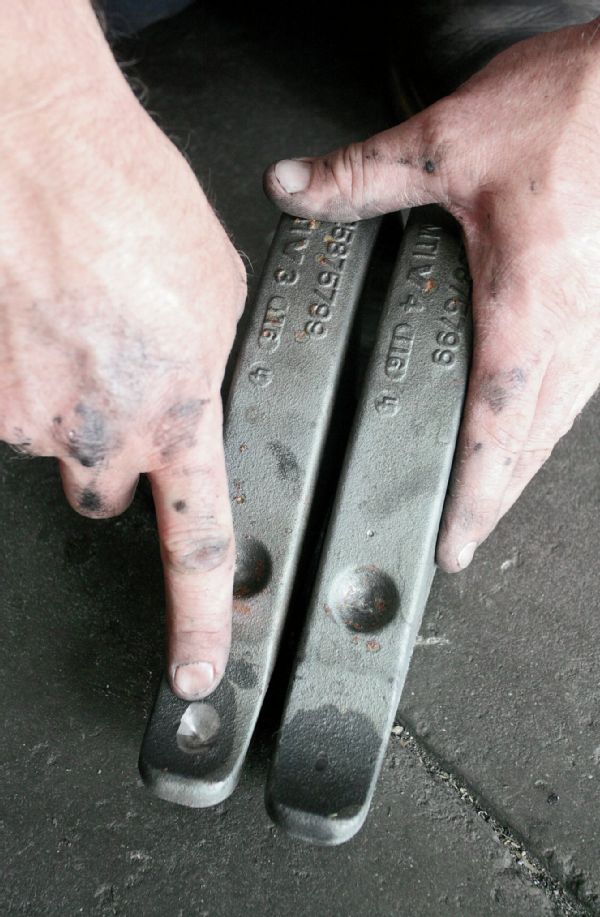
 With the lower arms on the bench, the Cognito torsion drop brackets are installed. Know that a few holes will need to be drilled.
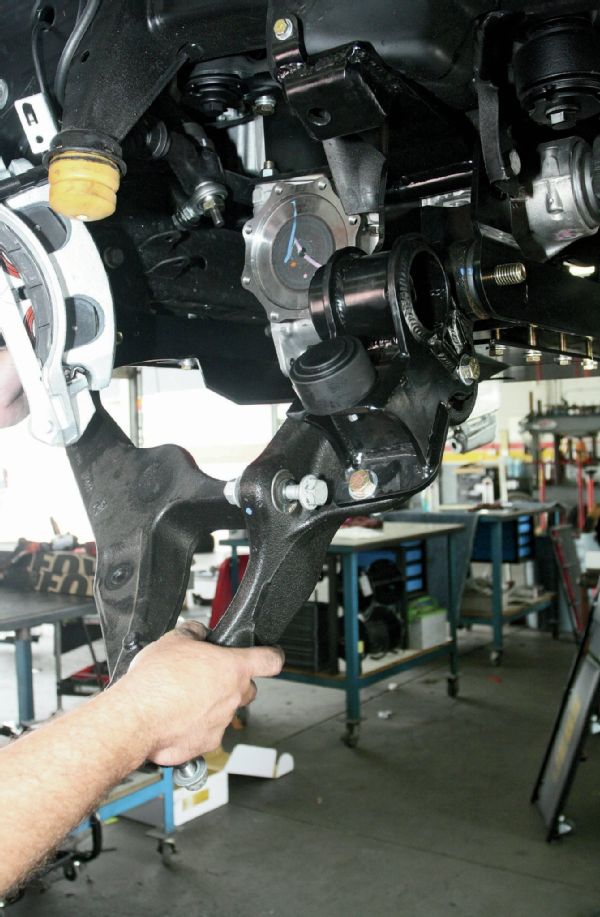 With the torsion drop brackets in place, the lower arms are installed. Using the stock hardware.
 The new Cognito upper arms are installed.
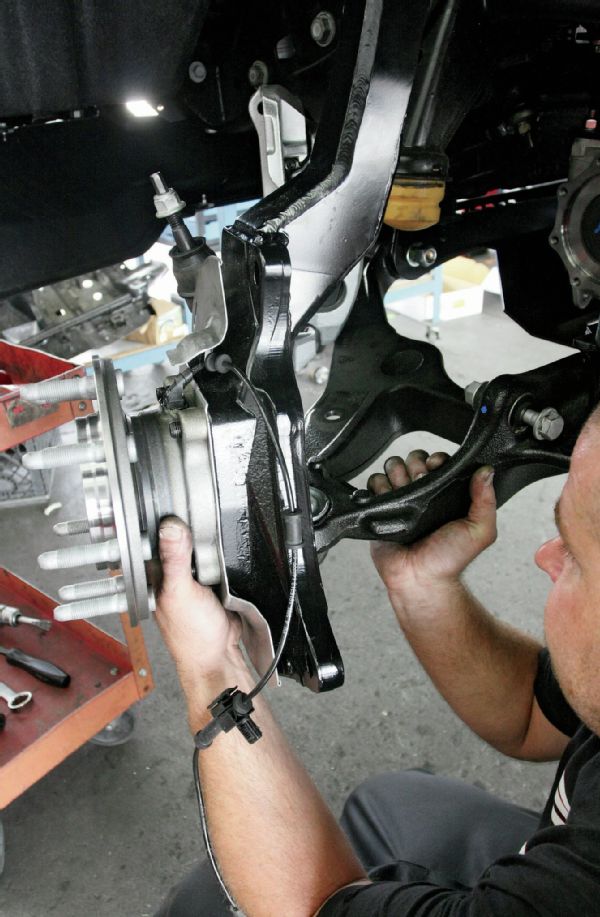 With the Cognito spindle installed onto the stock hub, the assembly is installed.
With the brake assemblies back on, things are getting close!
With the Cognito spindle installed onto the stock hub, the assembly is installed.
With the brake assemblies back on, things are getting close!
 The torsion bars are slid back into place and a jack is used to compress the suspension all the way to where the bumpstops are touching against the stops.
 Since the stock torsion adjuster keys were reused, a slight indentation is made to ensure that the adjuster bolt doesn’t slip off. As usual, Cognito explains this step clearly, with pictures, in their instruction manual.
 The now modified keys are installed and the adjuster bolts installed. The jack is removed from beneath the lower arm.
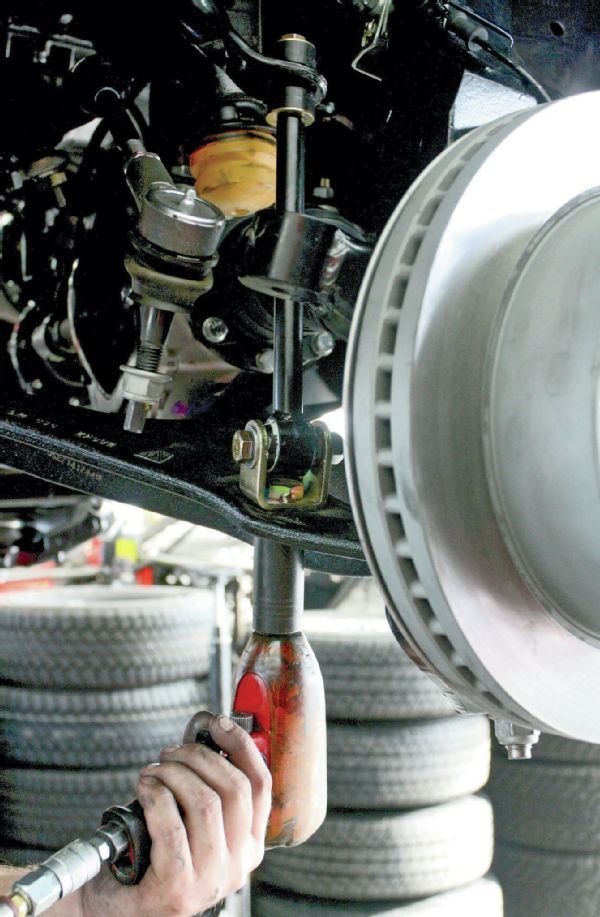 The new Cognito endlinks are installed.
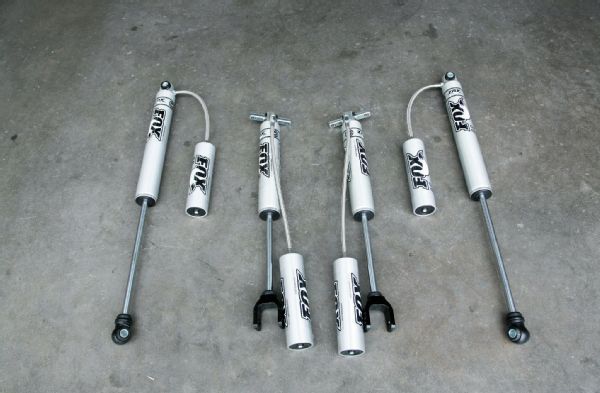 This owner decided to go with Fox remote reservoir shocks. We make that a good call.
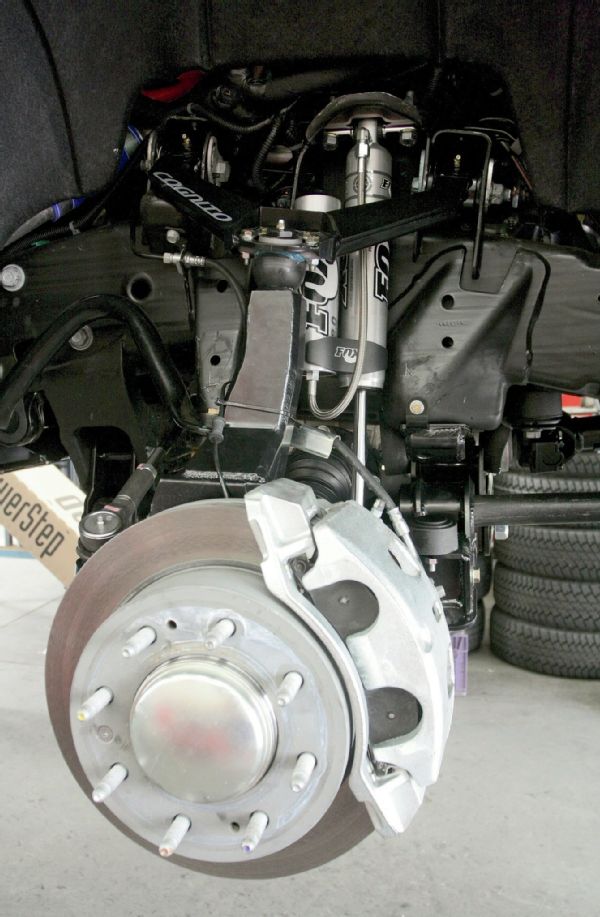
 The Fox shocks are installed onto the front.
 Blocks are used to raise the rearend accordingly. SoCal SuperTrucks even went the extra mile and painted the longer U-bolts black.
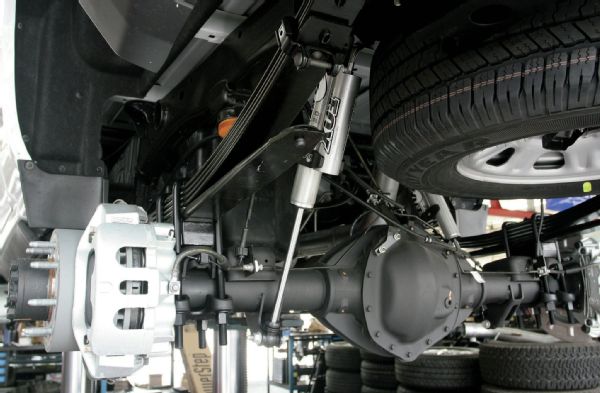 The Fox rear shocks are installed, and the truck will eventually go onto the alignment rack.
 In what was an involved job, the Cognito 6-inch front lift is installed. We have to say that the kit fit very well, and thanks to the very detailed instruction manual it was not nearly the problem we’ve seen on other jobs.
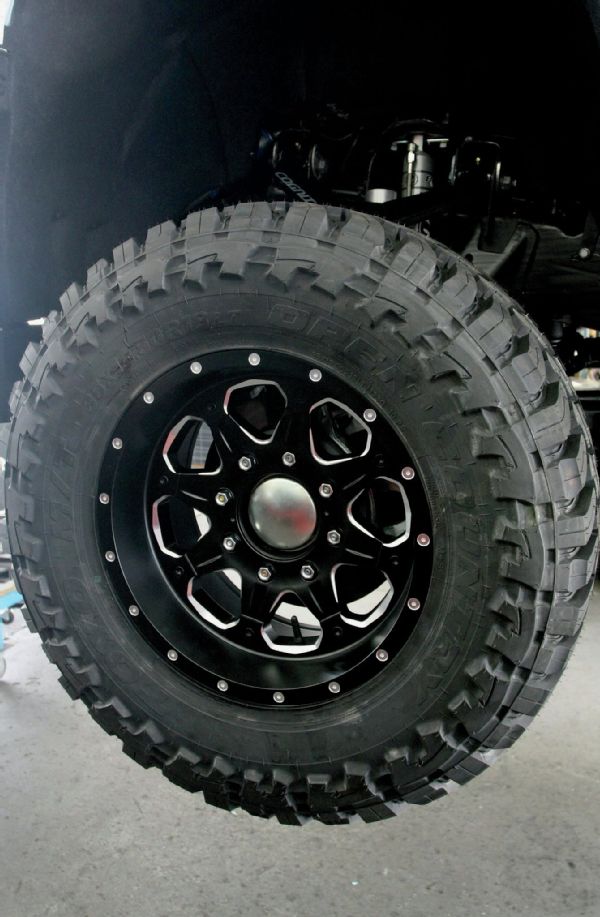 Finishing off the install in style was the addition of the Toyo Open Country M/T tires (35x12.50R18LT) mounted onto 18-inch Fuel Boost D534 wheels.
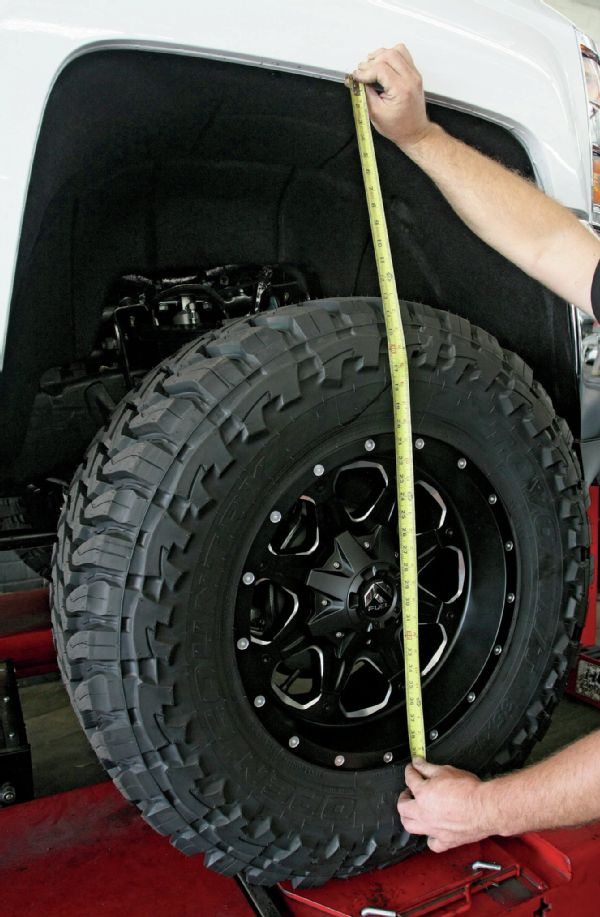 With the truck back down on its (new) wheels, the tail of the tape shows that there’s now 30 inches of air between the wheel center and the fender.