 Ken Brubaker
Senior Editor, Four Wheeler
Ken Brubaker
Senior Editor, Four Wheeler
The 2007 Chevy Silverado is exceptionally refined, delightfully comfortable, and more than adequately powered. But for all of these good things, those of us who travel off-highway may find that it could use some help in certain areas. Take, for instance, its very low-hanging front fascia that can suffer a brutal Bobbit-style removal faster than you can say "Honey, what's up with the scissors?"
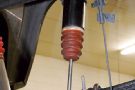
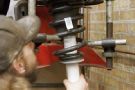
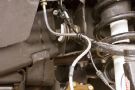
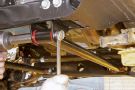
Rancho has responded quickly to Chevy's new 1/2-ton by unveiling the first aftermarket suspension kit for the new Silverado. One of the things it does is get that troublesome front fascia further away from terra firma. A lot further, actually. Rancho doesn't publish the lifted height of this kit; they just refer to it as the Rancho Silverado/Sierra Pickup Suspension System. We found that the kit generates approximately 5 inches of lift.
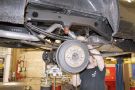
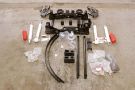
Our friends at Attitude Performance in Arlington Heights, Illinois, invited us to observe the installation of the kit on a customer's Silverado Crew Cab Z/71. What follows is an overview of how the major components of the kit install so you can see what is included and how it works.
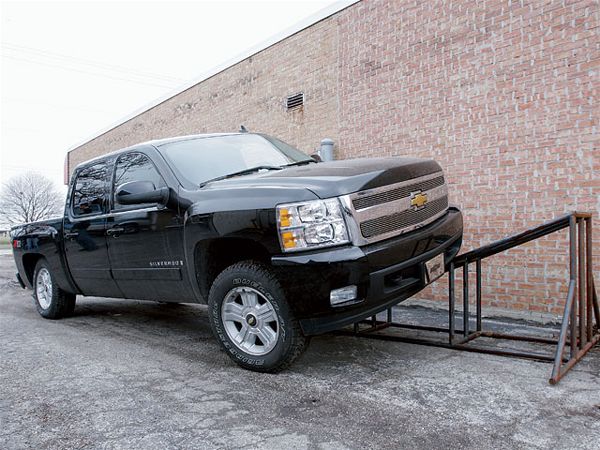
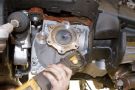
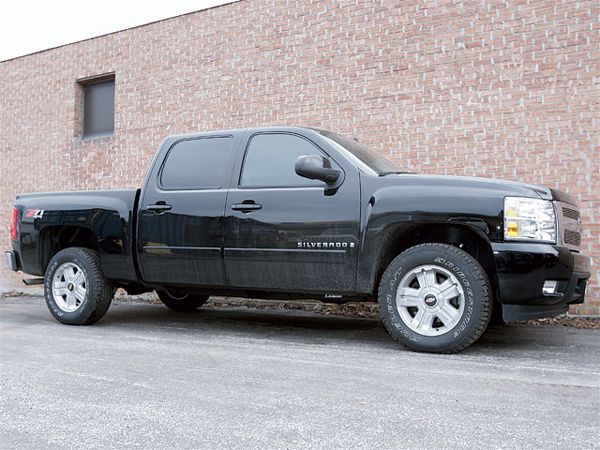 Before
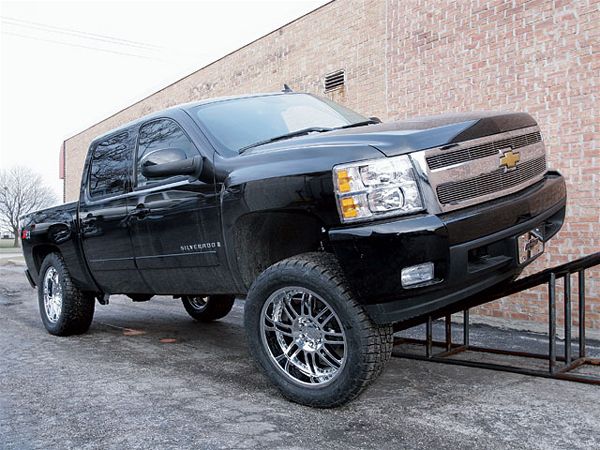
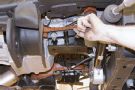
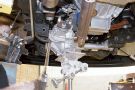
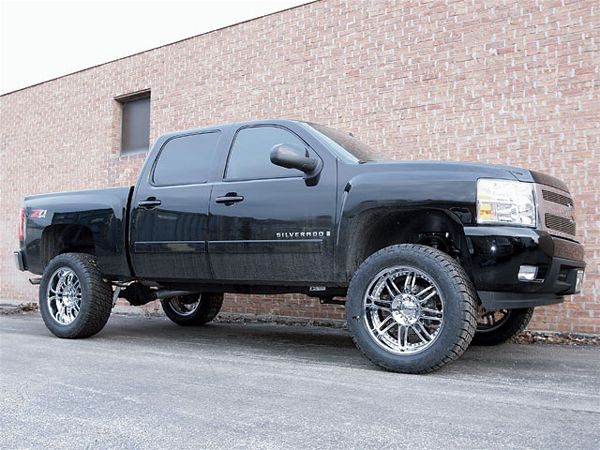 After
After
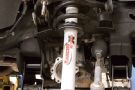
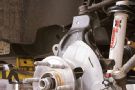
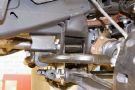
With features like only one frame modification, a one-piece subframe assembly, and new knuckles, the kit installed easily and relatively quick. The owner of this rig chose a set of 325/50R22 (35x12.50R22) Nitto Terra Grappler A/T tires, which are slightly larger in both diameter and width than the maximum recommended size of 315/70R17 (34.5/12.00R17). The owner also chose a wheel with a 6-inch backspacing instead of the recommended 5.5-inch backspacing. The result on our tester was some front tire rubbing that will require some trimming.
Rancho says that the kit preserves OE geometry for easy alignment, and they weren't kidding. After installation, and before front-end alignment, we were surprised to find that the truck tracked straight down the road. As expected, the ride was stiffer than stock. We feel this was mostly due to the lack of shock-absorbing sidewall on the big 22s. We would've chosen to stick with a 17-inch wheel or maybe upgrade to an 18-inch wheel so we could fit bigger brakes, but hey, it wasn't our rig. We didn't experience any bumpsteer during our short testdrive.
 Before
 After
After
Before the install, the stock 143.5-inch-wheelbase Silverado traveled 51 inches up a 20-degree RTI ramp to earn a score of 355 points, and we had to assign a person to manually bend the lower air dam upwards so we didn't rip it off just getting on the ramp. After the install, the Silverado traveled 55.5 inches up the ramp to earn a score of 387 points, and the lower air dam easily cleared the ramp.
Speaking of the air dam, which is the lowest point on the front fascia, before the install it rode an approximate 9.5 dismal inches above the ground. After the install, it rode an approximate 17.75 inches above the ground, which is clearly a very welcome improvement off-highway. Rear bumper-to-ground height improved from approximately 20.5 inches to 27.5 inches. All these numbers were taken before any settling had occurred in the suspension and with the 35-inch Nitto tires.
 PhotosView Slideshow