
Last month we followed along as Chopit Kustom installed a March Performance serpentine belt kit on the 460 Ford in Robbie Freeman’s ’57 Ranchero in preparation for fitting a Vintage Air A/C system—which means this month we’ll show you just that! While Vintage Air offers many kits that are vehicle-specific, with hoses already crimped or hard lines ready to install, the major components can be made to fit any vehicle; it just takes a little more work and planning.
 1 Here’s where we left off last month, with the March Performance serpentine system installed. Now to fit the Vintage Air Magnum Gen IV A/C system.
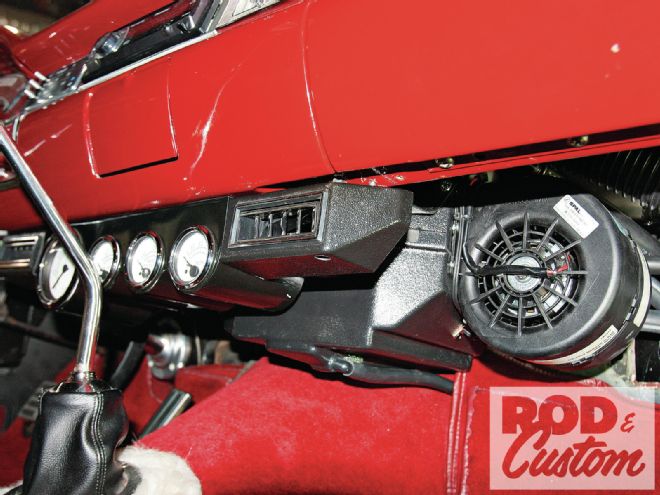
One of the toughest parts of installing A/C in any car is physically fitting the evaporator under the dash (if that’s where you choose to fit it!). In this case Vintage Air’s Magnum Gen IV unit was chosen as it offers heat, defrost, and cool options, but it’s also the largest evaporator they sell. It does, however, fit neatly against firewalls that have a recess in the center, and in this instance, also happened to perfectly clear the stock glovebox. So with that major component installed, as well as the compressor, condenser, and dryer mounted, the guys moved on to routing and crimping hoses.
Just as with wiring, there’s a “circuit” that the hoses follow. Starting at the compressor, they go to the condenser, the dryer, then through a safety switch to the evaporator, and then return to the compressor. Each component obviously has two ports, but often they’ll be different sizes, with No. 6, 8, and 10 used at various ports. Even so, the circuit was checked to ensure the hoses were running in the correct direction. Installation was actually easier than it sounds, especially given that the instructions are very comprehensive.
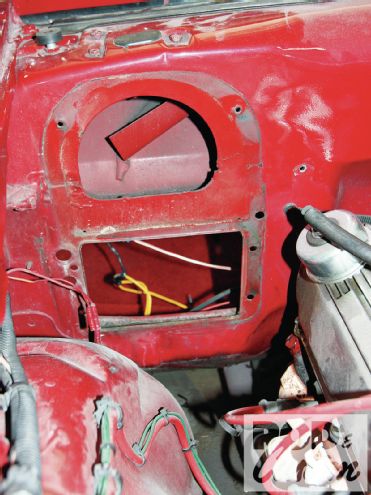 3 With the old heater removed, we were left with these two holes in the firewall. The lower one would come in handy for routing the new heater and A/C hoses into the interior, but first the Chopit crew fabricated a cover plate to tidy up this area.
With the dry build complete—the hoses were simply pushed into the fittings at this stage—the crimping could begin. Chopit Kustom uses a neat Mastercool hose crimp tool for this, whereby the fittings could be crimped while still in place, though they could be marked for alignment, then removed and crimped in a vise-held tool or taken to an A/C supply house. With a rubber O-ring in each fitting, and a drop or two of refrigerant oil to prevent them from snagging or tearing, the fittings were tightened and the system ready to be evacuated and charged by a professional. As supplied, the compressor, evaporator, dryer, and condenser are filled with dry nitrogen under pressure and then sealed. Once these seals are broken, the system should be evacuated and charged as soon as possible to prevent the components from collecting moisture.
Installing A/C is not a mystery, and is within the capability of any hands-on hot rodder, and though you may not want to fork out for a fancy crimp tool like the one shown here, vise-held examples can be had for less than $200.