The notion that vintage muscle cars have to be soft-riding, ill-handling barges just isn't the case anymore. The aftermarket offers all kinds of suspension, steering, and other chassis upgrades to make '60s and '70s cars ride and handle like contemporary models—even better if you want to go the G-machine or Pro Touring route.
But you don't have to go that far to improve your car's road manners. A simple shock absorber upgrade can make a world of difference in your car's behavior while maintaining a factory stock appearance (or close to it).
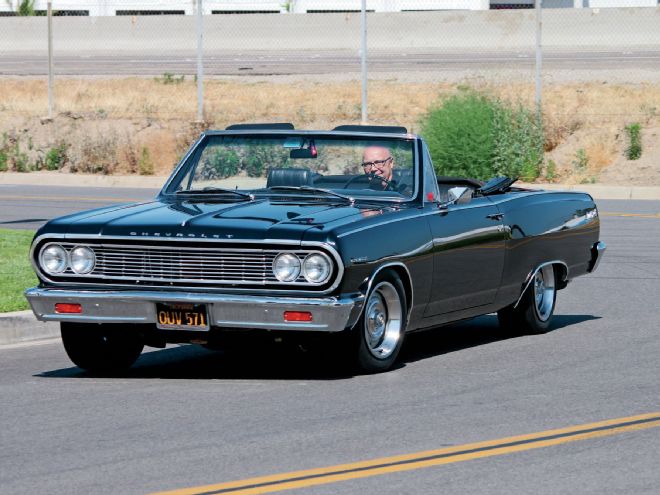
Take this Malibu, for example. Owned by our publisher, Ed Zinke, the '64 Chevelle was upgraded several years ago with new springs, shocks, and front control arms. Zinke noticed, though, that the shocks were showing their age. "The ride is OK," he said, "but you can really tell going over railroad tracks that there's lots of wheel movement." Time for new dampers.
There are a lot of shock absorber choices out there, from restoration-grade reproduction parts to competition-oriented coilover systems. Since Zinke's Malibu is a driver with a few contemporary modifications, he was less concerned with originality and instead wanted a firm ride with sharp, flat cornering but nothing so harsh as to rattle your teeth.
The folks at QA1 provided us with a couple different options to try on the Malibu. QA1 may be best known for its circle track and drag racing suspension components, but the company also offers street performance shocks that will improve ride quality without making other suspension changes.
The shocks we tested were from QA1's Stocker Star line. These are twin-tube shocks using oil, not high-pressure gas, to control damping so there's no artificial spring force applied to the rod from pressurized gas in the system. The valving inside the shock is designed to circulate the oil to keep it cool, as heat tends to make the oil foam and lose its ability to damp the rod's motion. All of QA1's Stocker Star shocks bolt into the stock shock mounting positions, making the swap a simple job.
Though the Stocker Star line includes steel-body "economy" models, we went for the lightweight aluminum-body shocks, as we wanted to compare the nonadjustable versions to adjustable models. Adjustable shocks are a best-of-all-worlds suspension solution. They allow the driver to vary the compression and rebound rates, and therefore the firmness of the car's ride, to suit road conditions and circumstances. You may want to dial in a softer ride for interstate cruising, for example, and then firm up the ride when carving corners on a mountain road. Or you can adjust the valving for different tire-and-wheel combinations. In Zinke's case, he could run one setting when the stock-size Rally wheels and 60-series tires are on the Chevy, another when he mounts low-profile rubber on 18s. The adjustable Stocker Star shocks offer 18 valving positions (more if you step up to the double-adjustable models, with separate settings for compression and rebound), all easily controlled via a dial on the shock body.
The downside to the adjustable shocks is price. The single-adjustable shocks we tried on the Chevelle cost about $50 per shock more than the nonadjustable models, and the double-adjustable shocks add another $100 per shock. That's why we wanted to compare the adjustables with the fixed-rate shocks. Would the adjustability be worth the difference?
Our methodology for the comparison was simple. Zinke brought the Chevelle to the Tech Center in our Irvine, California, office, where Jason Scudellari turned the wrenches to swap the shocks. Since the car is a driver and not a track car, we didn't do any formal instrumented testing. Instead we relied on our own impressions driving the car over a test route that included as wide a variety of pavement surfaces as we could find, from smooth to potholed, including a few railroad tracks, deep cross-road gutters, expansion seams, and washboard stretches. The first drive used the shocks already on the car as a baseline; then we mounted the nonadjustable shocks; and finally the adjustable models, taking a few trips to experiment with different adjustment settings.
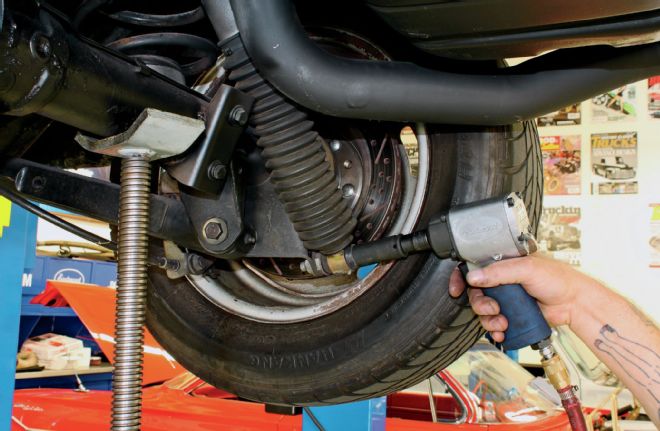
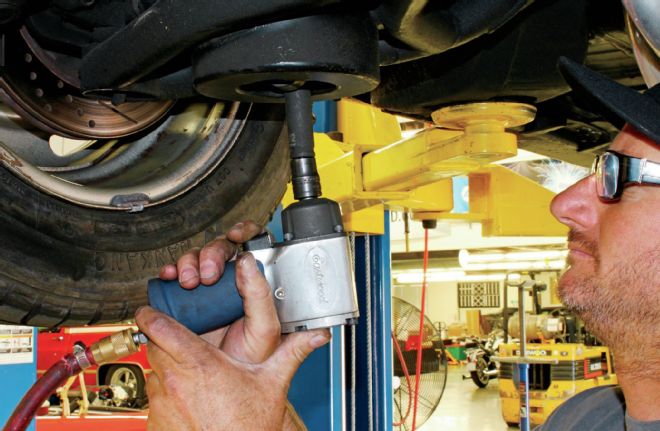
1 After Ed Zinke and I drove the Chevelle on the worn-out shocks to get baseline ride and handling impressions, Jason Scudellari removed the old shocks, starting at the rear. We had the luxury of a hoist in our Tech Center, but this job can be done with the car on jackstands. Note the stand supporting the axle. When the car is in the air, it's the shocks, not the springs, holding the axle in place.
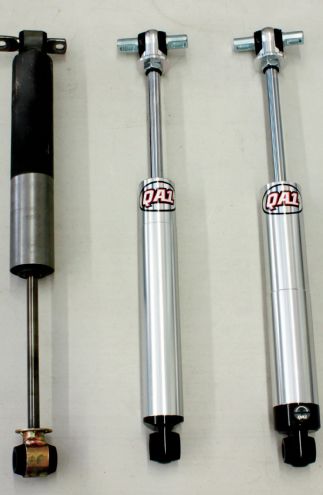
2 The old aftermarket shock is on the left, the nonadjustable QA1 Stocker Star is in the center, and the adjustable QA1 is on the right. The QA1 shocks bolt right into the stock locations, and all mounting hardware is provided, including polyurethane bushings in the shock ends. We began the comparison by mounting the non-adjustable shocks.
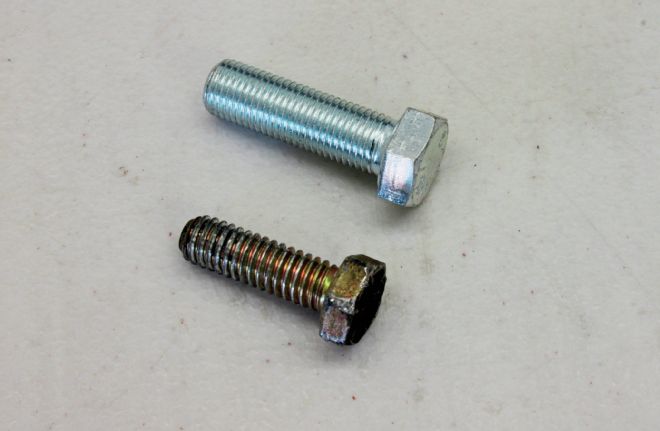
3 The 3/8-inch bolts QA1 provided didn't fit in the frame holes where the tops of the rear shocks attach. Scudellari instead went with a 5/16-inch bolt, but upgraded the hardware from the Grade 5 bolts supplied by QA1 (top) to stronger Grade 8 bolts.
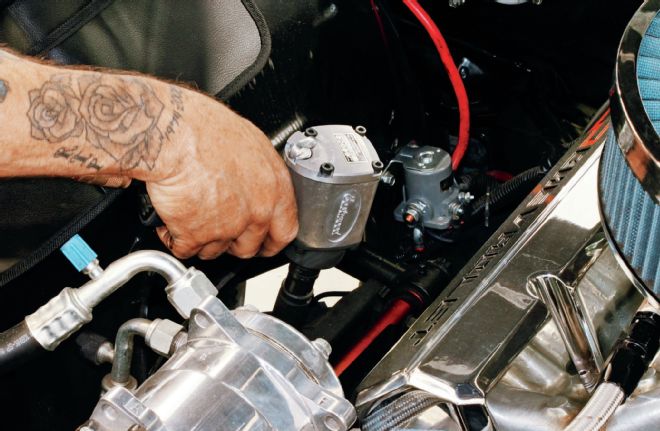
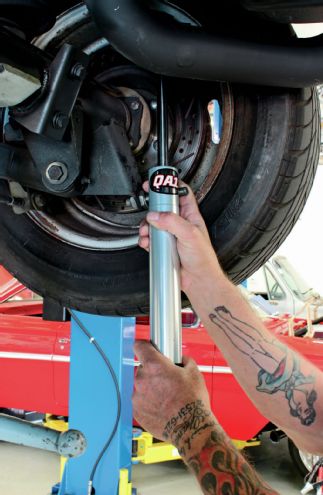
4 Removing the front shocks means lowering the lift, as access to the top bolt is through the engine compartment.
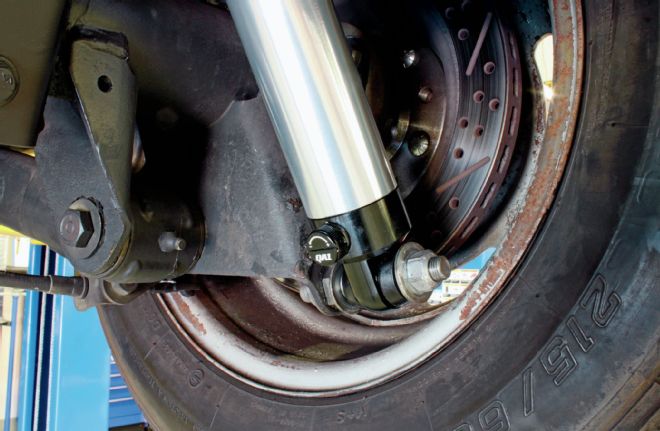
5 Zinke's Chevelle had been equipped with Global West front control arms during an earlier upgrade. Scudellari wrenches through the bottom of the arm to remove the lower shock bolt . . .
Zinke noticed an immediate change with the nonadjustable shocks. "These are really nice," he said. "I'd be happy with these." The ride was definitely firmer and better controlled without being at all jarring. Driving over the washboard sections Zinke said he felt little of the road imperfections through the wheel. He was able to take our "high speed" corner (the one featured in our driving photos) 10 mph faster than on the worn-out shocks.
After mounting the adjustables we opted to test them at their softest setting, then at their firmest, and then shot for the "Goldilocks" number that would be just right between the two. At full soft "this feels like a different car," said Zinke. "I have to wait for feedback through the wheel." It was floaty over rough pavement, and after crossing railroad tracks it took a couple of oscillations for the car to settle. "I'd call it ‘lopey,'" he said.
We didn't even get out of the parking lot before noticing the difference between full soft and full firm. We felt road irregularities in what we had considered the "smooth" portions of the test, and the car rattled and shook over the tracks and washboard, the shocks working against any sort of compliance with the uneven pavement. "The cornering is great," said Zinke, "flat as a pancake. It would be great for competition but fatiguing for the long haul."
So then we started trying different valving settings. The nonadjustable Stocker Star shocks correspond to a setting of 4 on the adjustable's 1-to-18 scale. We dialed in an 8 at both ends and felt an obvious difference in controllability over the nonadjustable. It was still a bit on the firm side, though, so we tried leaving the fronts at 8 (to maintain the crisp handling feel Zinke liked) while dialing the rears back to 5 (to soften the ride). That did it. "This is a great combination of good ride quality and responsive cornering," Zinke said as we toured around our test route. He took our high-speed corner at the same rate as when the shocks were tuned to full firm, and the car felt nicely planted, even at the softer rear setting.
Since then, when Zinke mounts the big-wheel combo on the Malibu (18-inch Wheel Vintique Rallys with 45-series tires), he dials both ends back a little, to 6 in front and 4 in back, giving the shocks a little more compliance to make up for the tire's stiffer sidewalls.
So, in the end, is the extra coin spent on the adjustable shocks worth it? We think so, especially with a car like Zinke's. While the nonadjustable shocks were just fine (and would be perfect for a lot of muscle car applications) Zinke likes the ability to fine-tune his car's ride for each wheel-and-tire combo. And if he ever gets the urge to autocross the Chevy, he can dial the shocks up to full competition firmness for the track and then back them down again for the cruise home.
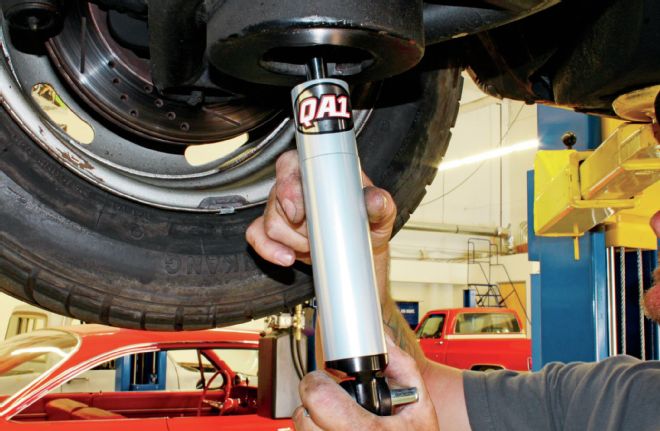
6 . . . and the front shock is inserted the same way.
Before
After
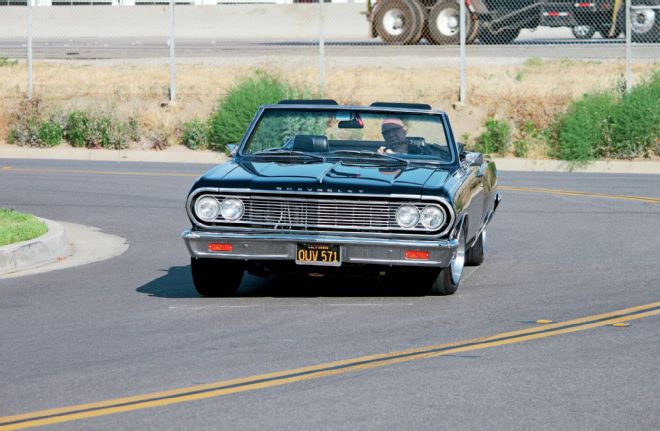
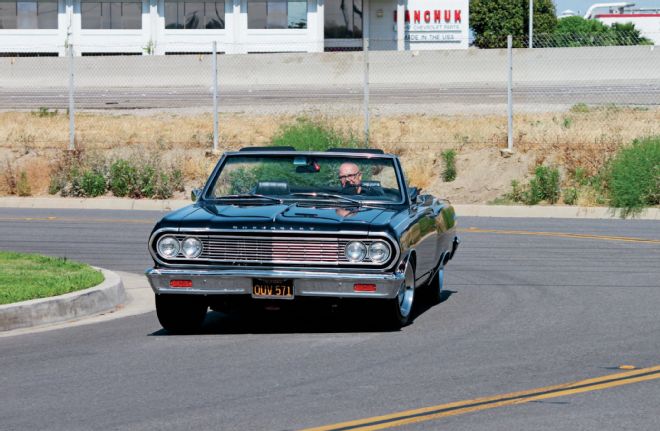
7 Test Time. This is our "high-speed" corner, where Zinke tested differences in the car's cornering ability, body roll, and general sense of being planted on the road. The "before" photo is with the worn-out shocks; the "after" photo is with the QA1 nonadjustable shocks. You can see an obvious difference in the car's attitude - much flatter with the QA1 dampers aboard. Zinke could take this corner 10 mph faster with the new shocks and still feel confident and stuck to the road.
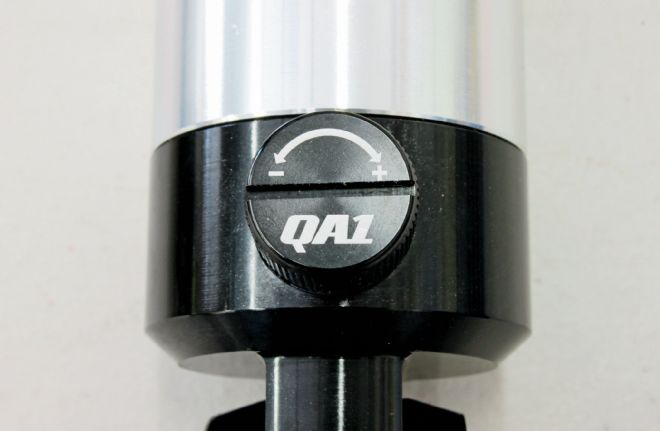
8 Now for the adjustable shocks. QA1 makes the adjustment easy with this dial, which provides 18 settings to control jounce and rebound. (Double-adjustable shocks are also available with separate dials to control those two functions.)
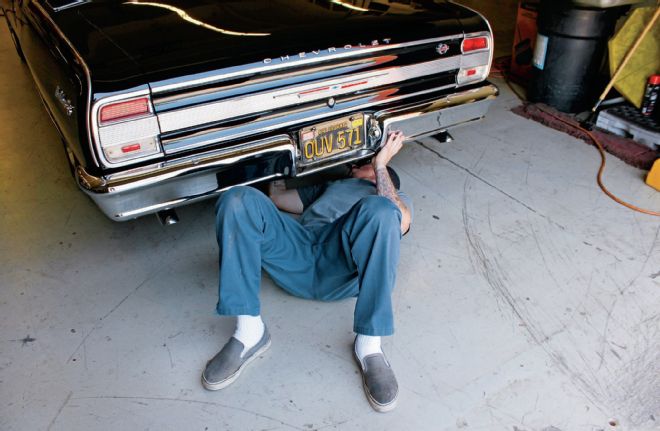
9 We started testing the car with shocks set at full soft, and then at full firm, and then close to the middle at 8. Adjusting the rear shocks was easy and could be done by sliding under the car. Up front things were different, as the design of the Global West control arms blocked access to the dial. Scudellari had to drop the shocks out, set the dials, then reinstall the shocks. Eventually Zinke preferred settings that were a bit firmer in front to sharpen the handling feel and softer in back for smooth ride quality.