With the chassis work on the long-to-shortbed conversion complete and the framework for the Camaro gas tank finalized, there was one final piece of the puzzle before my ’68 C10 could be assembled with its new bed assembly—paint.
When I originally purchased the ’68, it was remarkably clean underneath with very little road rash evident for a truck of its age. Following three days on the salt and the subsequent corrosion that set in following our trip last summer to Bonneville, however, I knew that if I wanted the underpinnings to look good and stay that way, it was going to take more than a coat of Satin Black from the hardware store.
Every bit of half-exposed steel had started to rust, zinc chromate fasteners that were brand new six months ago were oxidized, and the frame was covered in a healthy dusting of surface rust. If there was ever a time to treat the back half of the frame, it’s now, before the bed is reinstalled and the bare metal sections start to flash rust.
To achieve this end, I turned to the guys at Eastwood who recommended a three-part system from their expansive line of coatings. The first step is to convert the rust into an inert, paintable surface using Eastwood’s Rust Converter. Formulated to halt residual rust in its tracks by converting the surface to a black protective polymeric coating, it also seals out moisture and prevents future rust.
The next step is to coat the entire surface with Eastwood’s Rust Encapsulator to ensure the rust does not return. Tested in a salt-spray chamber for 500 hours, this latest formula is the most rust-preventive ever. Fortified with epoxy resins to ensure excellent adhesion, topcoat compatibility, and greater durability, Rust Encapsulator also penetrates deeper into surface rust to ensure it cannot spread.
The final step to a carefree chassis is Eastwood’s Extreme Chassis Black. Available in either satin or gloss, in an aerosol can or by the quart, it’s specially formulated to provide tough protection against chips, corrosion, and salt (take that Bonneville!). Not too glossy, not too dull, this is the correct coating for that OEM appearance with the ability to stand up against road abuse and temperatures up to 300 degrees. It’s also one of the few UV-resistant chassis paints on the market.
As soon as I wrapped up the fuel tank install last month, I immediately turned around and started prepping the chassis for this month’s coating story. I knew I was in for some dirty work, getting all the rust and dust off the 45-year-old chassis, but the end result I had pictured in my mind kept me motivated enough to press on through the nastiest part of the job. When the dust finally settled, I was thoroughly impressed with the results. Not only did the Eastwood product go on nice and smooth, but it was without a run, fisheye, sag, or other imperfection and didn’t have a hint of blotchiness that can be found with other satin paint products.
With the back half of the chassis complete, I immediately gave the guys at Eastwood a call to order more for the front half. Looks like I’ll be spending another Saturday afternoon detailing the engine bay once the motor is pulled. Dirty work, but well worth it!
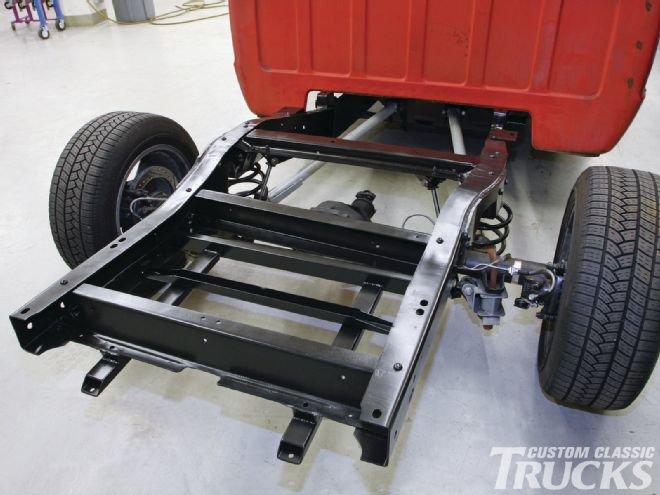
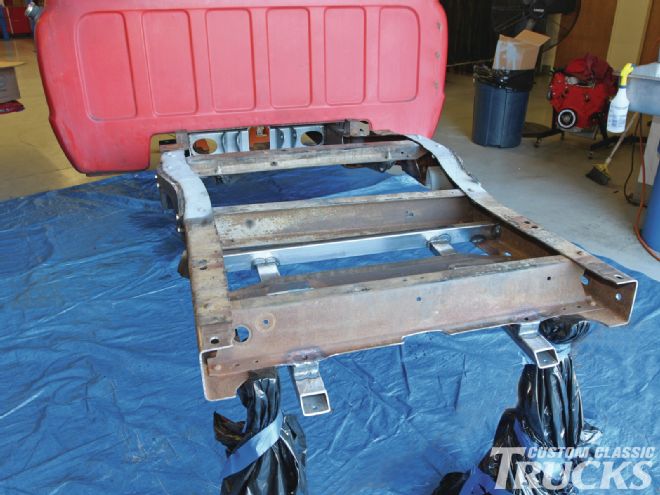
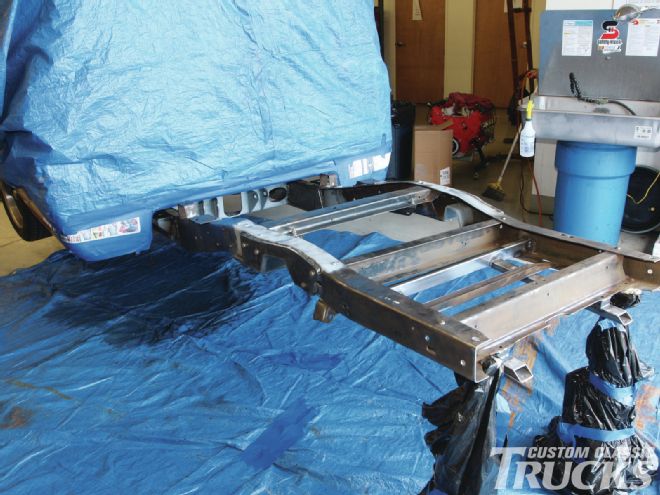
1. Here’s where we left off last month. With the superstructure for the Camaro tank all welded up and in place, it’s time to remove all the extraneous components and get to work cleaning up that crusty chassis.
2. Back when I originally lowered the truck, I installed CPP’s heavy-duty C-notch kit, which was designed to bolt in. When it came time to detail the chassis, I found that moisture was getting behind the C-notch plates so I decided now would be a good time to simply weld them in place for good. First I coated the backside of each C-notch with Eastwood’s Self-Etching Weld-Thru Primer…
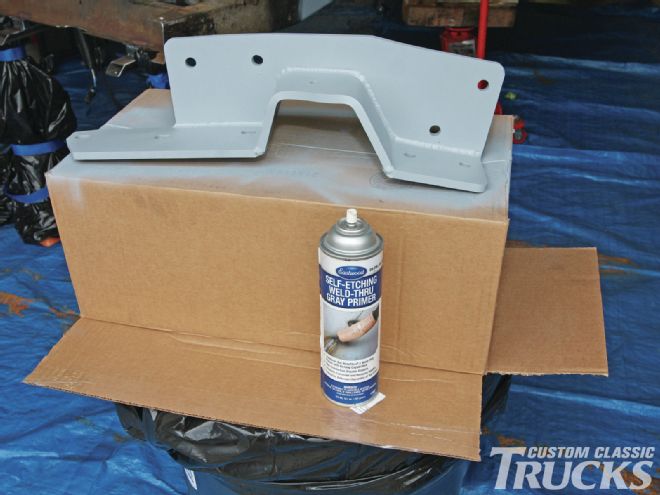
3. …as well as the framerail section that will be covered. This will prevent any rust from developing between the two surfaces once everything is welded up.
4. With the C-notches welded up and the frame stripped down, it’s time to start cleaning the rust and crud off the chassis.
5. For that, a grinder with a 4-inch braided wire wheel is put to use. This works great for removing the majority of rust from the chassis, along with any grease or grime as well.
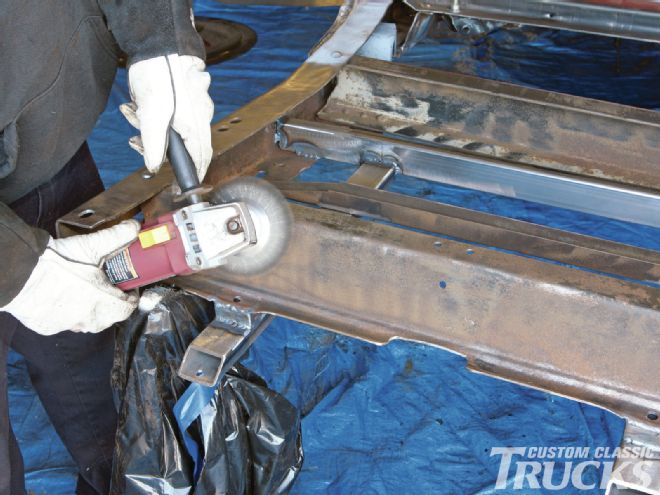
6. Of course, it’s impossible to reach every nook and cranny on the chassis with the grinder, so for those hard-to-reach spots, a little elbow grease and a Scotch-Brite pad does the trick.

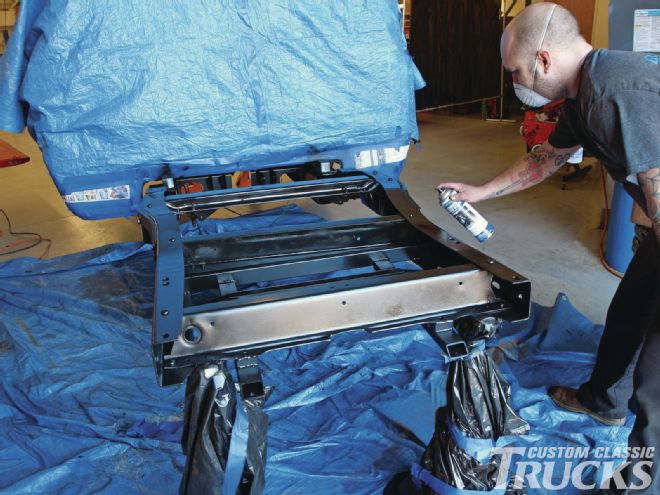
7. With the heavy residue removed and the cab completely masked off, it’s time to clean the chassis and start sprayin’.
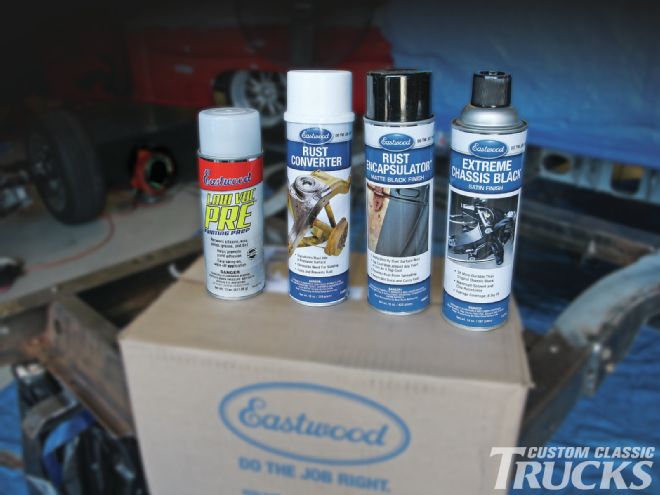
8. Here are the products we used to detail the chassis. From left to right, is Eastwood’s Low Voc PRE painting prep, Rust Converter, Rust Encapsulator, and Extreme Chassis Black.
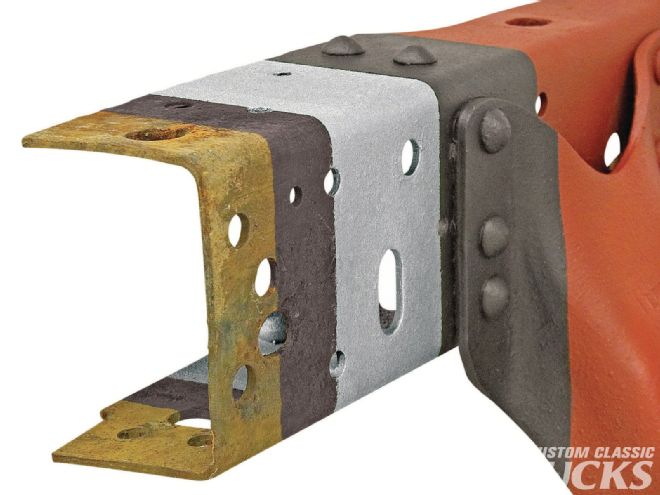
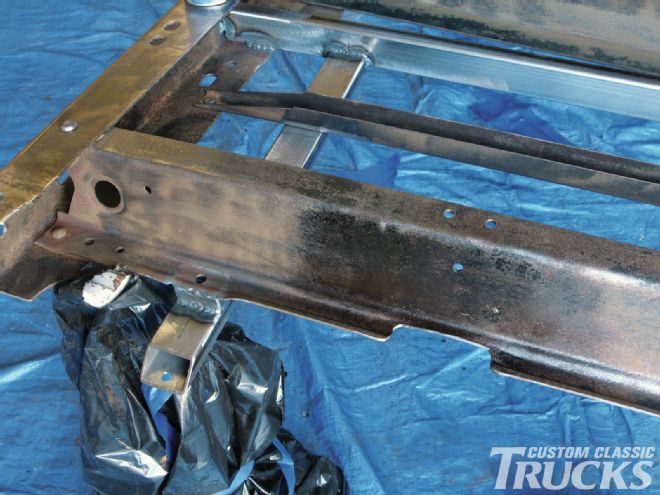
9. Eastwood provides Rust Encapsulator in red and silver as well as black, as shown here. Also note the difference between the bare, rusty frame section with that which has been treated with Rust Converter, followed by the three different colors available in the Rust Encapsulator coating.
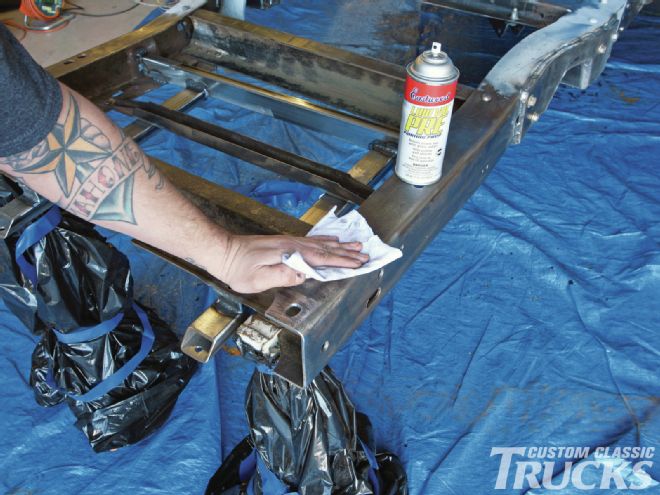
10. Before any coating can be applied, it’s a good idea to wipe the entire area down with Eastwood PRE to remove any residue, dirt, grease, or oil that may still be present.
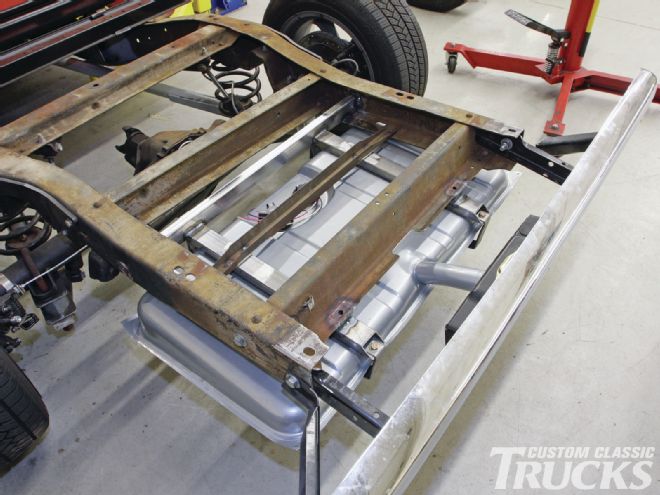
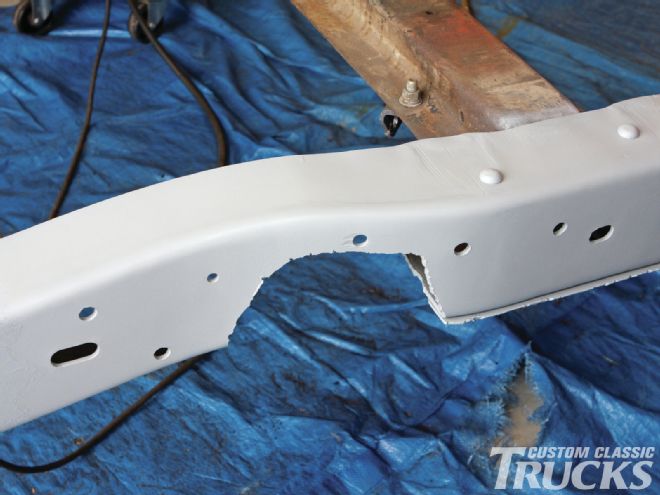
11. First up is Eastwood’s Rust Converter. Here, you can see the treated section in the center of the rear crossmember compared to the untreated sections on either side. This helps halt residual rust by converting it to a black, polymeric coating ready for painting or priming.
12. The next step is to apply Rust Encapsulator to effectively stop any remaining rust from spreading. Reformulated to provide twice the corrosion resistance as before, it can withstand nearly five times that of standard paints in a salt-spray chamber.
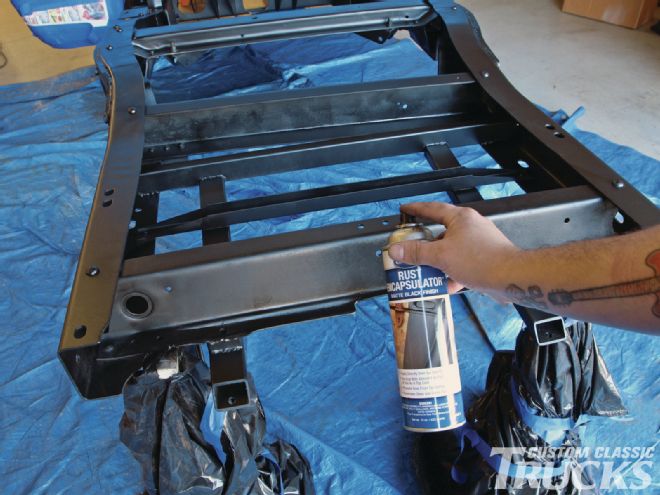
13. Its corrosion- and UV-resistant characteristics make it a great topcoat, but its epoxy-fortified formula also provides better adhesion, compatibility, and greater durability when combined with a final topcoat.
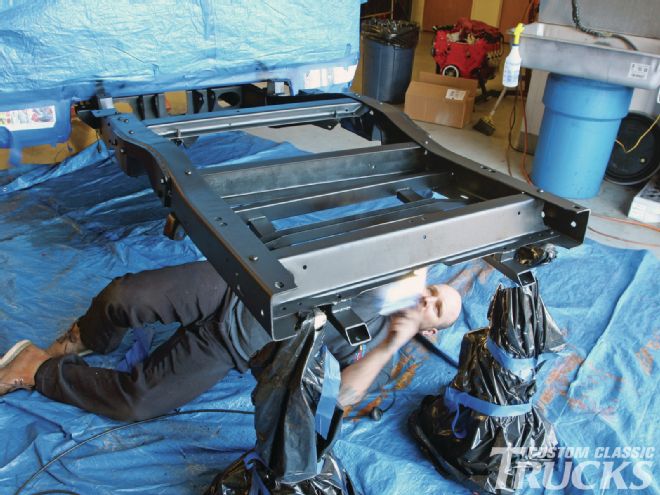
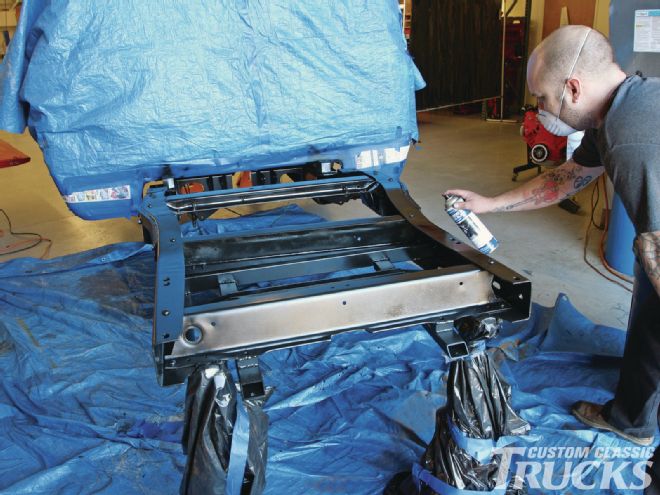
14. Since I already had everything masked and ready to go, I figured I’d go “all in” and apply two coats of Eastwood Extreme Chassis Black over the Rust Encapsulator for good measure. This will provide maximum protection from chips and scratches with added corrosion resistance from fuel and brake fluid.
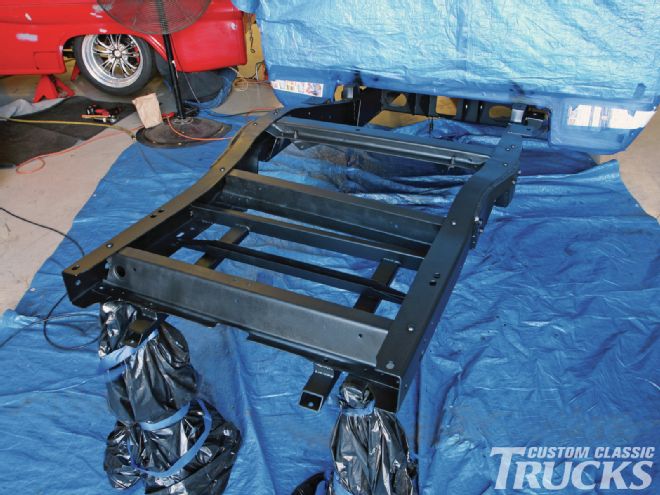
15. The end result is one that hasn’t been seen since the ’68 rolled off the factory line and hopefully will hold up for another 45 years. A bit of a shame that it’s all going to be covered up ain’t it?!